Whether you’re building a rugged vehicle, a muddy boot, or a weathered prop, mud and dirt layers can instantly add storytelling and realism to your 3D model. In Adobe Substance 3D Painter, procedural tools make it easy to simulate splashes, stains, and dried soil — all non-destructively.
This tutorial will show you how to create procedural mud and dirt effects step by step, combining generators, masks, and hand-painted touches for the perfect balance between control and randomness.
👉 Follow along with a free trial of the Adobe Substance 3D Collection and give your 3D assets that real-world grit.
🧱 Step 1: Prepare Your Base Material
- Open your 3D model in Substance 3D Painter.
- Apply a suitable Smart Material (e.g., Steel Polished, Rubber Clean, or Leather Worn).
- Make sure your baked maps (Curvature, AO, Position) are up to date — dirt generators rely heavily on these.
💡 Tip: Bake maps at least at 2048 resolution for detailed results on small splashes or streaks.
💦 Step 2: Add a Dirt Layer
- Create a new Fill Layer and rename it “Dirt.”
- Disable Metallic and enable Base Color, Roughness, and Height.
- Choose a dark brown or earthy tone for your Base Color.
- Add a Black Mask → Add Generator → Dirt.
🎯 Adjust key parameters:
- Balance: Controls overall dirt coverage.
- Grunge Amount: Adds variation.
- Contrast: Makes dirt edges sharper or softer.
💡 Pro Tip: Lower the AO Influence to prevent dirt buildup in every crevice — this gives a more natural effect.
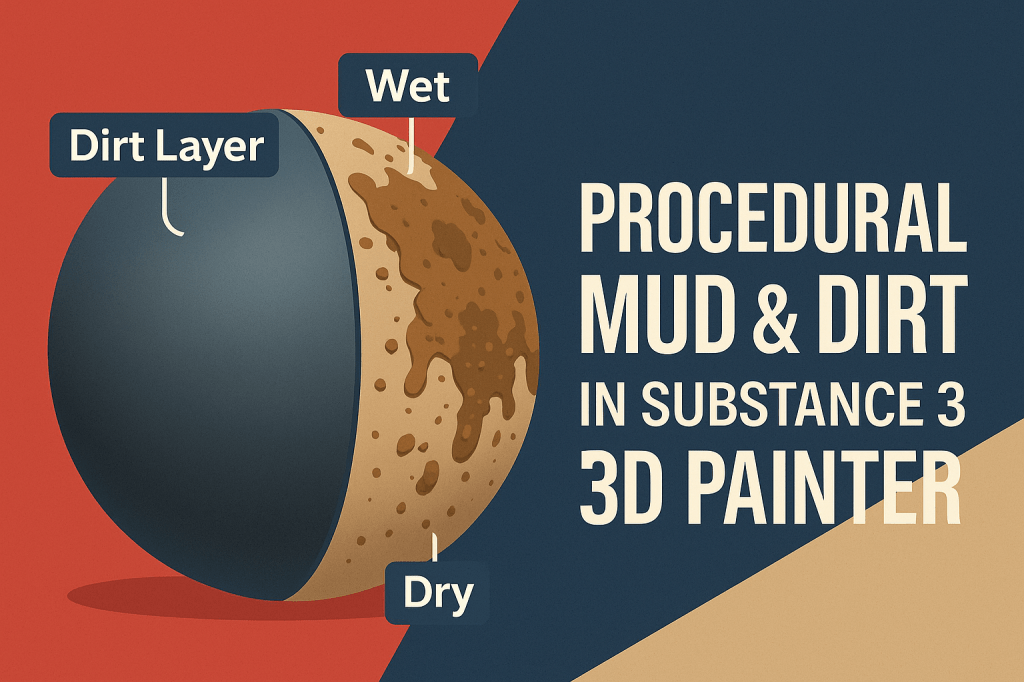
🧩 Step 3: Layer in Wet and Dry Mud
To make your surface feel organic, combine two types of dirt:
- Duplicate your Dirt layer.
- Rename one “Wet Mud” and the other “Dry Mud.”
- For Wet Mud:
- Lower Roughness (0.2–0.4) for reflective sheen.
- Darken the Base Color.
- For Dry Mud:
- Raise Roughness (0.8–0.9).
- Lighten the Base Color slightly.
🎨 Blend them together with separate Masks and adjust Balance so wet areas appear at the bottom, and dry dirt appears higher up.
⚙️ Step 4: Add Splashes and Directional Streaks
- Add another Fill Layer with the same dirt color family.
- On the mask, choose Add Fill → Grunge Mud Splashes or Dripping Dirt texture.
- Change Projection → Planar and angle it slightly for diagonal streaks.
- Adjust Balance and Scale for fine-tuning.
🧠 Workflow Tip: Use Anchor Points to link your mud mask to other layers like roughness or height for consistent look.
🪣 Step 5: Add Depth and Texture
- Enable Height in your dirt layers.
- Set subtle Height intensity (around +0.05 for mud, -0.03 for depressions).
- Combine a Noise map to simulate clumps or compacted earth.
🎯 Pro Tip: Use Blur Filter on the mask to soften transitions between thick and thin dirt areas.
💡 Step 6: Adjust Lighting for Realistic Preview
- Go to Display Settings → Environment Map → Outdoor Mud HDRI or Soft Warm Light.
- Rotate lighting to test reflections — especially on wet mud areas.
- Enable Tone Mapping (ACES) to make wetness pop under highlights.
💾 Step 7: Export and Use the Material
- Go to File → Export Textures.
- Choose PBR Metallic Roughness or Unreal Engine 5 template.
- Export at 4K resolution for detailed dirt breakup.
Your procedural mud and dirt texture is now ready to use in Blender, Unreal Engine, or Adobe Stager for production renders.
✅ Conclusion
Procedural dirt is all about balance — using multiple layers, masks, and height data to simulate natural buildup. In Adobe Substance 3D Painter, you can quickly create realistic mud and grime that respond dynamically to lighting and environment.
👉 Start experimenting today with the Adobe Substance 3D Collection free trial and give your 3D materials that authentic, lived-in look.
