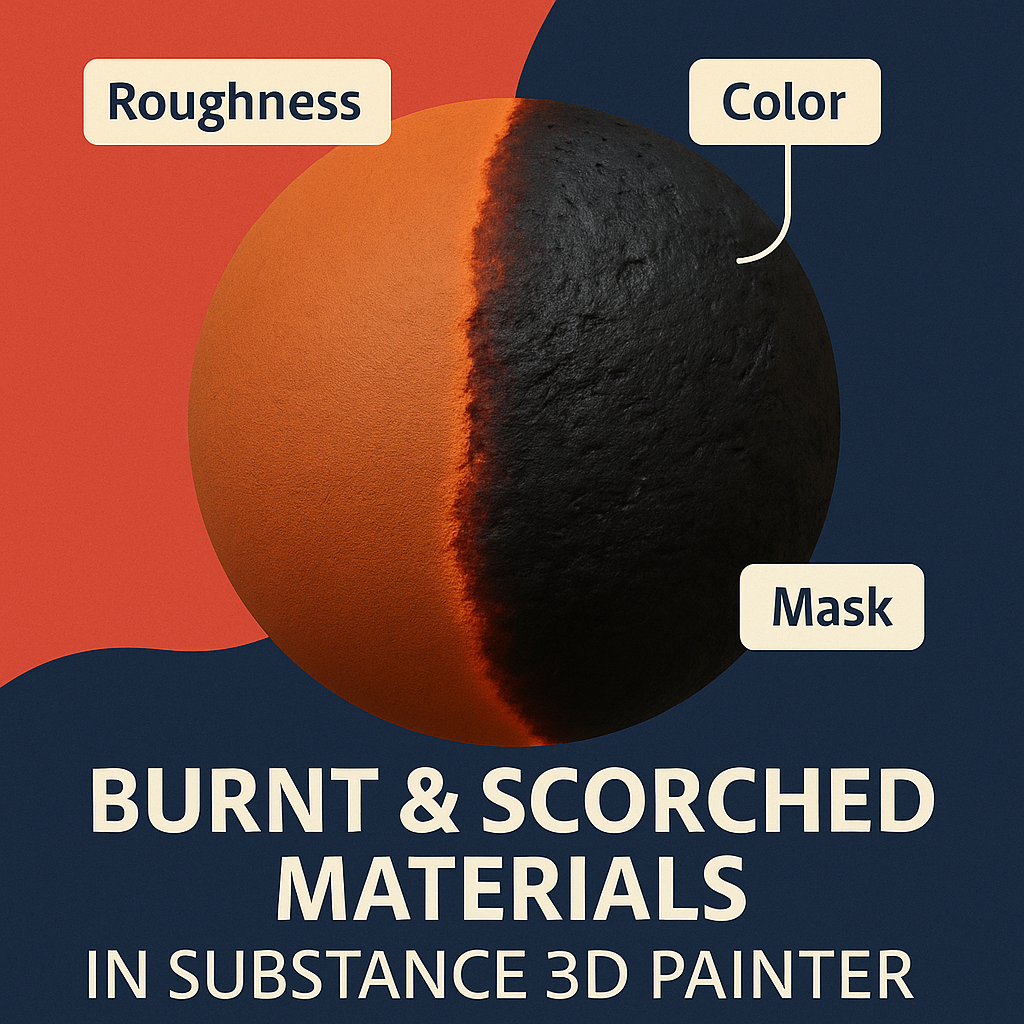
Adding burnt or scorched textures can instantly make your 3D models more dramatic and realistic — from melted metal and burnt wood to battle-damaged armor. In Adobe Substance 3D Painter, you can build these effects procedurally with Smart Masks, generators, and manual paint blending.
This tutorial walks you through creating realistic burnt and scorched materials that combine charred detail, soot buildup, and blackened discoloration — all without leaving Painter’s non-destructive workflow.
👉 Get started today with a free trial of the Adobe Substance 3D Collection and follow along step by step.

🧱 Step 1: Choose a Base Material
- Open your model in Substance 3D Painter.
- Select a Smart Material that matches the base material type (e.g., Wood Raw, Steel Polished, or Fabric Canvas).
- This gives you a realistic foundation before you add burning effects.
💡 Tip: If you’re working with metal or stone, increase resolution to 2048 or 4096 px to capture fine soot detail later.
🎨 Step 2: Add a Burn Mask
- Right-click your topmost material → Add Black Mask.
- On the mask, click Add Generator → Dirt or Metal Edge Wear.
- In the generator settings, adjust:
- Balance: defines the spread of burnt areas
- Contrast: controls how sharp the burn transitions are
- Grunge Amount: introduces irregular burn shapes
🧠 Pro Tip: Use Grunge Burned Paper or Grunge Smoke Spread textures for authentic heat distortion patterns.
🌫️ Step 3: Introduce Charred Discoloration
- Add a Fill Layer above your base material.
- Turn off all channels except Color.
- Pick a near-black or dark gray hue to represent charred areas.
- Mask it with your burn generator or a painted layer for manual control.
🎨 Use a Soft Brush with low opacity to blend smooth edges between burned and untouched areas.
💡 Bonus: Add orange or dark red tints around burn edges for a glowing ember effect.
⚙️ Step 4: Add Height and Roughness Variations
Burnt surfaces often lose polish and texture consistency.
- Add a new Fill Layer with Height and Roughness enabled.
- Increase Roughness (0.8–0.95) for matte, scorched areas.
- Decrease Height slightly (-0.02 to -0.05) to make burns appear recessed.
- Mask it using the same Burn Mask to synchronize visual consistency.
🧩 Pro Tip: Use an Anchor Point on your burn mask so all roughness and color layers update together dynamically.
💥 Step 5: Add Soot and Ash Layers
- Add a Black Fill Layer with Color and Roughness enabled.
- Apply a Grunge Dust Fine texture to the mask.
- Lower opacity for subtle soot buildup.
- Add a Height-only Fill Layer with Dirt or Ash texture to simulate residue thickness.
🎯 Combine both for a realistic multi-layer burn effect that feels physical and textured.
💡 Step 6: Refine Lighting and Preview
- Switch to Display Settings → Environment Map → Firelight HDRI or Warm Studio.
- Rotate the environment to highlight burn contrast and roughness differences.
- Enable Post Effects → Tone Mapping (ACES) for cinematic warmth.
💡 Workflow Tip: Save multiple camera angles for pre- and post-burn comparisons.
💾 Step 7: Export Your Scorched Material
- Go to File → Export Textures.
- Choose PBR Metallic Roughness template.
- Export at 4K resolution for crisp detail.
Use the exported maps in Blender, Unreal Engine, or Adobe Stager to showcase your burnt surface realism.
✅ Conclusion
Creating burnt or scorched effects in Adobe Substance 3D Painter adds storytelling and texture depth to your models. With Smart Masks and procedural layers, you can simulate everything from gentle heat marks to full charring — all non-destructively.
👉 Try the Adobe Substance 3D Collection free trial and experiment with your own damage and weathering effects.