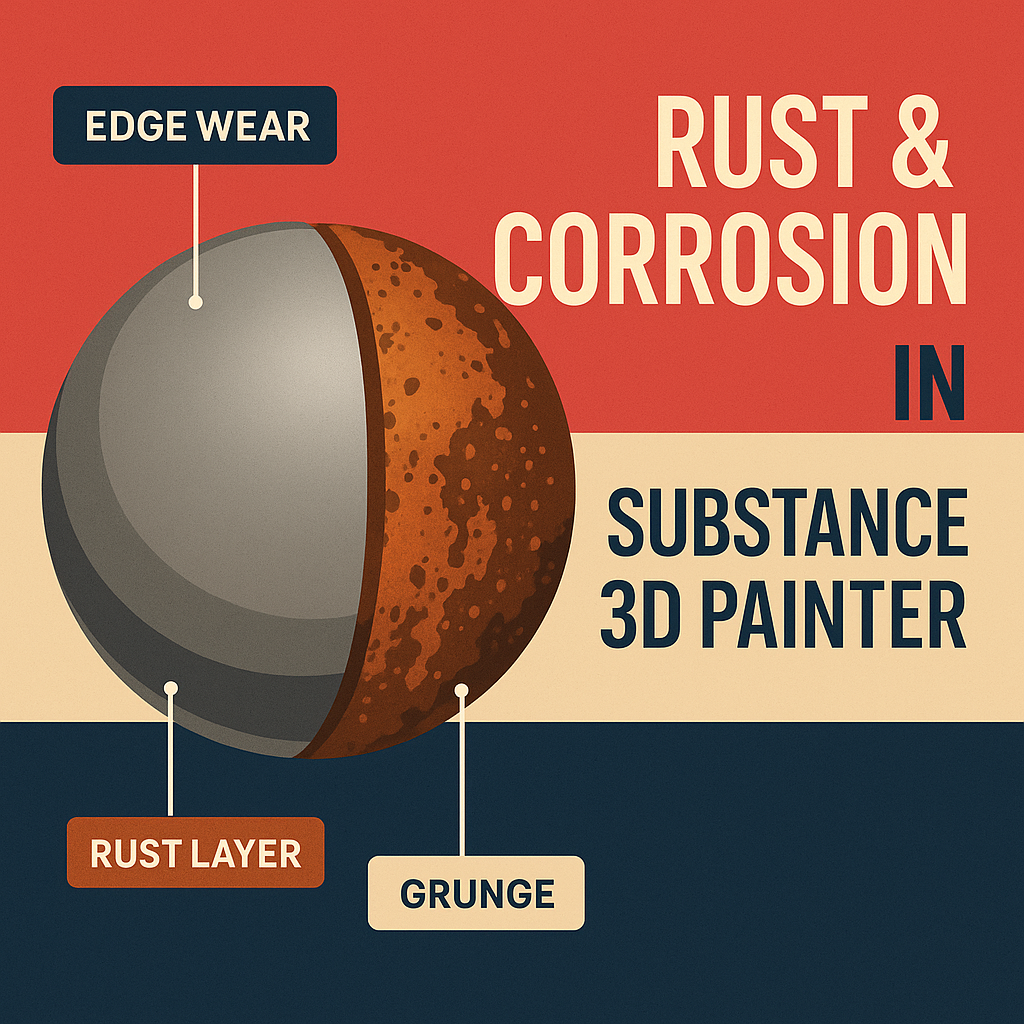
Rust tells a story — it shows time, exposure, and decay. Adding corrosion to metal surfaces is one of the most satisfying ways to give your 3D models realism and depth. With Adobe Substance 3D Painter, you can create dynamic, non-destructive rust and corrosion effects using generators, Smart Masks, and hand-painted details.
This guide walks you through how to make metal look aged and weathered — from subtle oxidation to heavy rust buildup — using Substance 3D Painter’s procedural tools.
👉 Follow along by starting your free trial of the Adobe Substance 3D Collection and bring your metal surfaces to life.
🧱 Step 1: Set Up Your Base Metal
- Open Substance 3D Painter and load your 3D model.
- Apply a Smart Material like Steel Painted, Iron Raw, or Aluminum Clean.
- Make sure your baked maps (Curvature, AO, and Position) are complete — rust generators rely on these.
- Duplicate your base layer so you can later reveal the rust underneath.
💡 Tip: Use a neutral HDRI (like Soft Light Studio) for accurate material previewing.
⚙️ Step 2: Add a Rust Layer
- Create a new Fill Layer and rename it “Rust.”
- Disable Metallic and lower Roughness slightly (0.6–0.8).
- Pick a reddish-brown Base Color — around RGB(120, 60, 30).
- Move this layer below your base metal in the stack.
🎨 This will be the material exposed where the metal corrodes.
🎭 Step 3: Add a Mask for Corrosion
- Right-click your top metal layer → Add Black Mask.
- On the mask, add a Generator → Metal Edge Wear.
- In the generator settings, adjust:
- Wear Level → controls rust exposure
- Contrast → defines sharp vs. soft edges
- Grunge Amount → adds random corrosion patterns
- You’ll see your top paint layer erode, revealing the rust beneath.
💡 Pro Tip: Enable “Invert Mask” for an alternative effect where rust spreads from edges inward.
🧩 Step 4: Layer in Multiple Rust Types
Rust isn’t uniform — it varies in color, size, and texture.
- Add a second Rust Fill Layer with a darker color (deep brown).
- Mask it using a Dirt or Moisture Leaks generator.
- Adjust the Balance slider for smaller patches and directional streaks.
- Change the blend mode to Multiply or Overlay to add depth to your rust.
🎯 Pro Tip: Try using a Height map to raise heavy rust areas slightly (+0.05 to +0.1).
🌧️ Step 5: Add Drips and Stains
- Create a new Fill Layer with a dark brown tint.
- Add a Black Mask → Generator → Dripping Rust.
- Adjust Drip Length and Spread for realistic vertical streaks.
- Optionally, paint on the mask manually using the Brush Tool (B) to enhance natural flow.
💧 Bonus: Blend in subtle blue or green tones for oxidized copper or aged steel effects.
🔦 Step 6: Refine Lighting and Preview
- Switch to Display Settings → Environment Map → Outdoor Warm HDRI.
- Rotate lighting until reflections emphasize rust height and roughness variation.
- Enable Post Effects → Tone Mapping → ACES for cinematic realism.
💡 Workflow Tip: Use Depth of Field in the viewport to create a product-shot effect for portfolio renders.
💾 Step 7: Export the Material
- Go to File → Export Textures.
- Use the PBR Metallic Roughness template.
- Export at 4K for hero assets or 2K for game optimization.
Your rusted metal is now ready for use in Blender, Unreal Engine, or Adobe Stager.
✅ Conclusion
Creating rust and corrosion in Adobe Substance 3D Painter is all about controlled chaos — layering multiple generators, colors, and textures to achieve believable variation. The result is a model that feels aged, used, and grounded in the real world.
👉 Start your Adobe Substance 3D Collection free trial and master procedural rust effects for your next 3D project.
