Lighting is what transforms a 3D render from ordinary to breathtaking. In Adobe Substance 3D Stager, you can use HDR (High Dynamic Range) environments to create realistic, dynamic lighting that reacts naturally across your models and materials.
Whether you’re designing product renders, concept art, or visualizations, mastering HDR environments helps you control mood, reflections, and depth. In this tutorial, you’ll learn how to create, edit, and customize HDR environments directly in Substance 3D Stager.
👉 You can explore this workflow using the Adobe Substance 3D Collection free trial — which includes Stager, Painter, Designer, and Sampler.
💡 What Is an HDR Environment?
An HDR environment is a 360° image with extended brightness data — meaning it captures both shadows and highlights with realistic intensity.
Unlike a normal JPEG, an HDR file stores light intensity beyond pure white (brightness values greater than 1.0), making reflections and lighting much more natural.
In Substance 3D Stager, HDR environments are used to:
- Illuminate your entire 3D scene.
- Generate realistic reflections and ambient light.
- Simulate studio lighting, sunlight, or indoor environments.
🎯 Think of HDRs as invisible light domes that wrap your model in realistic illumination.
🧱 Step 1: Open or Import a Scene
- Launch Adobe Substance 3D Stager.
- Open a project or import your 3D model (OBJ, FBX, or GLB).
- Switch to Render Mode (press
Tab) to preview lighting. - You’ll notice default lighting from the “Studio Soft Light” HDRI.
💡 Pro Tip: Start with simple geometry or a single product model when testing new HDR environments — it helps isolate lighting effects.
☀️ Step 2: Explore the Lighting Panel
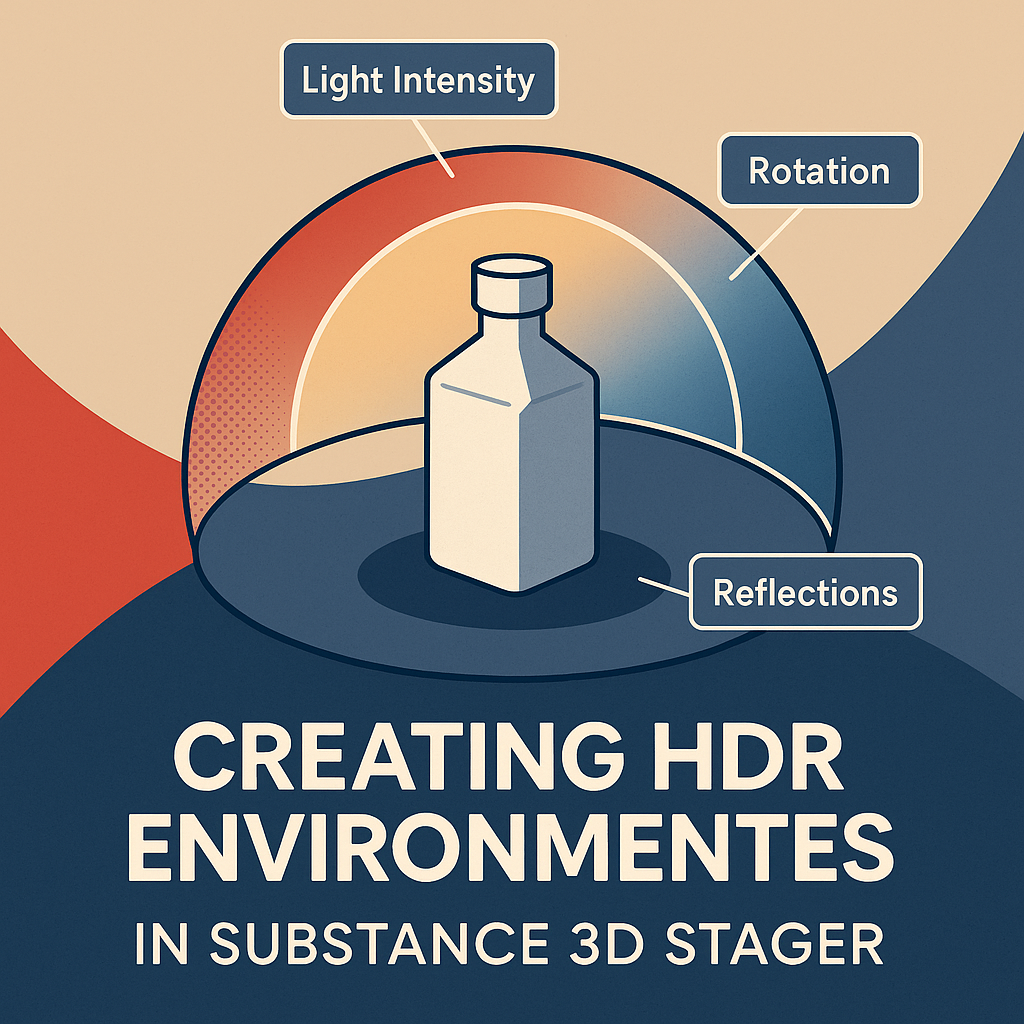
- Go to the Scene panel → select Environment Light.
- In the Properties panel, you’ll see options for:
- Environment Intensity – Controls global light strength.
- Rotation – Adjusts the HDR dome direction.
- Ground Shadow – Toggles realistic contact shadows.
- Reflections – Enables or disables environment reflections.
🎨 Tip: Try rotating the environment to find the perfect angle for highlights on metallic or glossy surfaces.
🧠 Step 3: Load an HDR Image
- Click Replace Image under the Environment Light section.
- Choose an HDRI file from:
- The Stager Preset Library (Studio, Sunset, Urban, etc.)
- Your local HDR collection (.HDR or .EXR formats)
- Or import one created in Substance 3D Sampler
💡 Bonus: You can create custom HDRIs from real photos using Sampler’s “Light Environment” feature, perfect for product lighting setups.
🧰 Step 4: Adjust Lighting Intensity and Balance
Once your HDRI is loaded, fine-tune how it affects your model:
- Environment Intensity – Controls overall light brightness.
- 0.5 = Soft ambient lighting.
- 1.0 = Default natural exposure.
- 2.0+ = Brighter, high-contrast results.
- Shadow Softness – Adjusts how light diffuses across surfaces.
- Exposure and Contrast – Refine how materials react to the HDR environment.
- Color Tint – Apply a subtle hue to the overall light for mood control.
🎯 Example: For a warm studio look, add a slight orange tint and lower contrast.
🪄 Step 5: Create a Custom HDR Environment
Want to build your own HDR lighting setup? You can do this directly inside Stager:
- Go to Environment → Add Light Preset → Create New Light.
- Add directional, spot, or area lights to simulate a photoshoot.
- Combine them with a neutral HDR base for subtle ambient fill.
- Save your setup as a reusable Environment Preset.
💡 Workflow Tip: You can export these presets for consistency across multiple projects or product renders.
🌇 Step 6: Use HDR Environments from Substance 3D Sampler
If you’re using Adobe Substance 3D Sampler, you can create custom HDR environments from real-world photos.
- Open Sampler → Click Light Environment (Beta).
- Import a panoramic or 360° image.
- Sampler automatically reconstructs HDR lighting data.
- Export as .EXR or .HDR and import into Stager.
🎯 Pro Tip: Photograph your actual studio lighting setup or office environment to match real-world lighting conditions in your 3D scenes.
🧩 Step 7: Combine HDR with Physical Lights
HDR environments provide great global illumination, but combining them with Stager’s light objects adds depth:
- Use Spot Lights to accent specific product features.
- Add Area Lights for soft, diffused reflections.
- Pair Directional Lights with HDRs for stronger shadows.
💡 Example: Combine a soft HDR sky with a warm spot light for realistic sunset reflections on metal.
🪞 Step 8: Preview, Render, and Export
- Switch to Render Mode for a real-time preview.
- Adjust Camera Exposure and Depth of Field for dramatic lighting.
- Export your final image with Ray Tracing ON for maximum realism.
🎨 Tip: Test multiple HDRs — even subtle differences in light direction can change your composition drastically.
✅ Conclusion
Mastering HDR environments in Adobe Substance 3D Stager lets you create lifelike, cinematic lighting setups for any 3D scene. Whether you’re showcasing a product, visualizing an interior, or rendering a game asset, HDRIs add realism through accurate reflection, shadow, and color balance.
👉 Start building your own lighting setups with the Adobe Substance 3D Collection free trial — and see your materials come to life under real light.
