Sculpting organic forms — like faces, creatures, plants, or fabric folds — requires freedom, fluidity, and subtlety. Traditional polygonal modeling tools can make this process feel technical, but Adobe Substance 3D Modeler brings it back to a natural, tactile experience.
Modeler’s clay-based system allows you to push, pull, carve, and smooth your models just like working with real sculpting materials — whether on desktop or in VR.
In this tutorial, you’ll learn how to sculpt lifelike, organic shapes using Substance 3D Modeler’s tools, layers, and brushes, and how to prepare your models for painting and rendering.
👉 Try it yourself with the Adobe Substance 3D Collection free trial — which includes Modeler, Painter, Designer, Sampler, and Stager.
🧠 Why Use Modeler for Organic Sculpting
Unlike polygonal modeling tools, Substance 3D Modeler uses signed distance fields (SDF) for geometry, meaning you don’t have to worry about polygons, topology, or mesh intersections.
This gives you:
- Unlimited creative freedom to explore shapes naturally.
- Smooth blending between surfaces for lifelike results.
- Seamless symmetry for anatomical balance.
- VR + desktop integration, letting you sculpt freely and refine precisely.
💡 It’s perfect for concept artists, character designers, and product sculptors who value creativity over complexity.
🪄 Step 1: Start with a Base Form
Every organic model begins with a simple base shape.
- Launch Adobe Substance 3D Modeler.
- Create a new scene and select Add Clay from the Brush Palette.
- Roughly block out your shape — think in terms of volume, not detail.
- For a head, start with a sphere.
- For a plant, start with a cylinder.
- For a creature, use multiple primitives merged together.
- Use Smooth to soften harsh edges.
🎨 Pro Tip: Don’t worry about perfection at this stage — focus on silhouette and proportion first.
✋ Step 2: Sculpt Broad Volumes
Once your base is in place, start shaping the main forms.
- Use the Inflate Brush to build up muscle or surface mass.
- Switch to the Grab Tool to pull and stretch features.
- Apply the Flatten Tool to define planes like cheekbones or armor plates.
- Activate Symmetry Mode (press
X) for symmetrical edits along an axis.
💡 Workflow Tip: Keep brush size large for broad edits — it helps maintain natural curvature and flow across your model.
🪶 Step 3: Define Secondary Shapes
With major volumes established, refine the secondary forms that give your model personality.
- Reduce brush size for precision.
- Use Cut or Carve to separate muscles, folds, or organic ridges.
- Try Layer Blending to merge smooth transitions between forms.
- Adjust Falloff Strength for softer or sharper edges.
🎯 Example: When sculpting a character, secondary forms include bony landmarks (knees, shoulders), folds of skin, or petal ridges on a flower.
🧩 Step 4: Sculpting Asymmetry for Realism
Nature isn’t perfectly symmetrical. Once your base form is done, disable symmetry and begin subtle asymmetrical detailing.
- Slightly shift facial features for realism.
- Offset limb thickness on creatures or organic props.
- Add irregular bumps or dents for authenticity.
💡 Pro Tip: Small imperfections make your sculpt feel alive — avoid mechanical symmetry in final stages.
🖌️ Step 5: Detailing with Custom Brushes
Modeler’s brush system allows fine surface work to enhance organic realism:
- Use Surface Noise Brushes for pores, wrinkles, or bark-like textures.
- Try the Crease Tool to carve veins, folds, or joint lines.
- Use Stamp Brushes to imprint organic patterns (like scales or fabric).
- Combine Inflate + Smooth to mimic natural swelling or skin stretching.
🎨 Workflow Tip: Alternate between adding and smoothing clay to build natural transitions — similar to layering paint.
🧱 Step 6: Working with Layers for Control
Keep your sculpt flexible and editable using layers.
- Add a new layer for every stage — base, anatomy, detail, microtexture.
- Toggle visibility or reduce opacity to preview form stages.
- Merge layers when satisfied with the overall surface flow.
💡 Example: When sculpting an alien creature, keep horns, eyes, and facial details on separate layers to tweak proportions independently.
🪞 Step 7: Check Your Model in Different Views
- Switch between Perspective and Orthographic views to verify proportions.
- Use Lighting Adjustments to highlight subtle form transitions.
- Apply Clay Shader for a realistic material preview.
🎯 Pro Tip: Regularly rotate your model and check under different lighting conditions — organic shapes often hide form errors under uniform light.
📦 Step 8: Export for Texturing and Rendering
Once you’re happy with your organic sculpt:
- Go to File → Export Model.
- Choose .USD, .FBX, or .OBJ format.
- Open the file in Substance 3D Painter for texturing, or Stager for rendering.
💡 Workflow Tip: For fine surface detail like pores or scales, you can bake height and normal maps in Painter to preserve microgeometry.
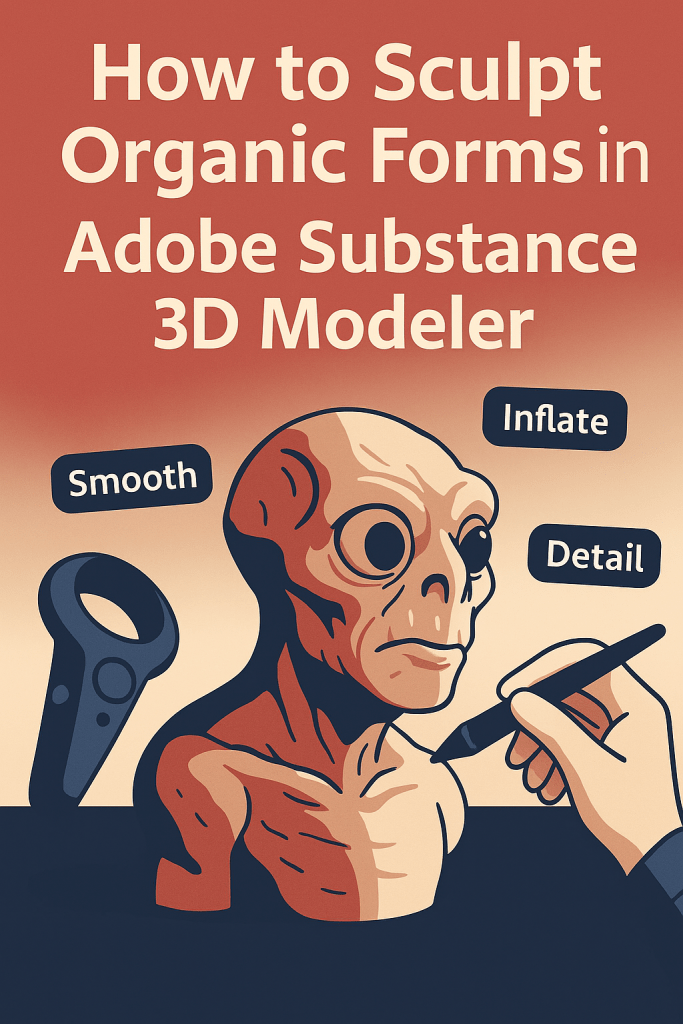
🌎 Example Project: Sculpting a Creature Head
Goal: A stylized alien bust
Workflow:
- Start with a sphere → add elongated shape for neck.
- Use Inflate and Cut to define eyes, mouth, and ridges.
- Smooth and sharpen alternating regions for contrast.
- Add asymmetry for expression (slight mouth twist, eye offset).
- Export to Painter → add organic skin and iridescent reflections.
- Render in Stager with HDR lighting.
🎨 Result: A fully realized, realistic organic model made entirely in Adobe’s 3D ecosystem.
✅ Conclusion
With Adobe Substance 3D Modeler, sculpting organic forms feels natural and expressive — just like working with real clay. Its intuitive tools, real-time feedback, and integration with Painter and Stager make it the perfect platform for creating lifelike 3D creatures, characters, and props.
👉 Start sculpting today with the Adobe Substance 3D Collection free trial and bring your organic designs to life.
