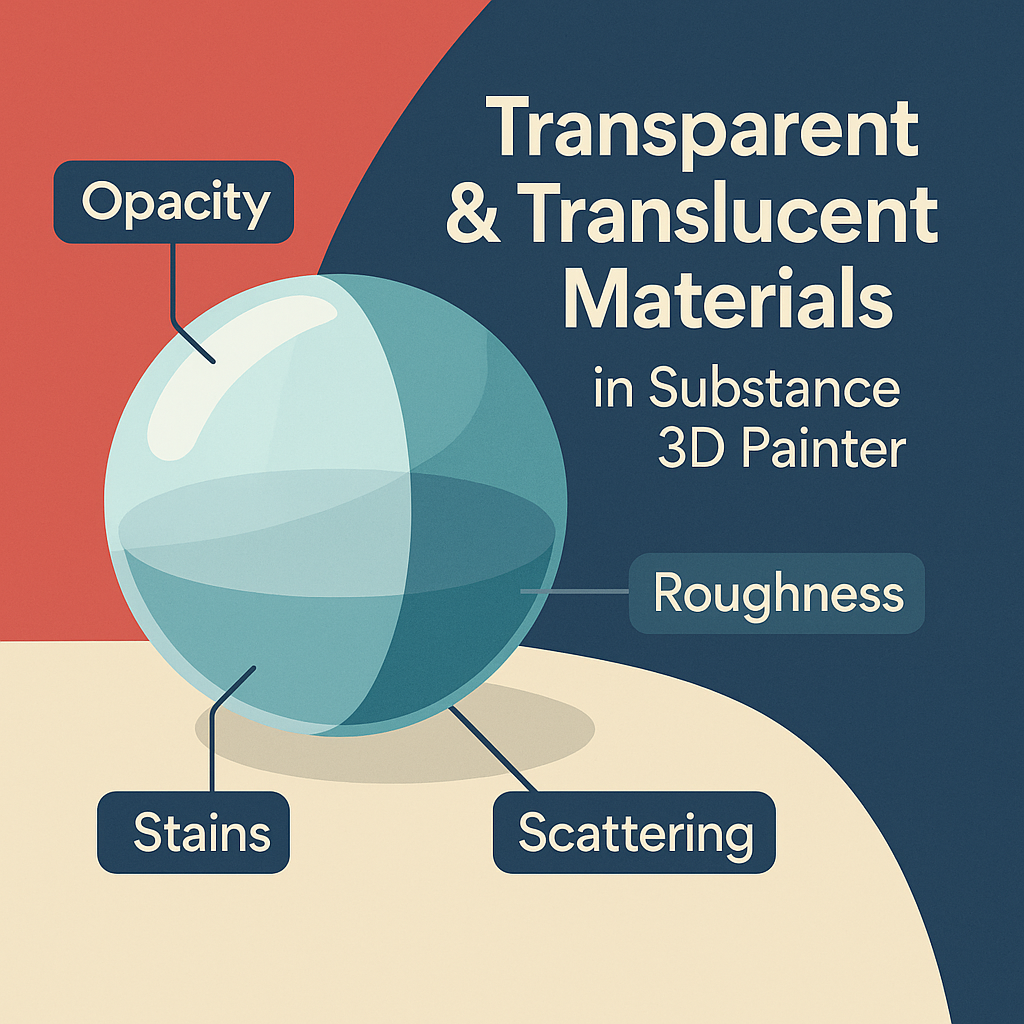
From glass bottles to frosted plastics and glowing gels, transparent and translucent materials are essential for achieving realism in 3D design. In Adobe Substance 3D Painter, you can simulate transparency, subsurface scattering, and light diffusion using the Opacity and Scattering channels, combined with procedural textures.
This tutorial will show you how to create stunning clear and semi-transparent materials step by step — perfect for product renders, UI assets, or organic surfaces.
👉 Try it hands-on with a free trial of the Adobe Substance 3D Collection and start exploring realistic light behavior in your materials.
🧱 Step 1: Set Up Transparency Support
- Open your model in Substance 3D Painter.
- Go to Shader Settings → + → Opacity to enable the transparency channel.
- In Shader Type, select PBR Metal Rough with Alpha Blending.
- Lower the Opacity slider to around 0.3–0.8 depending on your desired transparency.
💡 Tip: The Alpha Blending shader is essential for previewing glass and other transparent materials correctly.
⚙️ Step 2: Create a Base Transparent Material
- Add a new Fill Layer.
- Disable Metallic, enable Color, Roughness, and Opacity.
- Choose a subtle tint for Base Color (light blue or green often works best).
- Set Roughness to 0.1–0.3 for clear glass, or 0.6–0.8 for frosted/translucent materials.
🎨 Pro Tip: Use slightly colored transparency for realism — pure colorless glass looks flat under HDRI lighting.
🧩 Step 3: Add Imperfections and Fingerprints
- Create another Fill Layer with Roughness enabled only.
- Add a Black Mask → Add Fill → Grunge Fingerprints or Smudges Fine.
- Lower Opacity to around 40%.
- This simulates subtle dirt, oil, and touch marks on smooth surfaces.
💡 Workflow Tip: Imperfections should affect only reflections, not color or transparency.
🪣 Step 4: Add Refraction or Scattering Effects
- To simulate translucent materials like wax, soap, or resin, enable Subsurface Scattering (SSS).
- Add a Fill Layer with Scattering Color enabled.
- Choose a bright hue (e.g., orange, pink, or jade).
- Adjust Scattering Intensity to 0.2–0.6 for soft light diffusion.
🎯 Pro Tip: Combine scattering with a slightly rougher surface to simulate realistic light spread inside the material.
🌈 Step 5: Add Edge Tint and Reflections
- Add a new Fill Layer above the base and enable Color and Roughness.
- Mask it using Curvature Map to affect only edges.
- Slightly brighten the color or increase Roughness to simulate thicker glass edges.
- Use Overlay blending mode for smooth transitions.
💡 Tip: This trick mimics how thicker glass areas appear darker or more reflective.
🔦 Step 6: Lighting and Rendering Setup
- Go to Display Settings → Environment Map → Product Studio Light or Soft Sky HDRI.
- Rotate the environment to highlight reflections and transparency.
- Enable Tone Mapping (ACES) and Bloom for realistic glare.
- Lower Environment Exposure slightly to prevent overexposed highlights.
🎨 Pro Tip: Place dark backgrounds behind transparent materials for best contrast.
💾 Step 7: Export for Rendering
- Go to File → Export Textures.
- Use the PBR Metallic Roughness with Alpha preset.
- Ensure Opacity and SSS maps are included in your output.
- Export at 4K for detailed transparency transitions.
Your transparent and translucent materials are now ready for Blender, Unreal Engine, or Adobe Stager.
✅ Conclusion
Transparency and translucency are among the most challenging materials to get right — but Adobe Substance 3D Painter makes it easy with procedural control over roughness, opacity, and scattering. The result is light-reactive surfaces that feel physically accurate and visually stunning.
👉 Start creating today with the Adobe Substance 3D Collection free trial and bring photoreal transparency into your next project.
