If Substance 3D Painter is the brush, then Substance 3D Designer is the laboratory. It’s where materials are built from the ground up — not by painting pixels, but by connecting nodes in a procedural graph. This powerful, flexible approach lets artists design textures, patterns, and materials that can be endlessly adjusted and reused across projects.
In this article, we’ll break down how node-based workflows in Substance 3D Designer work, why they’re so powerful, and how you can start building your own procedural materials — even if you’ve never used Designer before.
👉 Try it yourself with a free trial of the Adobe Substance 3D Collection and start exploring the world of procedural material creation.
🧠 What Makes Substance 3D Designer Different
Unlike traditional texturing tools that rely on painting or photo overlays, Substance 3D Designer creates materials procedurally. Every texture, color, and surface property is generated mathematically through a network of nodes — small building blocks that perform specific tasks.
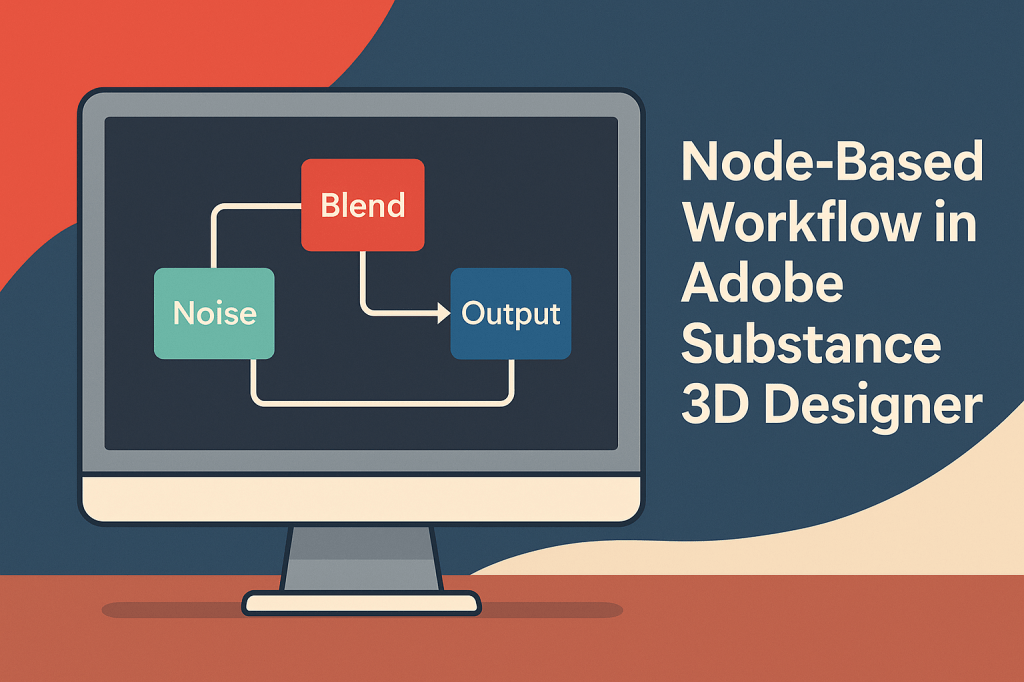
Each node can generate or modify data such as:
- Noise for natural randomness
- Grayscale maps for height and bump details
- Color nodes for albedo and base tones
- Blend or Transform nodes for layering and combining
Because it’s all procedural, your materials remain non-destructive and fully customizable. Want to double the size of the bricks or shift the hue of a stone texture? Just tweak a slider — no repainting required.
🧩 Understanding the Node Graph
At the heart of Designer is the Graph View, a visual network showing how your nodes connect and flow.
Here’s how it works:
- Nodes: Each node performs one operation — such as generating a texture, blending maps, or adjusting color.
- Connections: You connect nodes together to define a flow of data — like wiring a circuit.
- Outputs: Your graph produces maps such as Base Color, Roughness, Normal, Height, and AO (Ambient Occlusion).
💡 Pro Tip: Think of each node as a layer in Photoshop — except you can see and control every transformation step independently.
🧱 Step-by-Step: Building a Simple Procedural Material
Step 1: Create a New Graph
- Open Adobe Substance 3D Designer.
- Go to File → New Substance Graph.
- Choose the template Physically Based (Metallic/Roughness) — this will output all the standard PBR texture maps.
Step 2: Generate a Base Pattern
- Add a Noise node (e.g., Clouds 2, Perlin Noise, or Grunge Map).
- Adjust Scale and Contrast to shape your texture.
- Add a Levels node to fine-tune the brightness and depth range.
🎨 Tip: This forms your height or base detail map, the foundation for most materials.
Step 3: Convert to Height and Normal Maps
- Connect your Noise output to a Normal Map node.
- This automatically creates the illusion of depth and surface texture.
- Optionally, add a Curvature node for edge definition.
Step 4: Add Color and Roughness
- Use a Gradient Map node to add color variation to your grayscale base.
- Combine multiple colors using a Blend node to create organic tones.
- Add a Uniform Color node for the roughness map — tweak the value to control glossiness.
Step 5: Organize and Output
- Group related nodes (noise, color, normals) using Frames.
- Connect final nodes to their respective Outputs — Base Color, Normal, Roughness, Height, etc.
- Save and export your material as an SBSAR file to use in Substance 3D Painter, Stager, or Unreal Engine.
💾 Pro Tip: SBSAR files are lightweight and fully adjustable — parameters can be exposed for use in other Adobe or 3D apps.
⚙️ Why Node-Based Workflows Are So Powerful
Node graphs might look intimidating at first, but they unlock massive creative flexibility:
✅ Non-destructive editing — change anything at any time.
✅ Infinite variation — randomize patterns for unique outputs.
✅ Reusability — build your own material library for future projects.
✅ Automation — link multiple materials or tile seamlessly with parameter controls.
With practice, you’ll start thinking in nodes — designing materials like an engineer and refining them like an artist.
🔦 Real-World Applications
- Game Development: Create tileable, lightweight textures for performance.
- Film & VFX: Generate photoreal materials for props and sets.
- Architecture & Design: Produce customizable surfaces for visualization.
- Product Rendering: Control reflections, patterns, and finishes with precision.
🎯 Pro Tip: Combine Designer with Substance 3D Sampler to turn real-world photos into procedural materials that you can enhance and tweak infinitely.
✅ Conclusion
Adobe Substance 3D Designer isn’t just a texture tool — it’s a procedural design engine that gives you total control over material creation. Once you understand how nodes interact, you can create anything: from weathered wood to alien metals, all with adjustable, reusable precision.
👉 Start exploring with the Adobe Substance 3D Collection free trial and see how procedural design can transform your 3D workflow.
