Plastic and rubber are everywhere — from product design prototypes to vehicle interiors and consumer electronics. In Adobe Substance 3D Painter, you can easily simulate these materials by mastering roughness, color depth, and subtle surface imperfections.
This tutorial will guide you through creating both smooth glossy plastics and matte rubber surfaces, so your 3D models look accurate under any lighting setup.
👉 Try it yourself with a free trial of the Adobe Substance 3D Collection and start texturing everyday realism.
🧱 Step 1: Choose or Create a Plastic Base Material
- Open Substance 3D Painter and import your 3D model.
- In the Assets panel, search for Plastic Glossy or Plastic Matte.
- Alternatively, create your own base with a Fill Layer:
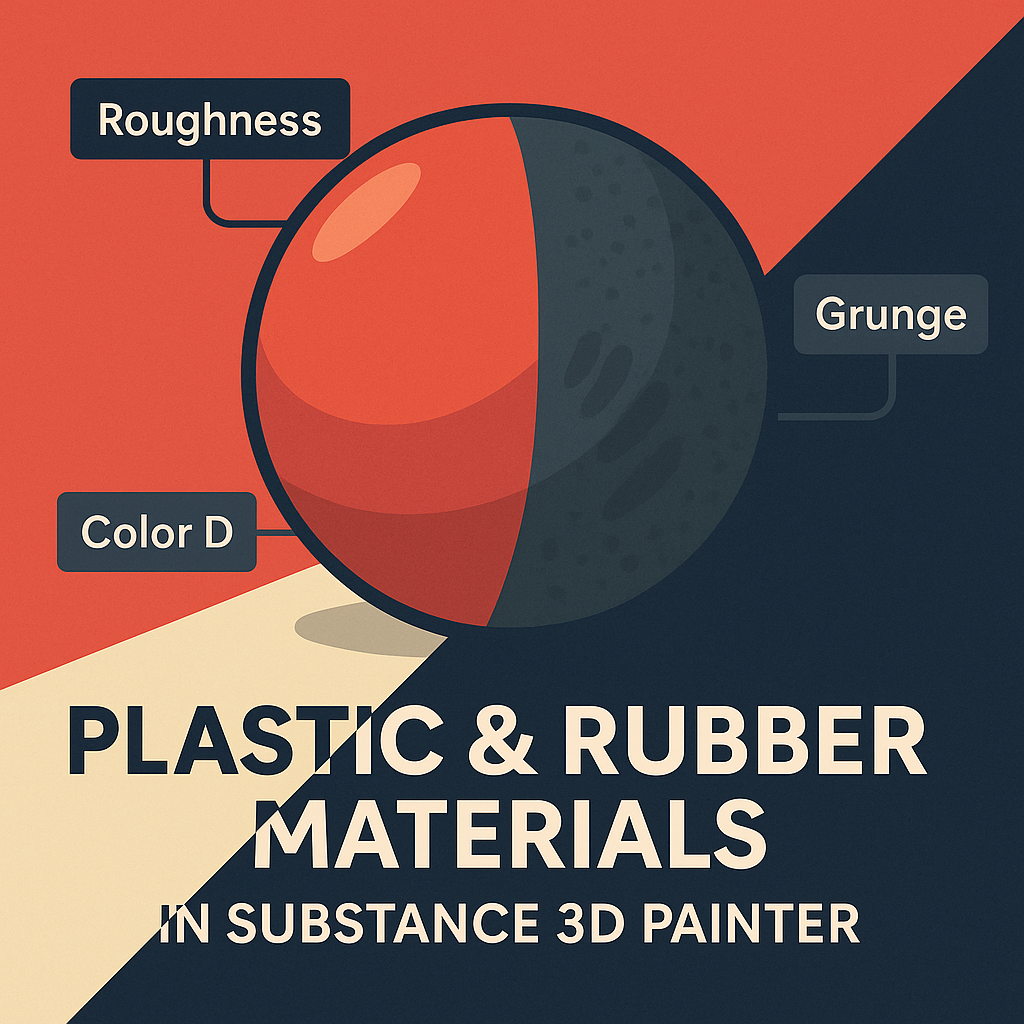
- Base Color: Saturated tone (for vibrant plastics)
- Metallic: 0
- Roughness: 0.2 for glossy, 0.6–0.8 for matte plastic
- Save this as your foundational layer for customization.
💡 Tip: Start with slightly higher roughness than expected — it’s easier to polish than dull down later.
⚙️ Step 2: Adjust Color Depth and Subsurface Feel
- Add a Color Correction Filter to tweak saturation and brightness.
- For translucent plastics, slightly increase Opacity (0.85–0.95).
- For soft rubber materials, reduce Color Contrast for a more diffuse look.
🎨 Pro Tip: Warm hues (reds, yellows) look better with subtle translucency; cool hues (blues, blacks) often require higher contrast for realism.
🧩 Step 3: Add Surface Imperfections
Realistic plastic isn’t perfectly smooth — fingerprints, scratches, and dust add authenticity.
- Add a new Fill Layer with Roughness enabled only.
- Apply a Grunge Fingerprints or Grunge Dust Fine texture as the mask.
- Set the Blend Mode → Overlay and lower Opacity to around 40%.
🧠 Workflow Tip: Use a Directional Scratches texture for molded plastic parts to simulate manufacturing marks.
💡 Step 4: Add Rubber Details (Optional)
If your material needs a rubberized look:
- Duplicate your plastic layer and increase Roughness (0.75–0.9).
- Slightly raise Height to +0.01 for soft micro bumps.
- Add a Noise Procedural Texture as a mask.
- Adjust scale until it mimics fine rubber pores.
🎯 Pro Tip: Combine this with Edge Darkening for stylized, soft shadows on rubber edges.
🌈 Step 5: Add Labels, Patterns, or Logos
- Create a new Paint Layer.
- Drag your logo or pattern into the Stencil panel.
- Use the Projection tool (T) to stamp or paint it onto the surface.
- Adjust Height = +0.02 for embossed or -0.02 for engraved detail.
💡 Bonus: Add slight roughness variation to make printed areas look freshly manufactured.
🔦 Step 6: Preview Under Product Lighting
- Go to Display Settings → Environment Map → Product Studio Light or Softbox HDRI.
- Adjust Environment Rotation to test specular reflections.
- Enable Tone Mapping (ACES) for accurate contrast and gloss.
🎨 Pro Tip: Use shallow Depth of Field to highlight plastic sheen in portfolio renders.
💾 Step 7: Export the Texture
- Go to File → Export Textures.
- Use the PBR Metallic Roughness template.
- Export at 4K for photoreal renders or 2K for product visualization.
Your plastic and rubber textures are now ready for Adobe Stager, Blender, or Unreal Engine.
✅ Conclusion
Plastic and rubber materials may seem simple, but the details make them shine — literally. With Adobe Substance 3D Painter, you can fine-tune reflection, texture, and color for authentic results that feel touchable.
👉 Explore it all with the Adobe Substance 3D Collection free trial and start mastering real-world materials today.
