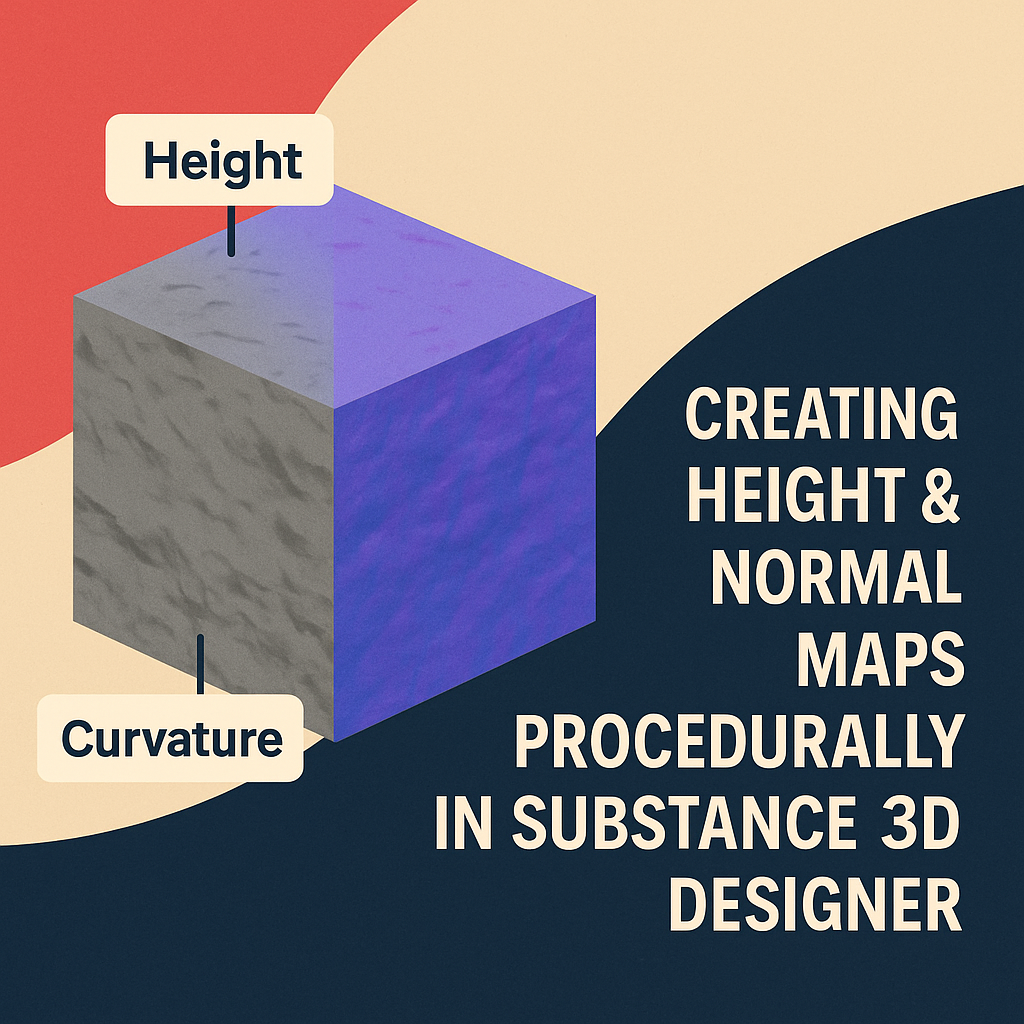
When building realistic 3D materials, height maps and normal maps define how your surfaces react to light and depth — even when the geometry itself stays flat. Instead of sculpting details manually, Adobe Substance 3D Designer allows you to generate these maps procedurally, giving you infinite control, flexibility, and tileable results.
In this tutorial, we’ll walk through how to create height and normal maps from scratch using nodes in Designer — ideal for generating textures like bricks, rocks, fabrics, and any other surface that needs fine relief and lighting precision.
👉 Start creating your own advanced surface details with a free trial of the Adobe Substance 3D Collection and follow along step by step.

🧠 What Are Height and Normal Maps?
- Height Maps: Grayscale images that represent surface elevation — white = high points, black = low points. They’re used to create depth and displacement in materials.
- Normal Maps: RGB images that store surface angle information, allowing 3D lighting to react as if the surface has complex geometry.
💡 Tip: In Designer, height maps are used to generate normal maps procedurally — giving you a consistent, physics-based result.
⚙️ Step 1: Create a New Substance Graph
- Open Adobe Substance 3D Designer.
- Go to File → New Substance Graph.
- Choose Physically Based (Metallic/Roughness).
- Name your project Procedural_Height_Normal.
🎨 Pro Tip: Keep your 2D View and 3D View open side-by-side — you’ll see immediate updates as you edit nodes.
🧱 Step 2: Generate a Base Pattern for Height
Let’s start with the structural foundation of the surface.
- Add a Tile Generator or Brick Generator node to create a repeating pattern.
- Adjust the X/Y Amount to define tiling density.
- Add a Levels node to increase contrast and define distinct heights.
- Optionally, blend multiple patterns using a Blend node set to Add Sub or Multiply for complexity.
💡 Workflow Tip: The clearer your grayscale contrast, the cleaner your height separation will be when generating normals.
🪨 Step 3: Add Surface Variation with Noise
- Add a Perlin Noise, Clouds 2, or Grunge Map node.
- Connect it to a Blend node with your base pattern.
- Set the Blend mode to Overlay or Soft Light.
- Use a Levels node afterward to rebalance the depth.
🎯 Pro Tip: This adds micro-variation, simulating unevenness like stone, concrete, or fabric weave.
🧩 Step 4: Convert to a Height Map
- Once your grayscale output looks good, label it clearly (e.g., “Final Height”).
- Plug this output into the Height Map Output in the graph.
- Check your 3D view — the height data now defines visible surface relief.
💡 Tip: If you see inverted depth (bumps appear as dents), simply invert the grayscale using an Invert Grayscale node.
🔷 Step 5: Generate a Normal Map from the Height Map
- Add a Normal Map node (Right-click → Add Node → Normal → Normal Map).
- Connect your Height output to its input.
- Adjust Intensity (typically between 5 and 15) depending on the surface type.
- Connect the output to your Normal Map Output.
🎨 Pro Tip: You can add a Normal Combine node to merge multiple normals (e.g., large-scale bumps + fine noise) for multi-level detail.
⚒️ Step 6: Enhance the Normal Map with Curvature and Ambient Occlusion
To emphasize the realism of lighting behavior:
- Add a Curvature node and connect your Normal Map to it.
- This highlights edges and surface ridges.
- Add an Ambient Occlusion (AO) node from the same height data.
- AO adds shadows in recessed areas for stronger contrast.
- Combine these with a Blend node for enhanced visual definition.
💡 Workflow Tip: These enhancements don’t change the geometry — they just make your lighting more physically convincing.
🌈 Step 7: Preview in PBR and Test Lighting
- In the 3D view, select a Studio HDRI or Directional Light environment.
- Rotate the light source — your surface should now show realistic lighting and shadow shifts.
- Adjust Normal Intensity or Height Scale for balance between subtlety and exaggeration.
🎯 Pro Tip: For close-up product shots, slightly exaggerate height. For game assets, use low-intensity normals to keep details smooth.
💾 Step 8: Export Your Maps
- Go to File → Export Outputs.
- Select Height, Normal, and AO maps.
- Export at 4K or higher for detailed textures.
- Use them in Substance 3D Painter, Stager, or any PBR-compatible software.
💡 Bonus: You can save your graph as an SBSAR file — allowing real-time parameter control in other Adobe apps or Unreal Engine.
✅ Conclusion
Creating height and normal maps procedurally gives you total creative freedom — no sculpting, no seams, and endless flexibility. Whether you’re designing bricks, fabrics, or abstract sci-fi surfaces, this method ensures every pixel is mathematically consistent and perfectly tileable.
👉 Try the Adobe Substance 3D Collection free trial today and start mastering the art of procedural surface design.