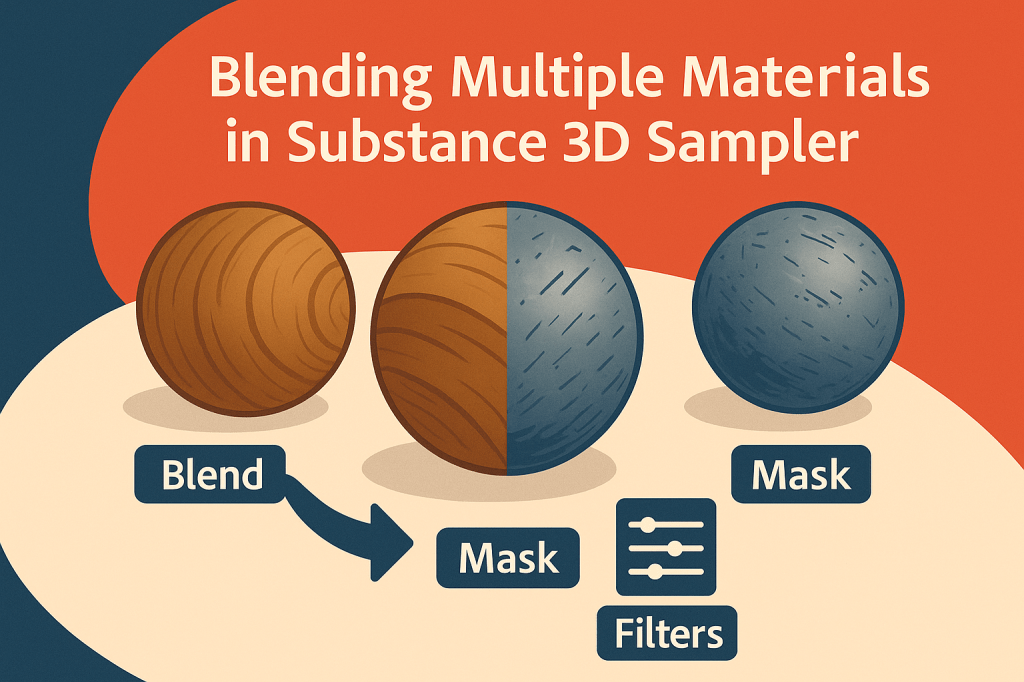
One of the most powerful creative techniques in Adobe Substance 3D Sampler is the ability to blend multiple materials — combining different surfaces to create something entirely new. You can merge wood with metal, concrete with moss, or leather with fabric to form complex, hybrid textures that don’t exist in the real world.
This tutorial will guide you step-by-step through blending materials in Substance 3D Sampler using layers, masks, and filters — turning your material experiments into stunning, production-ready PBR assets.
👉 Try it for yourself with the Adobe Substance 3D Collection free trial — it includes Sampler, Designer, Painter, and Stager for a complete 3D material workflow.
🧠 Why Blend Materials?
Blending allows you to push beyond realism and create entirely new material combinations while maintaining full control over surface interaction. You can:
- Add organic variation (e.g., moss growing on bricks).
- Create storytelling surfaces (e.g., worn paint on metal, dirt on wood).
- Design concept art textures for games or products.
- Generate weathered, layered realism for props and environments.
💡 Blending is how 3D artists bring materials to life — each layer adds depth, history, and narrative.
🧱 Step 1: Start with a Base Material
- Open Adobe Substance 3D Sampler.
- Drag your first material into the workspace — this will act as your base (e.g., wood, stone, concrete).
- Preview the surface on the 3D model to check lighting and color balance.
🎯 Pro Tip: Pick a material with medium contrast and neutral color as your base — it helps other materials blend naturally.
🧩 Step 2: Add a Second Material Layer
- In the Layers panel, click + Add Layer → Material → Browse Materials.
- Choose a second material from your local library or Adobe Assets (e.g., moss, rust, paint, sand).
- It appears above the base material in your layer stack.
💡 Workflow Tip: Sampler uses non-destructive layering — you can change or remove materials anytime without affecting the base.
🧠 Step 3: Blend the Two Materials
- With the top material selected, open the Blending Mode dropdown in the layer’s properties.
- Choose a blending mode that suits your surface interaction:
- Normal: Full coverage — replaces the base.
- Add / Subtract: Combines height or color data.
- Overlay / Multiply: Merges visually for more natural transitions.
- Adjust Opacity to control the mix ratio.
🎨 Pro Tip: For realistic results, blend the roughness and height data carefully — too much contrast can make surfaces look artificial.
🖌️ Step 4: Use Masks to Control Where Materials Blend
Masks define where the second material appears.
- Right-click your top material → Add Mask → Black Mask.
- Add a Paint Layer or Generator to drive the mask:
- Paint Layer: Manually paint where the new material appears.
- Generator: Automatically apply blending using noise, curvature, or ambient occlusion.
- Experiment with generators like:
- Grunge Map: Creates random organic distribution.
- Directional Noise: Simulates weathering or erosion.
- AO Generator: Adds dirt or rust in recessed areas.
💡 Pro Tip: Combine mask types (paint + procedural) for the best artistic and natural results.
🌿 Step 5: Add Variation with Filters and Adjustments
To make your blended surface cohesive:
- Add a Blur or Warp Filter on the mask to soften edges.
- Use a Color Correction Filter to match tones between materials.
- Add Noise or Grunge Filters for additional surface breakup.
- Optionally apply a Height Blend Filter to integrate the top material’s depth with the base surface.
🎨 Example: Blend rust into metal — use a Height Blend to make rust protrude naturally from the metal surface.
🪨 Step 6: Combine More Than Two Materials
You’re not limited to two — stack as many as you like:
- Add multiple material layers (e.g., wood → paint → dust → moss).
- Use separate masks for each layer to control distribution.
- Adjust blending orders — the sequence of materials changes how they visually mix.
💡 Workflow Tip: Label each layer (Base, Paint, Dirt, Moss, etc.) to stay organized.
🧰 Step 7: Fine-Tune Lighting and Roughness
Blended surfaces look best when light interacts realistically:
- In the 3D View, change HDRI lighting environments (Studio, Outdoor, Neutral).
- Rotate lighting to test reflections across both materials.
- Adjust the Roughness Map or add a Roughness Variation Layer for dynamic lighting.
🎯 Pro Tip: If one material looks too glossy or matte, slightly shift its roughness midtones using the Levels adjustment.
💾 Step 8: Export and Reuse Your Hybrid Material
When you’re happy with the result:
- Go to Share → Export As → SBSAR File.
- Save it as a reusable material for:
- Substance 3D Painter (painting hybrid textures).
- Substance 3D Stager (rendering products or scenes).
- Unreal / Unity / Blender (real-time visualization).
- Export texture maps if you prefer manual integration (Base Color, Roughness, Height, Normal, AO).
💡 Bonus: You can expose parameters (opacity, blend intensity, color) for dynamic adjustments later.
✅ Conclusion
Blending materials in Substance 3D Sampler lets you craft surfaces that feel authentic, layered, and full of story. Whether you’re designing aged paint, mossy bricks, or experimental sci-fi composites, blending gives your materials texture and life.
👉 Experiment today with the Adobe Substance 3D Collection free trial and discover how to mix, mask, and master the art of material blending.
