Creating sharp, precise, and realistic hard-surface models — like gadgets, vehicles, furniture, or product prototypes — has traditionally been a technical process requiring polygon modeling and CAD tools. But with Adobe Substance 3D Modeler, you can achieve the same results faster and more intuitively using digital clay sculpting and boolean operations.
In this guide, you’ll learn how to build professional hard-surface models for products and props using Substance 3D Modeler, and how to prepare them for texturing in Painter and rendering in Stager.
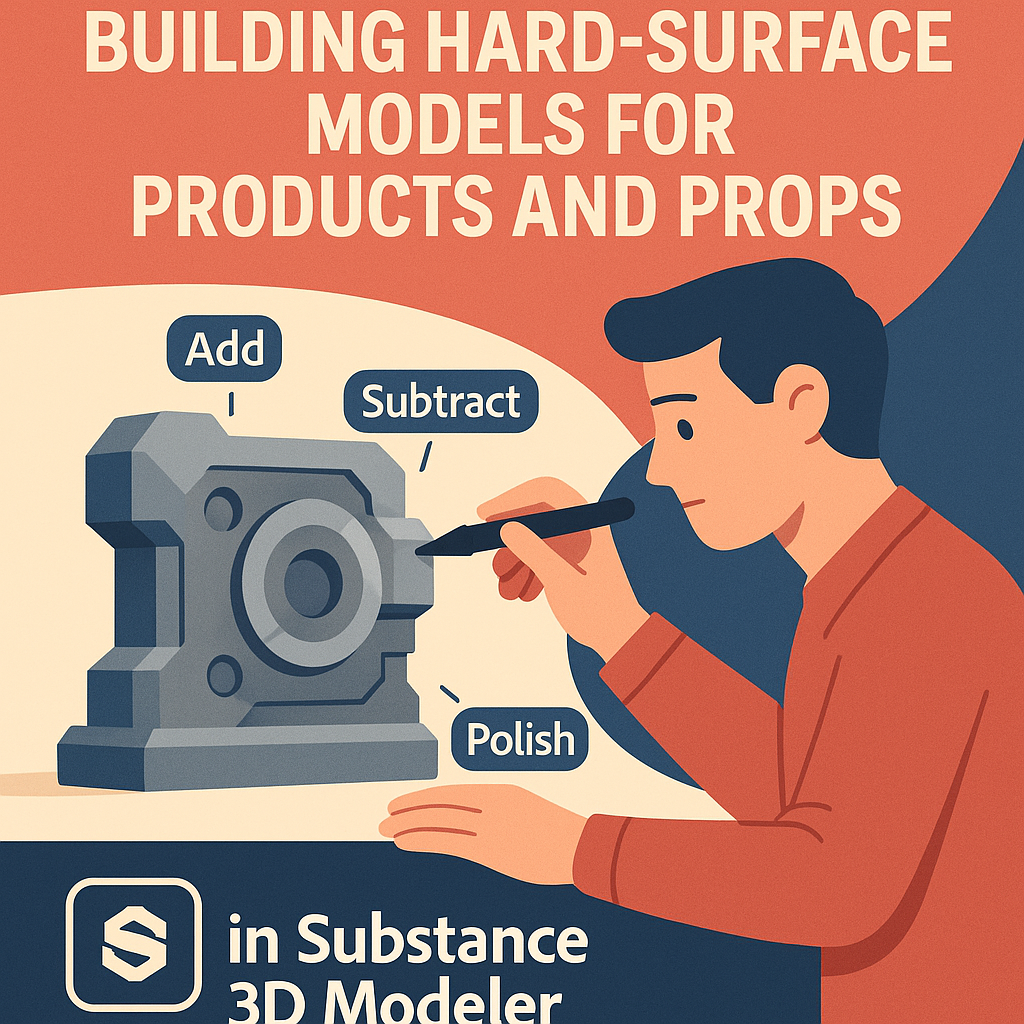
👉 Start building your first 3D model with the Adobe Substance 3D Collection free trial — which includes Modeler, Painter, Designer, Sampler, and Stager.
🧠 What Is Hard-Surface Modeling?
Hard-surface modeling focuses on objects with precise, mechanical, or manufactured geometry — unlike organic sculpting, which mimics living forms. Think of:
- Consumer products (phones, bottles, watches)
- Industrial tools and furniture
- Vehicles, robots, or architectural elements
Substance 3D Modeler lets you create these with artistic freedom while maintaining accuracy, thanks to its voxel-based geometry system that supports clean edges, boolean precision, and smooth blending.
💡 Modeler bridges the gap between creativity and precision — letting designers model freely without polygon constraints.
🧱 Step 1: Start with Basic Primitives
Every hard-surface object begins with fundamental shapes.
- Launch Substance 3D Modeler and create a new scene.
- From the Primitive Menu, drag shapes like Cubes, Cylinders, and Spheres into the workspace.
- Use these as your building blocks for the model’s foundation.
🎯 Example:
- A bottle: combine a cylinder (body) and sphere (cap).
- A smartphone: flatten a cube and bevel the corners.
- A chair: combine rectangles for the seat, legs, and backrest.
💡 Pro Tip: Use Add Clay mode for joining shapes seamlessly, and Subtract Clay to carve or hollow sections.
✏️ Step 2: Shape the Model Using Boolean Operations
Boolean tools are essential for hard-surface modeling. They let you merge, subtract, or intersect objects to create mechanical precision.
- Select two or more objects.
- Use Add (Union) to merge them.
- Use Subtract to cut out clean holes or vents.
- Use Intersect to create overlapping surface designs.
🎨 Pro Tip: For a product design like a smartwatch, you can:
- Subtract small cylinders to make button holes.
- Use Intersect for screen cutouts.
- Add a curved base by merging a half-sphere.
💡 Workflow Tip: Keep a copy of your original primitives on a hidden layer for backup adjustments later.
🔩 Step 3: Refine Edges and Surfaces
Sharpness defines a manufactured look — but perfection lies in balance between crisp and soft transitions.
- Select the Flatten Tool to define surface planes.
- Use the Smooth Tool gently along edges to remove voxel roughness.
- Try the Trim Tool for beveling corners or polishing intersections.
- Switch to Clay Layer Mode to refine only certain regions (e.g., bevels, ridges).
🎯 Example: When modeling a mechanical prop, slightly bevel all corners — real-world edges are never razor-sharp, and subtle curvature improves realism under lighting.
🧰 Step 4: Add Details with Layers and Masks
Keep your model modular and manageable using Layers:
- Create separate layers for different components — screws, handles, or decorative details.
- Add or subtract geometry layer by layer for flexible control.
- Use Masks to protect key parts while refining others.
💡 Example: For a game prop like a sci-fi crate, use one layer for the base shape and another for surface panels or vent cutouts.
🎨 Pro Tip: Toggle layers to quickly preview design variations without rebuilding the model.
🧩 Step 5: Maintain Scale and Proportion
Hard-surface designs often rely on specific dimensions.
- Enable the Measurement Grid for proportion accuracy.
- Use Snap to Surface to align components.
- Scale primitives with numeric input for precision (e.g., width = 10 cm).
💡 Workflow Tip: Always check your model from multiple angles to ensure consistent geometry alignment, especially for mirrored components.
⚙️ Step 6: Add Design Features and Functionality
To make your product or prop believable, incorporate small design elements:
- Use Subtractive Booleans for screw holes, seams, or control panels.
- Add Beveled Ridges around joints.
- Carve grooves for decorative panel lines.
- Combine Repeated Elements for symmetry (buttons, slots, vents).
🎨 Example:
When creating a camera prop — start with a main cube body, subtract circular holes for the lens, and add layered discs for buttons and focus rings.
💡 Pro Tip: Keep details proportionate — avoid overcomplicating with unnecessary geometry that won’t be visible after texturing.
🪞 Step 7: Polish with Materials and Lighting in Modeler
Although Modeler is primarily for sculpting, you can still preview your geometry beautifully:
- Apply Clay Shader or MatCap Shaders for clean surface visibility.
- Adjust the Lighting Angle to check reflections.
- Identify and correct uneven surfaces before export.
💡 Workflow Tip: Use neutral lighting (gray or soft white) for clarity before moving to Painter or Stager.
📦 Step 8: Export to Painter and Stager
When your hard-surface sculpt is ready:
- Go to File → Export Model.
- Choose
.USD,.FBX, or.OBJ. - Open in Substance 3D Painter to add:
- Metallic, Roughness, and Normal maps.
- Smart materials (metal, glass, plastic).
- Then open in Substance 3D Stager for realistic lighting and rendering.
🎯 Example Workflow:
A mechanical watch — sculpted in Modeler, painted in Painter (chrome, leather strap), and rendered in Stager with an HDR studio light setup.
💡 Pro Tip: Expose material zones in Painter by assigning different layers in Modeler for selective texturing.
✅ Conclusion
Adobe Substance 3D Modeler makes hard-surface modeling faster, more intuitive, and infinitely flexible. Whether you’re designing consumer products, industrial props, or sci-fi hardware, its voxel-based sculpting system lets you mix creativity with precision — and when paired with Painter and Stager, your workflow becomes a complete 3D production pipeline.
👉 Start building your own 3D products and props today with the Adobe Substance 3D Collection free trial — and see how easy professional modeling can be.
