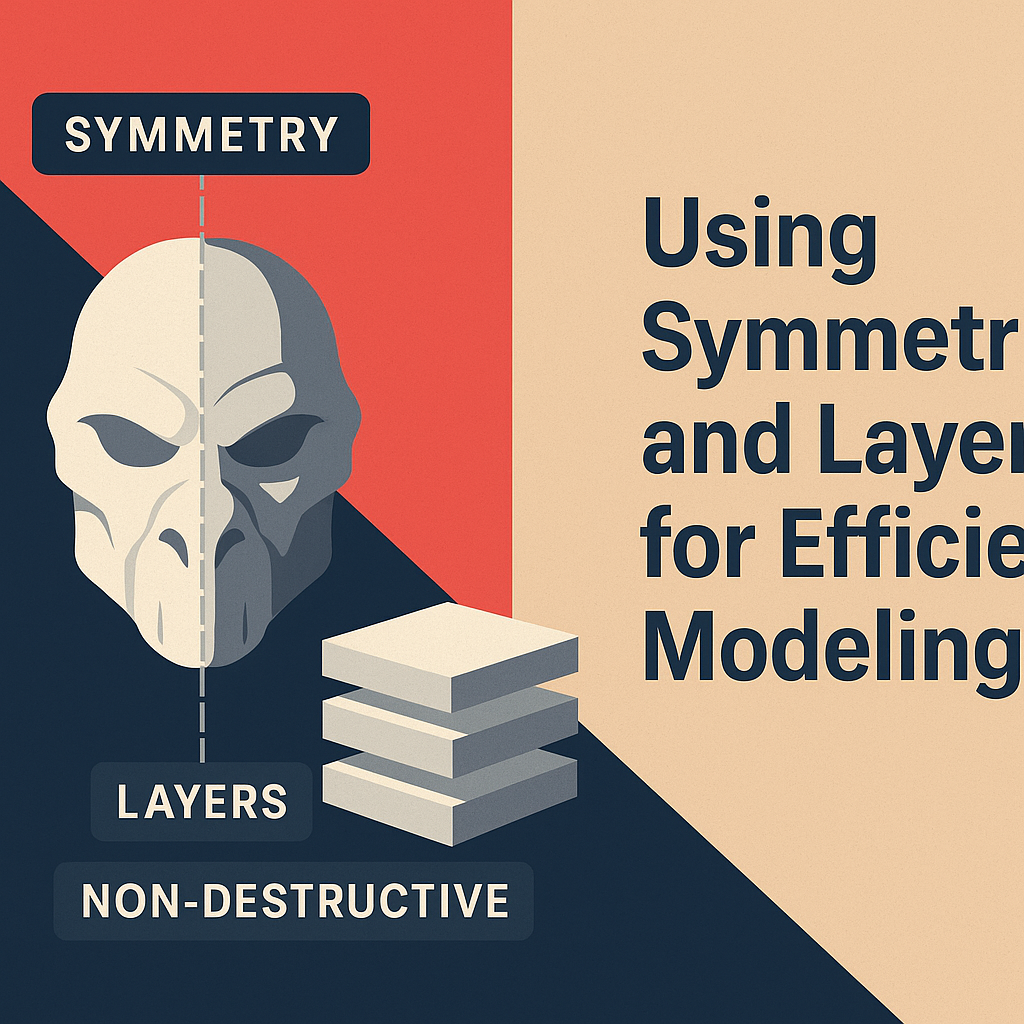
When sculpting in Adobe Substance 3D Modeler, two of the most powerful tools for efficiency are Symmetry and Layers. Together, they allow you to create balanced, organized, and non-destructive 3D models — whether you’re sculpting an organic creature, designing an industrial prop, or blocking out a product concept.
In this tutorial, we’ll break down how to combine Symmetry and Layers to speed up your modeling workflow, reduce repetitive work, and keep your project flexible for later edits.
👉 Try this workflow yourself with the Adobe Substance 3D Collection free trial — which includes Modeler, Painter, Designer, Sampler, and Stager.

🧠 Why Symmetry and Layers Matter
Efficient 3D modeling isn’t about rushing — it’s about structuring your process so that each step builds on the last.
- Symmetry ensures your model remains perfectly balanced without manually sculpting both sides.
- Layers allow you to organize and separate different sculpting elements, helping you experiment and undo without losing work.
💡 Together, these tools make Modeler a powerhouse for iterative and organized design — especially when switching between VR and desktop modes.
🔁 Step 1: Understanding Symmetry in Modeler
Symmetry in Adobe Substance 3D Modeler lets you mirror every sculpting action across one or more axes, saving massive amounts of time.
- Activate Symmetry:
- In desktop mode, go to the Symmetry panel on the right.
- In VR mode, open the Tool Radial Menu → Symmetry option.
- Choose Axis:
- X-axis: for left-right balance (e.g., faces, bodies).
- Y-axis: for top-bottom symmetry (e.g., ornaments, stacked designs).
- Z-axis: for front-back objects (e.g., vehicles or furniture).
- Use Planes for Visualization:
- Toggle Symmetry Plane Visibility to see where edits mirror.
🎨 Example: When sculpting a human face, enabling X-symmetry allows you to model both sides of the head in perfect sync.
✏️ Step 2: Adjusting and Controlling Symmetry Behavior
Symmetry is more than just a mirroring tool — it’s flexible.
- Dynamic Centering: Reposition the symmetry plane to align with your object’s true center, not the world origin.
- Local vs. Global Symmetry:
- Global: Uses scene center as reference.
- Local: Moves with your object — great for asymmetrical designs with mirrored parts.
- Temporary Toggle: Turn off symmetry mid-sculpt to add unique, non-mirrored details (like scars, dents, or decals).
💡 Pro Tip: If your symmetry plane is offset, use “Recenter Symmetry Plane” to realign it instantly to your model’s geometry.
🧱 Step 3: Using Layers for Organized Sculpting
Layers are one of Modeler’s best features for building complex 3D projects systematically.
- Create New Layers:
- Use Layers Panel → + Add Layer to begin a new sculpting section.
- Rename layers logically (e.g., “Base Form,” “Details,” “Polish”).
- Toggle Visibility:
- Hide or show individual parts to focus on one section at a time.
- Perfect for large models with multiple components.
- Edit Non-Destructively:
- Each layer acts independently. Sculpting on one layer doesn’t affect others.
- You can later merge, duplicate, or delete layers as needed.
🎯 Example: For a robot model, use:
- Layer 1: Base Body
- Layer 2: Panels and Seams
- Layer 3: Screws and Fine Details
💡 Pro Tip: Layers also record symmetry state, so turning it on for one layer doesn’t automatically affect others — giving you granular control.
⚙️ Step 4: Combine Symmetry and Layers for Speed and Flexibility
This is where the real efficiency kicks in.
- Start with Symmetry ON while sculpting your base forms.
- Quickly build proportional shapes like faces, vehicles, or props.
- Switch to a new layer to add asymmetrical elements.
- Turn Symmetry OFF for scars, logos, or natural imperfections.
- Return to symmetrical layers to refine shape consistency.
🎨 Example Workflow:
- In VR mode, sculpt a symmetrical helmet base.
- Add a new layer for side attachments and disable symmetry.
- On desktop, refine front details with symmetry re-enabled.
💡 Workflow Tip: Combine Symmetry + Add Clay Tool for perfect mirrored additions (like dual handles or wings).
🪄 Step 5: Merging and Managing Layers
When your sculpt reaches stability:
- Merge Layers that belong together (e.g., small accessories).
- Keep major design sections separate (body, environment, base).
- Use Layer Groups to maintain organization during export.
🎯 Pro Tip: Before exporting, merge only the necessary layers to reduce file size — Painter and Stager handle fewer meshes more efficiently.
🧩 Step 6: Export with Layers Intact
Substance 3D Modeler supports exporting layers as individual meshes.
- Go to File → Export Model.
- Enable Preserve Layer Structure.
- Choose format (
.FBX,.USD,.OBJ). - In Substance 3D Painter, each layer appears as a separate Texture Set — perfect for targeted texturing.
💡 Example: A product prototype with separate metal, plastic, and glass layers can each receive unique PBR materials in Painter.
✅ Conclusion
Using Symmetry and Layers together in Adobe Substance 3D Modeler transforms how you approach 3D sculpting. Symmetry provides efficiency and precision; Layers bring organization and creative freedom. Together, they make even complex designs manageable, iterative, and ready for seamless export into Painter or Stager.
👉 Streamline your modeling workflow with the Adobe Substance 3D Collection free trial — and see how much faster and cleaner your 3D projects become.