Introduction
When your 3D model is textured, polished, and ready to shine, the final step is to bring it to life with lighting and rendering. That’s where Adobe Substance 3D Stager comes in — a professional rendering and scene composition tool built for artists who want realistic product visuals without needing to master a complex rendering engine.
In this beginner-friendly guide, you’ll learn how to set up your first scene, import materials, adjust lighting, and render stunning, photorealistic images — all within Substance 3D Stager.
👉 You can follow along by downloading the Adobe Substance 3D Collection free trial — which includes Stager, Painter, Designer, Modeler, and Sampler.
🧱 What Is Substance 3D Stager?
Substance 3D Stager is Adobe’s dedicated tool for 3D scene building, lighting, and rendering. It’s designed to help artists and designers turn finished 3D assets into polished visuals for product showcases, portfolio pieces, and marketing materials.
With Stager, you can:
- Import models from Painter, Designer, or Blender.
- Arrange them in a photorealistic 3D environment.
- Apply physical materials (PBR).
- Set up lighting, reflections, and cameras.
- Render final images or animations at professional quality.
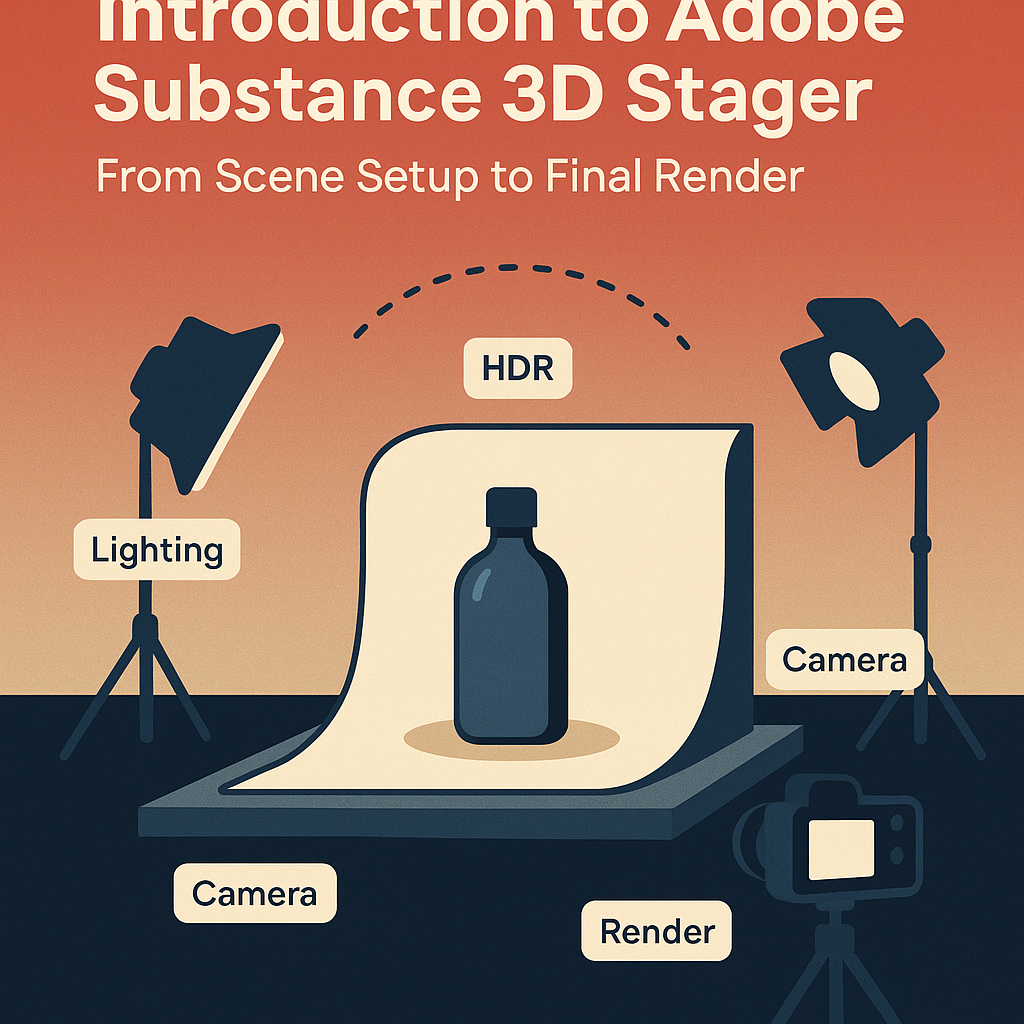
💡 Think of Stager as your 3D photography studio — everything from the lights to the backdrop is under your creative control.
🎬 Step 1: Starting Your First Scene
Open Adobe Substance 3D Stager and start a new project.
- Click File → New Scene.
- Choose your canvas dimensions (e.g., 1920×1080 for HD).
- Import your 3D model using File → Import → Model.
- Adjust its position with the Move
 , Rotate (E), and Scale (R) tools.
💡 Tip: Always place your model slightly above the ground plane so shadows fall naturally under it.
🧩 Step 2: Organizing Your Scene
In the Scene Panel, you’ll see all your assets listed — models, lights, cameras, and backgrounds.
- Rename each item for clarity (e.g., “Product_Base,” “Light_Key,” “Backdrop”).
- Group multiple parts of your model if they belong together.
- Use the Gizmo Handles in the viewport to position everything precisely.
🎯 Pro Tip: Keep your scene hierarchy organized — it makes it easier to manage complex setups later.
☀️ Step 3: Lighting Your Scene
Lighting determines how realistic your final render will look. Stager offers several lighting options:
1. Environment Lighting (HDRI)
- Go to the Lighting Panel → Add Environment Light.
- Choose from default HDRIs like “Studio Soft Light” or “Sunset.”
- Rotate the environment to adjust how light hits your object.
2. Physical Lights
For more control, add Spotlights or Area Lights:
- Position a Key Light as your main light source.
- Add a Fill Light to soften shadows.
- Place a Rim Light behind the model to highlight edges.
💡 Lighting Rule of Thumb: Start with a three-point lighting setup — it works for almost any subject.
🎨 Step 4: Applying Materials and Textures
Your model may already include materials from Substance 3D Painter, but you can always enhance or replace them in Stager.
- Select the model part you want to modify.
- Open the Materials Panel.
- Choose a preset material (metal, fabric, glass, plastic, etc.) or import a
.sbsarfile from Substance 3D Sampler or Designer. - Adjust roughness, metallic, and color sliders for realism.
💡 Example: Lowering roughness increases reflections — great for polished metal or glossy packaging.
📸 Step 5: Framing the Perfect Shot
Stager lets you control the camera just like a real-world lens.
- Use Camera View → Perspective to adjust depth.
- Enable Depth of Field to blur the background slightly.
- Lock your camera once you find the perfect framing.
🎯 Pro Tip: Lower camera angles add drama and scale — ideal for product shots or cinematic renders.
🌈 Step 6: Setting the Environment and Background
A realistic background can make your render feel complete.
Options include:
- Physical backdrop: Add a curved wall or floor object.
- Image backdrop: Import a photographic background.
- Environment color: Choose a gradient or solid tone for minimal style.
💡 Workflow Tip: Match the background lighting with your HDRI tone for a natural look.
🧮 Step 7: Rendering the Final Image
Once your materials and lighting look great, it’s time to render.
- Open the Render Panel.
- Choose your Render Engine:
- Interactive (fast preview)
- Path Tracing (highest quality)
- Set Output Resolution and Format (PNG, EXR, or PSD).
- Click Render Image.
🎯 Pro Tip: Use Path Tracing for final renders — it simulates light bouncing for the most realistic results.
🧰 Step 8: Post-Processing in Stager or Photoshop
After rendering, you can refine your image further:
- Adjust Exposure, Contrast, and Bloom in the Post Effects tab.
- Export to Photoshop for retouching, color correction, or adding branding.
💡 Example Workflow:
A product designer renders a shoe model in Stager → exports to Photoshop → adds logo overlays and motion blur for marketing visuals.
✅ Conclusion
Adobe Substance 3D Stager makes professional 3D rendering accessible to everyone — from designers and marketers to concept artists. With its intuitive lighting, materials, and camera tools, you can build entire virtual studios and render stunning visuals in minutes.
👉 Bring your 3D models to life with the Adobe Substance 3D Collection free trial and see how easily you can move from scene setup to final render.
