When it comes to 3D modeling, realism often comes down to the smallest details — subtle wrinkles, surface imperfections, or layered material buildup that makes a model feel alive. Adobe Substance 3D Modeler makes this process simple and flexible with Sculpt Layers, allowing artists to add fine details without permanently altering the base mesh.
In this tutorial, you’ll learn how to use Sculpt Layers in Modeler to build, organize, and refine realistic detail that enhances your models while keeping your workflow non-destructive and efficient.
👉 You can explore this feature today with the Adobe Substance 3D Collection free trial — which includes Modeler, Painter, Designer, Sampler, and Stager.
🧠 What Are Sculpt Layers in Modeler?
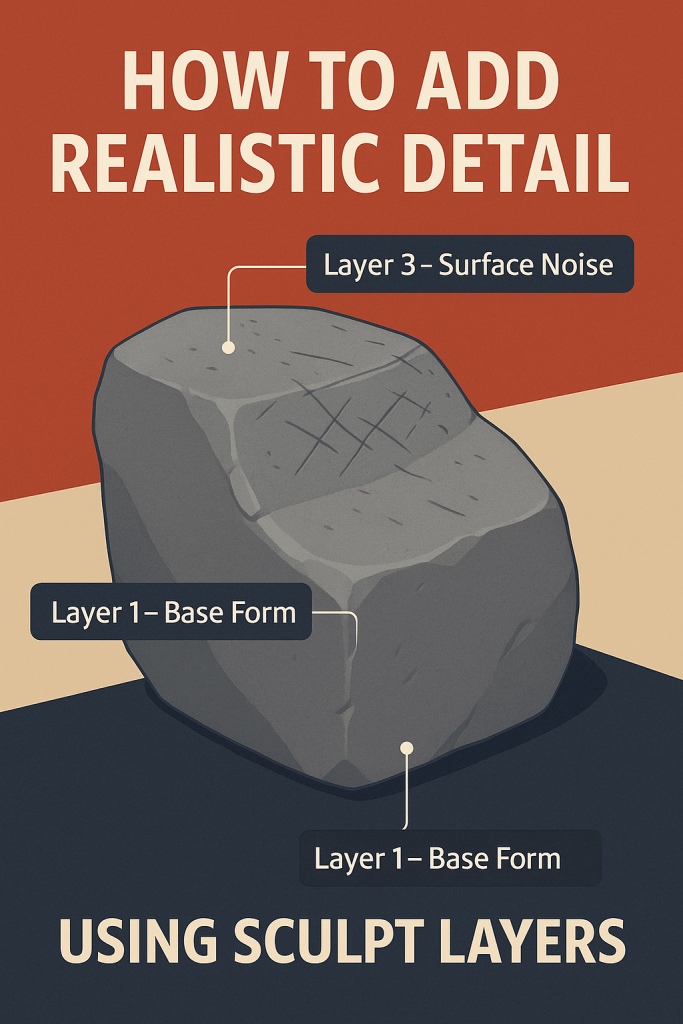
Sculpt Layers in Substance 3D Modeler work much like Photoshop layers — each one records sculpting changes separately, giving you control to toggle, edit, or blend details at any time.
This means you can:
- Experiment freely without damaging your base form.
- Adjust detail intensity non-destructively.
- Combine multiple surface variations (wear, scratches, engraving).
- Easily remove or modify details later in the workflow.
💡 Think of Sculpt Layers as your digital sketchbook — every new idea sits on its own layer, ready to refine or erase at will.
🧱 Step 1: Prepare Your Base Model
Before adding details, make sure your base geometry is finalized:
- Open your model in Substance 3D Modeler.
- Smooth any rough areas using the Smooth Tool.
- Merge or clean layers to simplify your structure.
- Set the correct scale and symmetry for your project.
🎯 Pro Tip: Keep your model’s main shape clean and polished — realistic details work best on stable, balanced surfaces.
✏️ Step 2: Create a New Sculpt Layer
To start detailing:
- Open the Layers Panel (bottom right on desktop).
- Click “+ Add Layer.”
- Rename it to something meaningful — e.g., “Scratches,” “Fabric Grain,” or “Surface Noise.”
- Select your active layer before sculpting.
💡 Tip: Always dedicate one sculpt layer per type of detail. This lets you fine-tune or disable that element later without affecting others.
🪄 Step 3: Sculpt Fine Surface Detail
With your new layer active, use Modeler’s sculpting brushes to add texture and realism.
- Crease Tool: Perfect for wrinkles, seams, or sharp lines.
- Inflate Tool: Builds up raised edges or emboss effects.
- Carve Tool: Cuts into surfaces for engravings or panel lines.
- Noise Brush: Adds randomized imperfections, ideal for rock, fabric, or aged surfaces.
- Smooth Tool: Gently blends transitions for natural flow.
🎨 Example Workflow:
For a worn metal object:
- Add a “Dents” layer using the Inflate Tool.
- Create a “Scratches” layer using Crease or Carve.
- Add a “Surface Noise” layer for subtle texture variation.
💡 Pro Tip: Combine fine and broad strokes — large sculpted dents make small scratches feel more believable.
⚙️ Step 4: Adjust Layer Intensity and Visibility
Each sculpt layer in Modeler comes with adjustable opacity and visibility controls:
- Lower the intensity slider to reduce visual prominence.
- Toggle visibility (👁️) to preview before/after comparisons.
- Solo layers to focus on a specific set of details.
🎯 Pro Tip: Reduce the strength of smaller imperfections — realism often lies in subtlety.
🧩 Step 5: Use Layer Masks for Localized Detail
For precise control, you can apply layer masks to limit where details appear:
- Right-click the Sculpt Layer → Add Mask.
- Paint on the mask using the Brush Tool to reveal or hide sculpted areas.
- Use soft brush falloff for smooth transitions between detailed and clean zones.
💡 Example: Mask out scratches from flat surfaces while keeping them around corners and edges for natural wear patterns.
🪞 Step 6: Combine Symmetry and Layers for Efficiency
You can combine Symmetry Mode with Sculpt Layers to ensure consistent results on both sides of your model:
- Activate Symmetry (X-axis) in the side toolbar.
- Sculpt on one side — Modeler mirrors every stroke.
- Turn symmetry off later for asymmetrical imperfections (like dents or stains).
🎨 Workflow Tip: Use one mirrored layer for clean base detail, and another asymmetrical layer for natural variation.
🧱 Step 7: Blend and Merge Layers for Final Refinement
Once your details look right:
- Adjust each layer’s intensity to balance realism.
- Duplicate layers to stack subtle effects (e.g., fine vs. medium scratches).
- Merge related layers (e.g., “Grain + Scratches”) to simplify your file before export.
💡 Pro Tip: Save a backup of your unmerged layers — once merged, the detail becomes permanent.
🧰 Step 8: Export for Texturing or Rendering
When you’re happy with the final sculpt:
- Go to File → Export Model.
- Choose
.FBXor.USDfor Painter or Stager. - Enable “Preserve Layers” to maintain separate detail channels.
- Open the file in Substance 3D Painter to add PBR materials, or in Stager for lighting and rendering.
🎯 Workflow Example:
A weathered helmet → Sculpted with layered scratches and dents → Exported to Painter for metallic texturing → Rendered in Stager under studio lighting.
🧠 Bonus: Using Sculpt Layers for Variation
Sculpt Layers aren’t just for realism — they’re great for design iteration.
- Create alternate damage patterns or style variants.
- Quickly toggle between versions (e.g., “Clean,” “Aged,” “Battle-Worn”).
- Save multiple variants in one file for quick previews.
💡 Example: Product designers can use layers to visualize both pristine and used versions of the same model without duplicating geometry.
✅ Conclusion
With Sculpt Layers in Adobe Substance 3D Modeler, you can bring authenticity and complexity to your 3D sculpts while keeping full creative control. By organizing details, blending intensities, and masking selectively, your models will feel both realistic and refined — ready for texturing, rendering, or animation.
👉 Add realism to your next 3D project with the Adobe Substance 3D Collection free trial and experience the non-destructive power of Sculpt Layers across Modeler, Painter, and Stager.
