Every great game model starts with a solid base mesh — a clean, well-structured 3D form that serves as the foundation for further detail, optimization, and texturing. Whether you’re designing weapons, props, or environment pieces, Adobe Substance 3D Modeler gives artists an intuitive, clay-like workspace to create and refine these base meshes before exporting them for texturing or animation.
In this tutorial, you’ll learn how to plan, sculpt, and prepare base meshes for game-ready assets using Substance 3D Modeler, ensuring efficiency and high-quality results in your later workflows with Painter, Designer, and Stager.
👉 Start your modeling journey with the Adobe Substance 3D Collection free trial — which includes Modeler, Painter, Designer, Sampler, and Stager.
🧠 What Is a Base Mesh?
A base mesh is the simplified 3D foundation of a model — containing the essential shape and proportions, without small details or high-resolution sculpting. It’s what artists later refine, texture, and optimize for games.
A strong base mesh should:
- Have clean, consistent topology.
- Represent the full silhouette and structure.
- Be easy to subdivide, retopologize, and UV unwrap.
💡 Think of a base mesh as the skeleton of your asset — stable, balanced, and ready for any level of detail you add later.
🧱 Step 1: Plan Your Game Asset
Before you open Modeler, decide what kind of asset you’re building and where it will appear in the game.
Ask yourself:
- Is it a hero prop (like a sword or spaceship) or a background element (like crates or rocks)?
- Will it need animation, destruction, or interaction?
- What’s the polygon budget for your game engine (Unity, Unreal, etc.)?
🎯 Example:
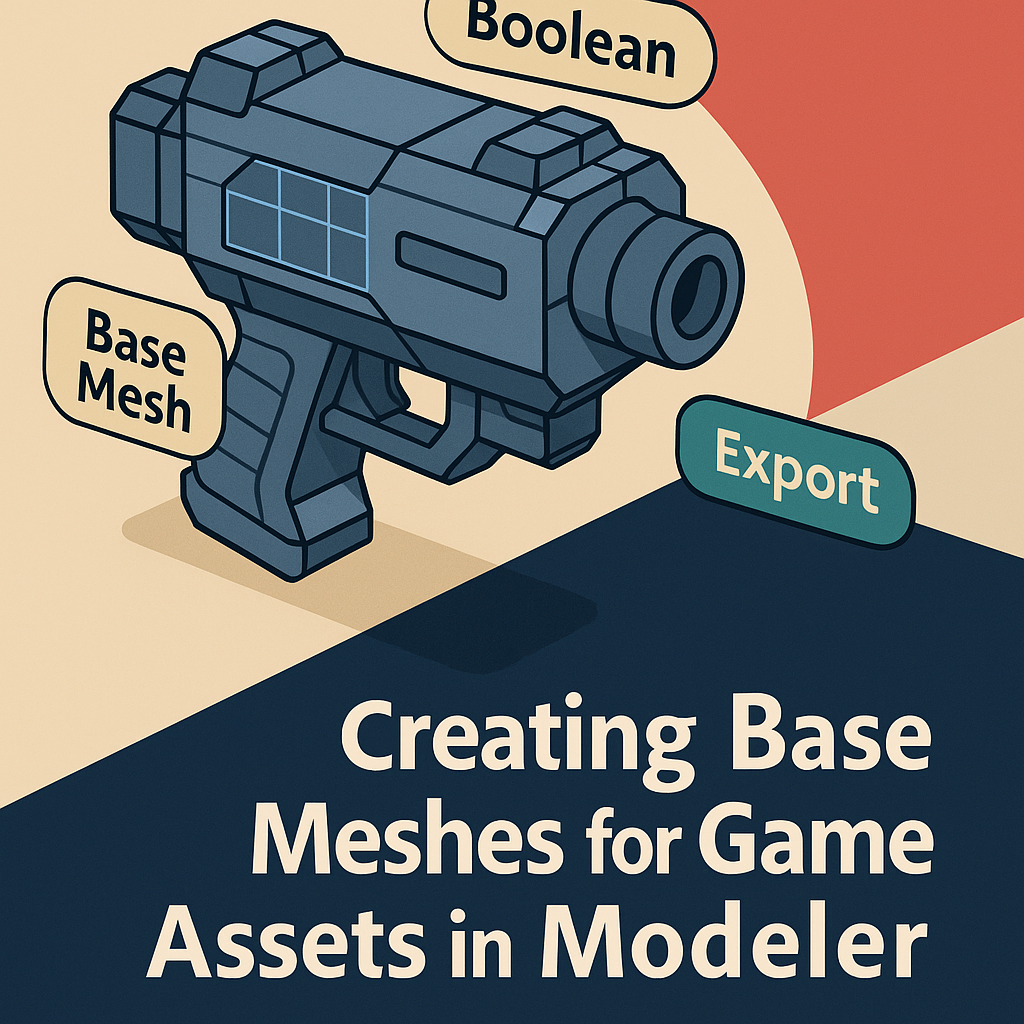
A futuristic rifle (hero prop) should have well-defined shapes and symmetry. A rock pile (background prop) can have asymmetry and fewer polygons.
✏️ Step 2: Start Sculpting in Modeler
Launch Substance 3D Modeler and create a new scene. Begin blocking out your shapes using clay sculpting tools or primitives.
- Use the Add Clay Tool for organic forms like armor, terrain, or creatures.
- For hard-surface props, combine Cubes, Cylinders, and Spheres from the Primitive Menu.
- Activate Symmetry Mode for mirrored assets like weapons or vehicles.
- Use Grab and Smooth to refine the silhouette quickly.
💡 Pro Tip: Always focus on proportion and silhouette first — the base mesh should read clearly even from a distance.
🧩 Step 3: Combine and Shape with Boolean Tools
Modeler’s Boolean operations allow you to merge or subtract shapes cleanly — perfect for game assets that mix mechanical and organic elements.
- Add (Union): Join multiple primitives into one solid form.
- Subtract: Carve out holes, vents, or slots.
- Intersect: Keep overlapping geometry only.
🎮 Example Workflow:
When modeling a sci-fi crate:
- Start with a cube → Subtract cylinders for corner joints → Add beveled panels using Boolean Union.
💡 Workflow Tip: Keep each section (like base, handles, or attachments) on separate layers to edit them independently later.
🪄 Step 4: Maintain Clean Geometry
Your base mesh doesn’t need millions of polygons — it needs efficiency.
- Keep surfaces smooth and even.
- Avoid excessive surface noise or unnecessary detail.
- Use Flatten Tool to define sharp planes.
- Maintain consistent edge flow where possible.
💡 Pro Tip: Always consider game engine limitations — low-poly meshes with good silhouette definition perform better and bake faster in Painter.
🧱 Step 5: Organize with Layers and Naming
Organization is key when preparing game assets.
- Use Layers in Modeler to separate parts (e.g., “Body,” “Handle,” “Trigger”).
- Rename layers clearly — these names will carry over during export.
- Lock or hide finished parts to prevent accidental edits.
🎨 Workflow Example:
A mech leg model could include layers for:
- Leg Base
- Hydraulics
- Armor Plates
- Foot Assembly
💡 Tip: Organized layers make it easier to assign materials or ID maps later in Painter.
⚙️ Step 6: Export the Base Mesh
When your base shape feels right:
- Go to File → Export Model.
- Choose .FBX (best for Blender and Painter) or .USD (for Stager).
- Enable:
- ✅ Preserve Layers
- ✅ Export Normals
- ✅ Decimation (Optional) to reduce polycount.
- Save the file as
Asset_BaseMesh.fbx.
💡 Pro Tip: Keep your base mesh export lightweight — high-resolution details will be added later through normal or displacement maps.
🧩 Step 7: Refining the Base Mesh in Blender or Painter
After exporting, refine and test your mesh:
In Blender:
- Use Modifiers (Bevel, Subdivision) to improve edge flow.
- Check for shading artifacts or open edges.
- Prepare for UV unwrapping.
In Substance 3D Painter:
- Import your base mesh.
- Bake test maps (Normal, AO, Curvature) to ensure even UV coverage.
🎯 Goal: Verify that your base mesh supports high-quality baking without distortions or stretching.
🎮 Step 8: Ready for Retopology and Texturing
Once your base mesh works as intended, you can:
- Retopologize it in Blender for animation-ready topology.
- UV unwrap and import it back into Painter.
- Add surface materials and fine details using Painter’s Smart Materials and Generators.
💡 Workflow Example:
A sci-fi weapon → base mesh sculpted in Modeler → retopologized in Blender → textured in Painter → rendered in Stager or Unreal Engine.
✅ Conclusion
Creating a solid base mesh in Adobe Substance 3D Modeler is one of the most important steps in a game asset workflow. By starting clean, organizing layers, and exporting efficiently, you’ll set yourself up for fast baking, high-quality textures, and flawless integration into Painter, Blender, or your game engine of choice.
👉 Build your own base meshes today with the Adobe Substance 3D Collection free trial — your complete toolkit for professional 3D design, texturing, and rendering.
