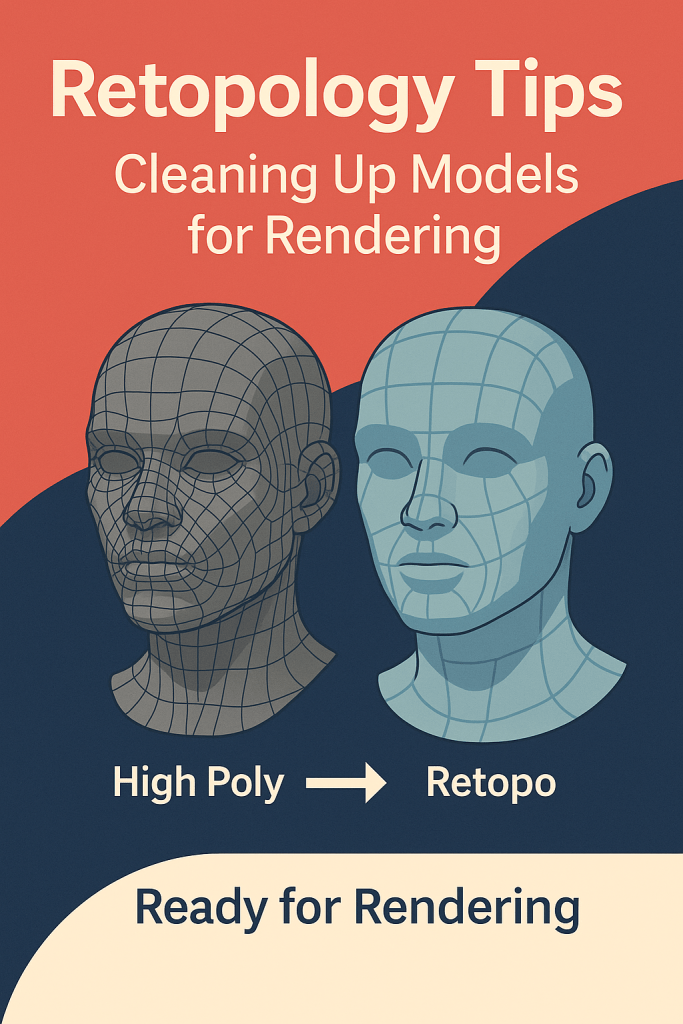
After sculpting in Adobe Substance 3D Modeler, you might end up with a high-resolution, clay-like mesh perfect for concepting — but far too dense for texturing, rendering, or real-time use. That’s where retopology comes in.
Retopology is the process of rebuilding your model’s geometry to make it cleaner, lighter, and easier to work with in Substance 3D Painter, Stager, or other rendering tools. In this tutorial, you’ll learn the best practices for cleaning up your models before export — ensuring they render beautifully while staying optimized.
👉 Start optimizing your 3D workflow with the Adobe Substance 3D Collection free trial — which includes Modeler, Painter, Designer, Sampler, and Stager.
🧠 Why Retopology Matters
Every sculpting app — including Modeler — uses voxel geometry, which prioritizes form over efficiency. While perfect for shaping ideas quickly, voxel meshes are dense and unstructured.
Here’s why retopology is essential before rendering or texturing:
- ⚡ Improves performance: Smaller file sizes, faster viewport and render times.
- 🎨 Better texturing: Clean topology prevents distortion in UVs and materials.
- 💡 Smooth shading: Even polygon flow gives consistent lighting and reflections.
- 🧱 Compatibility: Works better across apps like Painter, Stager, Blender, and Unreal Engine.
💡 Think of retopology as polishing your sculpture — keeping its beauty, but trimming the excess clay.
🪄 Step 1: Evaluate Your Sculpt in Modeler
Before cleaning your model, determine which areas need detail and which don’t.
- Open your final sculpt in Modeler.
- Use the Measure Tool or Camera Zoom to inspect polygon density.
- Identify:
- High-detail areas (faces, ornaments, text).
- Low-detail areas (flat surfaces, smooth transitions).
🎨 Pro Tip: Don’t waste resolution where it’s not needed — most background geometry can use a lighter mesh.
⚙️ Step 2: Use Modeler’s Decimation for Initial Cleanup
Modeler includes an automatic decimation feature that reduces polygon count while maintaining shape fidelity.
- Go to File → Export Model.
- In the export options, enable Decimation.
- Choose the reduction percentage (try 50% for general work).
- Export as FBX or OBJ for use in Painter or Blender.
💡 Workflow Tip: Keep both a high-poly sculpt and a decimated version — the high-poly will be used later for baking detail maps in Painter.
✏️ Step 3: Manual Retopology in Blender (Optional)
For advanced control, use Blender to rebuild clean topology manually:
- Import your decimated model into Blender.
- Add a Retopology Plane or use Shrinkwrap Modifier to conform a new mesh to the surface.
- Use the Quad Draw Tool to lay down even, flowing polygons along the form.
- Focus on keeping edge loops around curves and joints.
🎯 Pro Tip: Aim for quads over triangles — they subdivide more predictably during rendering and smoothing.
🧱 Step 4: Optimize Edge Flow for Animation and Lighting
Even if your model isn’t animated, proper edge flow impacts how light behaves on its surface.
- Maintain clean loops around key shapes.
- Avoid long stretched polygons — they cause shading errors.
- Use support edges near hard corners to hold shape under smoothing.
- Test your model under a neutral light to check for uneven reflections.
💡 Example: When rendering a product like a helmet or gadget, evenly distributed polygons ensure realistic highlights and accurate curvature.
🎨 Step 5: UV Unwrapping and Layout
Once topology is cleaned up, create UVs to prepare for texturing in Substance 3D Painter.
- Use automatic unwrapping tools in Blender or another UV editor.
- Ensure non-overlapping UV islands with uniform texel density.
- Add padding (2–4 pixels) to avoid visible seams.
- Export your retopologized, UV-unwrapped model as
.FBXor.USD.
🎯 Pro Tip: Label UV tiles clearly if using multiple UDIMs — Painter detects them automatically.
🧩 Step 6: Baking Details in Substance 3D Painter
Now, combine the best of both worlds — bake your high-poly sculpt details onto your retopologized model.
- Open Painter → File → New Project → Import the retopologized model.
- In the Bake Mesh Maps panel:
- Load your original high-poly sculpt.
- Bake Normal, AO, Curvature, and Height maps.
- Painter transfers fine sculpted details to your optimized mesh.
💡 Workflow Tip: This technique captures Modeler’s clay realism without the heavy geometry — perfect for cinematic or real-time rendering.
🌇 Step 7: Rendering in Stager or Other Tools
Your optimized, textured model is now ready for beautiful final renders.
In Adobe Substance 3D Stager:
- Import the
.USDor.FBXfile. - Apply materials and lighting presets.
- Enable Path Tracing for realistic reflections and depth.
In Blender:
- Import the retopologized mesh.
- Apply textures exported from Painter.
- Render in Cycles for physically based realism.
🎯 Pro Tip: Always check that normals face outward — inverted faces will cause black patches under lighting.
🧰 Step 8: Common Retopology Mistakes to Avoid
- ❌ Over-decimating: Too much reduction leads to faceted or distorted surfaces.
- ❌ Unoptimized UVs: Overlaps or stretching ruin texture detail.
- ❌ No edge flow consideration: Random topology causes ugly shading lines.
- ❌ Forgetting to bake maps: You lose all your high-poly detail when skipping this step.
💡 Best Practice: Always balance visual fidelity with performance — the cleanest topology is the one that renders fast and looks good.
✅ Conclusion
Retopology is the final polish your 3D model deserves before it hits the render stage. By decimating intelligently, rebuilding clean quads, and baking high-resolution details, you create models that look professional, render quickly, and integrate seamlessly with the rest of the Substance 3D Collection.
👉 Take your next step in mastering the 3D pipeline with the Adobe Substance 3D Collection free trial — your complete toolkit for sculpting, texturing, and rendering like a pro.
