Once your 3D models are ready — whether created in Substance 3D Modeler, Painter, or another app like Blender — the next step is to import and arrange them in Adobe Substance 3D Stager for rendering.
Stager acts as your digital photography studio: it’s where models, materials, and lights come together to create the final visual composition. In this tutorial, you’ll learn how to import, align, and organize 3D assets efficiently for realistic results.
👉 Start experimenting with your own models using the Adobe Substance 3D Collection free trial — which includes Modeler, Painter, Designer, Sampler, and Stager.
🎨 Why Use Stager for Model Placement?
Substance 3D Stager is designed for intuitive model handling. You can drag, drop, and position assets with physical accuracy — meaning your models behave as if they exist in a real studio space.
Stager supports:
- Real-world scale and gravity placement.
- Snapping, alignment, and grouping tools.
- Multi-object organization in scenes.
- Automatic material and texture detection when importing from Painter or Designer.
💡 Think of it as your digital tabletop — where every product, prop, or object finds its perfect spot before the lights and camera roll.
🧩 Step 1: Preparing Models for Import
Before bringing assets into Stager, check a few key points:
- Export Models Correctly
- From Modeler: use
.USDor.FBXfor best results. - From Painter: export via “Send to Stager” for automatic materials.
- From other 3D software: ensure clean topology and correct UVs.
- From Modeler: use
- Organize Textures and Maps
- Keep textures in the same folder as your model.
- Use consistent naming (e.g.,
chair_basecolor.png,chair_normal.png).
- Check Model Scale and Orientation
- Use meters or centimeters as units.
- Align your model’s Z-axis upward to match Stager’s environment.
💡 Pro Tip: Saving your models as .USD maintains material hierarchy and naming consistency when you import them.
📂 Step 2: Importing Models into Stager
There are three ways to bring 3D models into Substance 3D Stager:
✅ Option 1: Drag-and-Drop
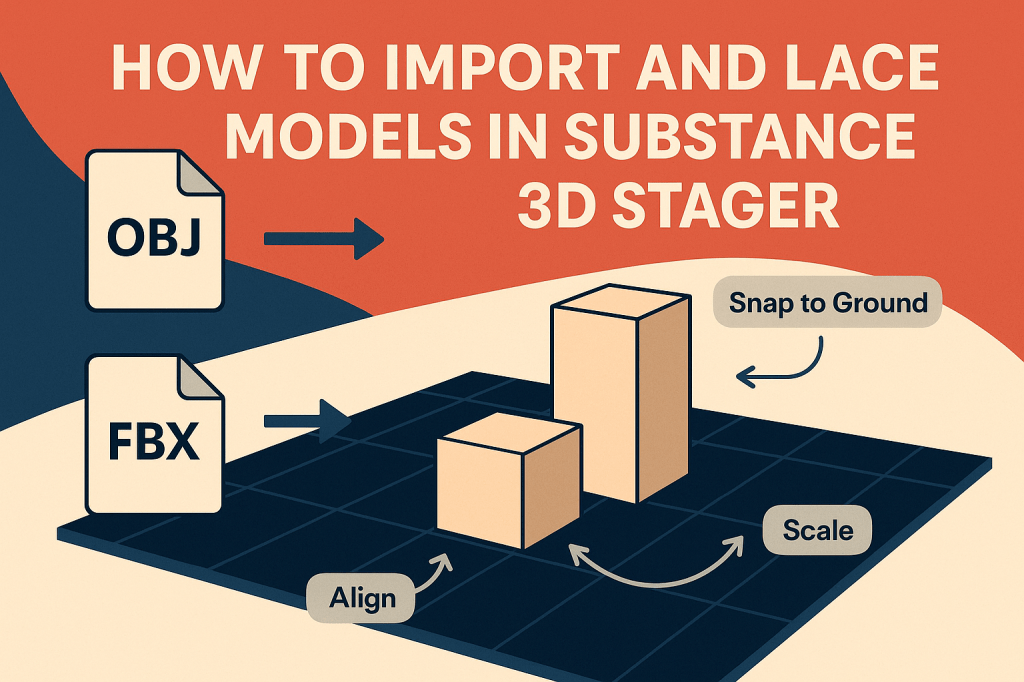
Simply drag your .FBX, .OBJ, or .USD file from your desktop or file explorer directly into the viewport.
- The model will appear at the world origin (center of the scene).
- Stager automatically assigns materials if linked textures are found.
✅ Option 2: File → Import → Model
- Go to File → Import → Model.
- Browse to your asset file.
- Choose Import as Single Object or Import as Group.
- The model loads with its textures and transforms intact.
✅ Option 3: Send Directly from Painter
If you’re texturing in Substance 3D Painter, click:
File → Send to → Substance 3D Stager.
- This automatically transfers both geometry and materials.
- Textures appear fully mapped and ready to render.
🎯 Workflow Tip: Use the Painter-to-Stager bridge when creating product renders — it saves time by keeping material and lighting metadata consistent.
🪄 Step 3: Adjusting Scale and Orientation
After importing, check that your object sits correctly in the scene.
- Use Move
 , Rotate (E), and Scale (R) from the toolbar.
 - Hold Shift while scaling to keep proportions locked.
- Reset position via Right-click → Reset Transform.
💡 Pro Tip: If the model appears too small or large, use Scene Scale Mode to bring it to real-world proportions instantly.
⚙️ Step 4: Using the Placement Tools
Stager’s placement tools make it easy to position assets precisely in a scene.
📌 Snap to Ground
- Select your object → click Snap to Ground in the top bar.
- The object automatically aligns with the scene floor — no floating or sinking.
📏 Snap to Object
- Select multiple objects → click Snap Together.
- Useful for stacking items (e.g., bottles on a shelf).
🎯 Align and Distribute
- Use Align Tool to match multiple objects along the X, Y, or Z axes.
- Use Distribute Tool to evenly space objects across a line or surface.
💡 Example: Perfect for arranging multiple product variations for a marketing render.
🧱 Step 5: Organizing with Groups and Hierarchies
As your scene grows, organization becomes crucial.
- In the Scene Panel, create Groups (Ctrl + G) for related assets.
- Example: “Chair Set,” “Lighting,” “Environment.”
- Rename items for clarity.
- Toggle visibility or lock layers as needed.
🎯 Pro Tip: Keep cameras, lights, and models in separate folders for easy management when rendering multiple views.
💡 Step 6: Using Environment Props and Stage Assets
Stager comes with a built-in Asset Library that includes:
- Studio backdrops.
- Pedestals and stands.
- Sample models and cameras.
To use them:
- Open the Assets Panel on the left.
- Drag props or lights into your scene.
- Adjust scale and position just like your main models.
💡 Workflow Tip: Combine your imported models with preset environments for fast scene composition — ideal for product visualization or packaging design.
🌈 Step 7: Checking Material Assignments
Imported models often bring materials along, but it’s good practice to verify them:
- Click on your model → open Materials Panel.
- Review Base Color, Roughness, and Normal Maps.
- If materials are missing, click Replace Texture to re-link manually.
🎨 Example: Metallic objects should have a high “Metalness” value with lower roughness for a reflective finish.
📸 Step 8: Save and Prepare for Rendering
Before moving to the final lighting phase:
- Double-check object placement and shadow alignment.
- Save your project via File → Save Scene As.
- You’re now ready for lighting and rendering (covered in your next tutorial).
💡 Best Practice: Always save iterative versions — e.g., Product_Scene_v1, v2, etc. — before major adjustments.
✅ Conclusion
Importing and placing models in Adobe Substance 3D Stager is the first step toward professional-quality 3D renders. By understanding snapping, scaling, and grouping, you can build scenes that feel grounded, balanced, and visually engaging — all within minutes.
👉 Get hands-on with the Adobe Substance 3D Collection free trial to start building realistic 3D scenes today.
