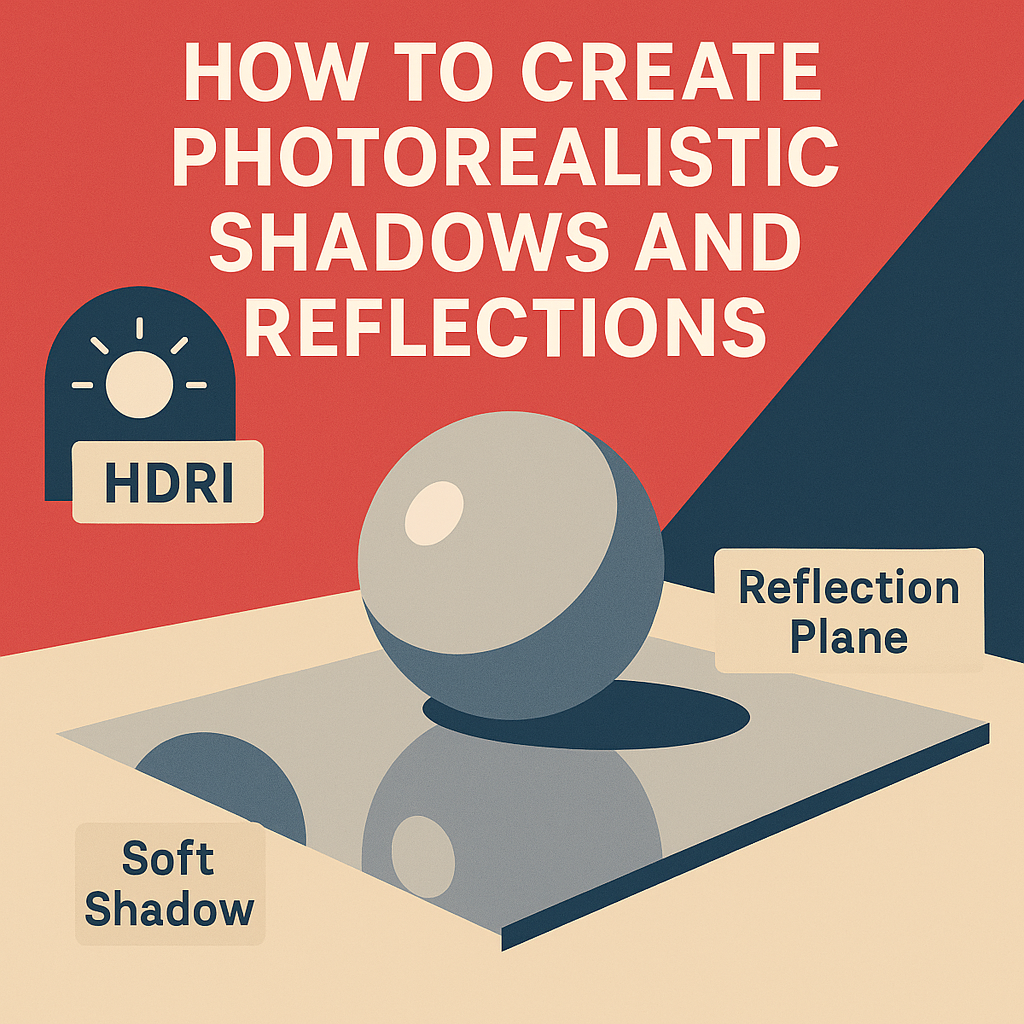
In 3D rendering, shadows and reflections aren’t just visual details — they’re what convince the eye that a digital object exists in a real space. Adobe Substance 3D Stager gives artists precise control over light behavior, helping you create natural, cinematic, and physically accurate results.
In this tutorial, you’ll learn how to build photorealistic shadows and reflections that add realism and visual depth to your 3D renders. Whether you’re working on product shots, interior design, or concept art, these techniques will instantly elevate your final image.
👉 Try it yourself with the Adobe Substance 3D Collection free trial — which includes Stager, Painter, Designer, Sampler, and Modeler.
☀️ Step 1: Understanding Light Behavior in Stager
Before crafting shadows and reflections, it’s important to understand how Substance 3D Stager simulates light:
- Direct Light: Created by spotlights, directional lights, or area lights.
- Environment Light (HDRI): Provides diffuse, ambient illumination from all angles.
- Indirect Light: Bounced light from surfaces, which adds realism to scenes.
💡 In photorealistic rendering, shadows define the physical connection between an object and its environment, while reflections define surface quality and light realism.
🧱 Step 2: Start with a Ground Plane or Backdrop
Every realistic scene needs a surface for shadows and reflections to interact with.
- Open your scene in Adobe Substance 3D Stager.
- Go to Assets → Models → Primitives and add a Plane or Curved Backdrop.
- Scale the backdrop so it fits your composition.
🎯 Pro Tip: Use a curved backdrop for soft, infinite studio-style renders — this eliminates harsh horizon lines.
💡 Step 3: Add Realistic Light Sources
The key to believable shadows is balanced lighting. Combine HDRI and physical lights for best results.
🪞 Add HDRI Lighting
- Go to the Lighting Panel → Add Environment Light.
- Choose an HDRI from Stager’s library (e.g., Studio Soft Light, Outdoor, or Warm Sunset).
- Adjust Rotation and Intensity to define the direction and strength of ambient light.
🔦 Add Spotlights or Area Lights
- Click Add Light → Spotlight or Add Light → Area Light.
- Aim them toward your model.
- Adjust:
- Intensity: 1000–3000 lumens.
- Softness: 0.4–0.6 for natural falloff.
- Color Temperature:
- 5600K = daylight
- 3200K = warm tungsten
💡 Soft, angled lighting produces diffused shadows ideal for product renders.
🌫️ Step 4: Enable and Adjust Shadow Settings
Now, let’s make your shadows look natural.
- Select your light in the Scene Panel.
- In the Properties Tab, enable:
- Cast Shadows → On
- Soft Shadows → On
- Shadow Bias: Keep low (0.1–0.3) for clean edges.
Control Shadow Sharpness
- Large area lights = softer shadows.
- Small spotlights = harder, cinematic shadows.
🎯 Example: For a luxury product render, use a small spotlight to create crisp shadow edges that enhance shape definition.
🪞 Step 5: Adding Realistic Reflections
Reflections add richness and realism, particularly on polished materials like metal, glass, or ceramic.
Enable Reflections on Surfaces
- Select your ground plane or backdrop.
- In the Material Panel, lower the Roughness value (0.1–0.4).
- Adjust Metallic if needed — metallic surfaces amplify reflections.
- Enable Reflections in the render settings.
💡 A slightly rough surface (around 0.3) produces diffused reflections, mimicking studio floors or satin surfaces.
🪩 Step 6: Use Reflection Catchers for Compositing
If you plan to composite your render into a real photo background:
- Select your ground plane.
- Enable Shadow Catcher or Reflection Catcher mode.
- This allows the surface to display shadows and reflections without being visible itself — perfect for inserting products into lifestyle images.
🎯 Pro Tip: Combine this feature with transparent PNG exports to overlay your 3D render on photographic scenes.
🧰 Step 7: Fine-Tune Lighting Balance
The trick to realism is subtlety — your shadows shouldn’t be pitch-black, and reflections shouldn’t overpower the subject.
| Setting | Recommended Range | Purpose |
|---|---|---|
| Shadow Intensity | 0.6–0.8 | Keeps shadow contrast natural |
| HDRI Intensity | 0.8–1.5 | Provides base ambient light |
| Reflection Roughness | 0.2–0.4 | Creates diffused surface realism |
| Spotlight Intensity | 1500–3500 lumens | Defines object contours |
💡 Preview your render from multiple camera angles before finalizing lighting.
🎥 Step 8: Render with Path Tracing
To capture subtle shadow gradients and accurate reflections, always render using Path Tracing.
- Go to the Render Tab.
- Enable Path Tracing and Global Illumination.
- Set:
- Render Samples: 256 or higher for clean results.
- Bounces: 3–5 for realistic light scattering.
- Resolution: 1920×1080 or 4K for marketing visuals.
💡 The more light bounces you allow, the more accurate your reflections and indirect shadows become.
🖌️ Step 9: Optional Post-Processing in Photoshop
After rendering, open the output in Adobe Photoshop for final polish:
- Slightly enhance Contrast and Exposure.
- Add a soft Vignette to focus attention.
- Use Hue/Saturation adjustments to color-balance shadows and highlights.
🎯 Pro Tip: If reflections are too sharp, use Photoshop’s Gaussian Blur on duplicated reflection layers for subtle realism.
✅ Conclusion
Photorealism in Substance 3D Stager is all about balance — blending realistic light, soft shadows, and reflective surfaces that feel tactile and grounded. By combining HDRI and spotlights, fine-tuning roughness, and enabling global illumination, you can create renders that look indistinguishable from real photographs.
👉 Get hands-on with these techniques using the Adobe Substance 3D Collection free trial — and start creating realistic, professional-grade 3D scenes today.
