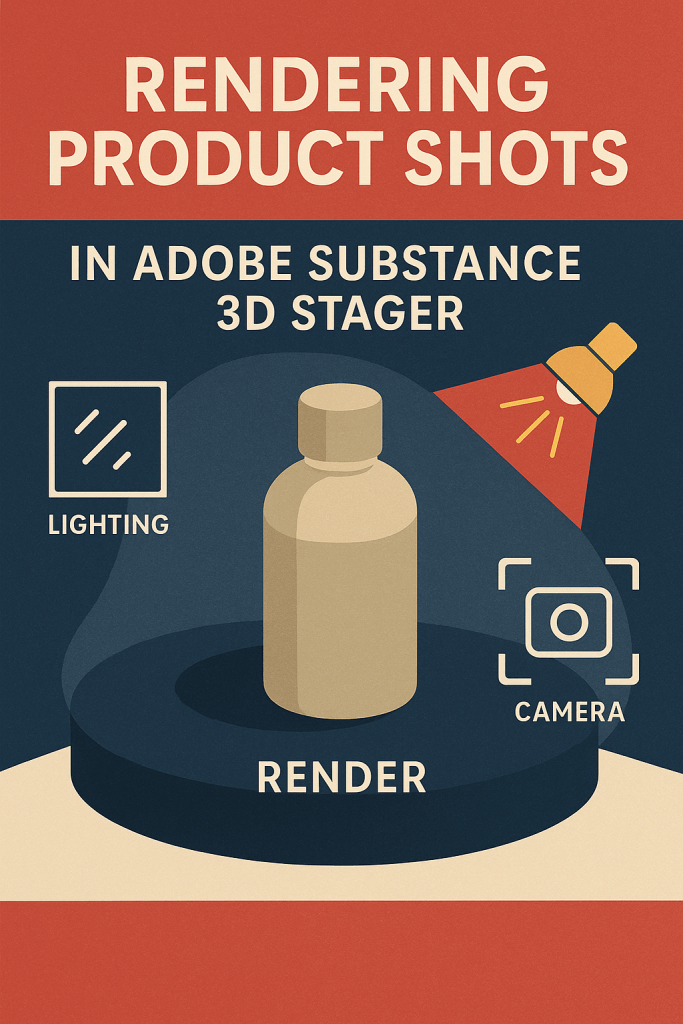
When you’ve designed a product in Adobe Substance 3D Painter or Modeler, the final step is making it look stunning in a real-world context. That’s where Adobe Substance 3D Stager comes in — a tool that lets you create professional, photorealistic product renders with studio-quality lighting, materials, and camera control.
In this guide, you’ll learn how to set up, light, and render product shots in Substance 3D Stager, whether you’re visualizing packaging, furniture, tech gadgets, or concept models.
👉 Try this workflow yourself with the Adobe Substance 3D Collection free trial — which includes Stager, Painter, Designer, Modeler, and Sampler.

🧱 Step 1: Import and Prepare Your Product Model
Start by importing your 3D model into Stager:
- Go to File → Import → Model and select your
.FBX,.OBJ, or.USDfile. - Use the Move
, Rotate (E), and Scale (R) tools to position it on the ground plane.
- Click Snap to Ground to make sure the model sits naturally on the surface.
🎯 Pro Tip: Always double-check your model’s real-world scale (centimeters or meters). Proper scale ensures lighting and reflections behave realistically.
🎨 Step 2: Apply or Adjust Materials
If you textured your model in Substance 3D Painter, your materials should import automatically.
Otherwise, you can assign new ones directly in Stager:
- Select your object and open the Materials Panel.
- Choose a base material from the Asset Library (metal, plastic, glass, wood, etc.).
- Adjust material properties:
- Roughness: controls glossiness.
- Metallic: determines reflectivity.
- Base Color: sets surface hue.
- Add procedural or imported textures by clicking the folder icon next to each map slot.
💡 Pro Tip: For product shots, avoid overly complex materials — aim for realistic reflections and believable color tones.
💡 Step 3: Choose a Lighting Setup
Lighting defines mood, realism, and visual clarity. In Stager, you can combine HDRI lighting and physical lights for a balanced setup.
✅ Use HDRI for Ambient Illumination
- Go to the Lighting Panel → Add Environment Light.
- Choose an HDRI like:
- Studio Soft Light for clean catalog-style images.
- Warm Sunset for golden highlights.
- Photostudio 2 for high-contrast commercial lighting.
- Rotate the HDRI to find the most flattering angle for your product.
✅ Add Spotlights for Highlights
- In the Lighting Panel, click Add Light → Spotlight.
- Position it slightly above and in front of your product.
- Adjust:
- Intensity: 1000–3000 lumens for focus.
- Cone Angle: 30–60° for soft edges.
- Softness: 0.5 for smooth light falloff.
🎯 Workflow Example:
Use one key spotlight, a weaker fill light from the opposite side, and a rim light from behind to achieve cinematic depth.
🪞 Step 4: Set Up the Background and Surface
Your background helps define your product’s context. Stager makes this process quick:
- Add a curved backdrop from the Asset Library → Backdrops.
- Apply a soft matte or gradient material for a studio feel.
- Add a ground plane with a subtle reflection (roughness around 0.3).
💡 Pro Tip: Avoid overly reflective surfaces unless your product is meant to sit on glass or metal. Subtle reflections look more natural.
🎥 Step 5: Frame the Shot with Cameras
A great render is as much about camera composition as lighting.
- Select the Camera Tool (C) or go to the Camera Panel.
- Experiment with these settings:
- Field of View (FOV):
- 35–50mm for realistic human-eye perspective.
- 70mm+ for product close-ups.
- Depth of Field:
- Enable to blur the background slightly and focus on the product.
- Camera Angle:
- Low angles emphasize power.
- Eye-level shots feel natural.
- Field of View (FOV):
🎯 Pro Tip: Save multiple camera angles to render several product variations (e.g., front, side, hero shot).
🧮 Step 6: Rendering Settings for Realism
Once lighting and composition are locked, it’s time to render.
- Open the Render Tab.
- Choose Path Tracing as your engine — it simulates realistic light behavior.
- Adjust:
- Output Resolution: 1920×1080 for standard, 4K for print.
- Render Samples: 128–512 (higher = cleaner).
- Ground Shadows: On.
- Global Illumination: On for accurate color bounce.
- Click Render Image and save as
.PNGor.PSD.
💡 Pro Tip: Use .PSD for Photoshop post-production — you can tweak exposure, contrast, or add branding later.
🧰 Step 7: Adding Branding or Props
For commercial visuals, props and context matter:
- Import additional elements like packaging, text cards, or small accessories.
- Group objects logically (Product, Props, Lights).
- Adjust shadows and reflections to match the main product’s lighting.
🎨 Example: Place a logo-engraved box beside your product for a lifestyle presentation.
🧩 Step 8: Color Correction and Post Effects
Even after rendering, subtle adjustments can enhance realism:
- Use the Post Effects Panel in Stager:
- Exposure: fine-tune brightness.
- Contrast: increase slightly for crispness.
- Bloom: add glow for polished metals or glass.
- Tone Mapping: use ACES for realistic film-like output.
💡 Workflow Tip: Keep effects light — the best renders feel balanced and photographic, not over-processed.
✅ Conclusion
Adobe Substance 3D Stager transforms your 3D model into a market-ready image — letting you control every detail of lighting, composition, and rendering. By combining HDRI environments, spotlights, and PBR materials, you can create professional product shots that rival real photography.
👉 Take your product renders to the next level with the Adobe Substance 3D Collection free trial — the complete toolkit for modeling, texturing, lighting, and rendering.