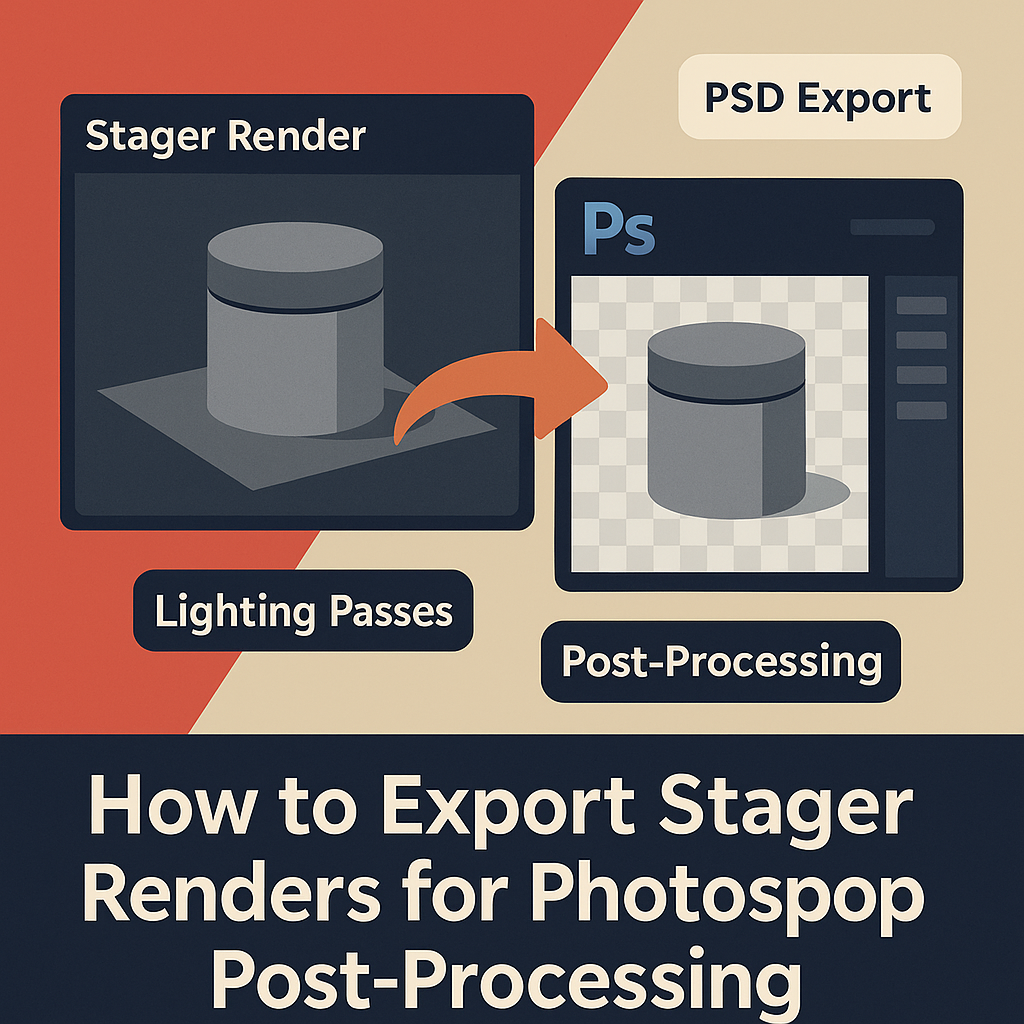
Even after you’ve achieved a perfect render in Adobe Substance 3D Stager, the final polish often happens in Adobe Photoshop. Whether you’re adjusting color balance, refining lighting, or adding text and branding, exporting your render the right way ensures maximum flexibility and quality for post-production.
In this guide, you’ll learn how to export high-quality images from Stager for Photoshop editing, how to preserve transparency and lighting passes, and which export settings work best for different use cases.
👉 Get hands-on with the Adobe Substance 3D Collection free trial — it includes Stager, Painter, Designer, Modeler, and Sampler for a complete 3D-to-2D workflow.

🧱 Step 1: Finalize Your Scene in Stager
Before exporting, make sure your project is fully prepared for rendering:
- Check Object Placement – Ensure all objects rest properly on the ground plane.
- Lock Camera View – Set your final composition; Stager uses the active camera during rendering.
- Review Materials and Lighting – Test reflections, shadows, and textures in Path Tracing Mode for final adjustments.
💡 Pro Tip: Save a duplicate of your project before exporting. Use one version for render setup and another for client or Photoshop tweaks.
💡 Step 2: Open the Render Workspace
- Go to the top bar and click Render.
- This switches Stager into the rendering environment, where you can preview quality, lighting, and camera settings.
- On the right-hand side, you’ll find Render Settings — this is where the quality and output format are configured.
🎯 Pro Tip: Always render from your saved camera views for consistency across multiple scenes.
⚙️ Step 3: Choose the Right Render Engine and Quality
Under the Render Settings Panel, select the optimal engine for Photoshop workflows:
- Path Tracing: Best for realistic, high-quality results with accurate reflections and light bounce.
- Real-Time: Faster previews for concept stages (not recommended for Photoshop-grade renders).
Then adjust:
- Resolution: 1920×1080 for web; 3840×2160 (4K) for print or high-end retouching.
- Render Samples: 256–512 for clean results without noise.
- Ground Shadows: Enabled for product visuals.
- Global Illumination: On for accurate lighting.
💡 Pro Tip: For professional post-production, always render in Path Tracing Mode with at least 256 samples.
🖼️ Step 4: Select Output Format
The file format you choose determines how flexible your render will be in Photoshop.
✅ Recommended File Types
| Format | Use Case | Benefits |
|---|---|---|
| PSD (Photoshop) | Best for post-processing | Preserves layers, alpha channels, lighting passes |
| PNG (Transparent Background) | Ideal for compositing | Keeps alpha transparency, compact size |
| EXR (High Dynamic Range) | For advanced retouching | Maintains full exposure and lighting data |
| JPEG (Flat Image) | Quick previews or client review | Smaller file size, no transparency |
🎯 Pro Tip: Always use PSD or PNG if you plan to continue editing in Photoshop.
🧩 Step 5: Enable Layer and Transparency Options
To get the most editing flexibility in Photoshop:
- In the Render Settings Panel, check Include Layers.
- This will export lighting, reflections, shadows, and object masks as separate layers.
- Enable Transparent Background if your scene uses custom backdrops or compositing workflows.
- Optional: Enable Render Passes (Ambient Occlusion, Depth, and Lighting).
💡 Why it matters: These separate passes let you adjust shadow intensity, reflection brightness, and background blur directly in Photoshop without rerendering.
🎨 Step 6: Run the Render
Once settings are ready:
- Choose your save destination.
- Click Render Image.
- Stager will process your scene and display a preview of the final image.
- Once complete, open the render folder to locate your
.PSD,.PNG, or.EXRfile.
🎯 Pro Tip: Keep your renders organized with versioned filenames (e.g., Product_V1.psd, Product_V2.psd).
🧰 Step 7: Open and Edit in Photoshop
Now the creative part begins. Open your exported render in Adobe Photoshop to fine-tune the final look:
Essential Post-Processing Steps
- Color Correction:
- Use Curves or Color Balance for subtle adjustments.
- Shadow and Highlight Control:
- Adjust shadow opacity or add gradient fades for realism.
- Reflections Enhancement:
- Duplicate reflection layers and reduce opacity for soft glow.
- Background Replacement:
- Add branded backgrounds, textures, or product staging.
- Text and Branding:
- Overlay logos, taglines, or labels directly on the image.
💡 Pro Tip: Use Adjustment Layers in Photoshop for non-destructive editing — this keeps your render data intact.
🧩 Step 8: Export Final Deliverables
When your post-processing is complete:
- Go to File → Export → Export As.
- Choose the appropriate file type:
- PNG → for transparent product visuals.
- JPEG → for web and social media.
- TIFF or PSD → for print and layered client files.
- Export at 300 DPI for print-quality and 72 DPI for web.
🎯 Pro Tip: Keep a master PSD with layers and a flattened export for client delivery.
✅ Step 9: Maintain a Photoshop Template
To save time on future projects:
- Create a reusable Photoshop template that includes:
- Color grading layers.
- Brand logo positions.
- Text overlay styles.
- Adjustment layer presets.
- Use it for consistent visual identity across all renders for a single client.
💡 Workflow Example:
For a product series, reuse the same Photoshop color grading and typography across all images for a unified marketing set.
✅ Conclusion
Exporting your renders from Adobe Substance 3D Stager to Photoshop bridges the gap between 3D visualization and professional marketing design. By exporting in layered PSD or transparent PNG formats, you gain full control over lighting, color, and branding without losing render fidelity.
👉 Take your renders further with the Adobe Substance 3D Collection free trial — the complete suite for 3D design, texturing, lighting, and compositing.