Cotton fabric may look simple — but under the surface, it’s an intricate weave of soft, twisted fibers that scatter light in subtle, beautiful ways. Recreating that tactile realism in Adobe Substance 3D Designer is a rewarding exercise in procedural texturing.
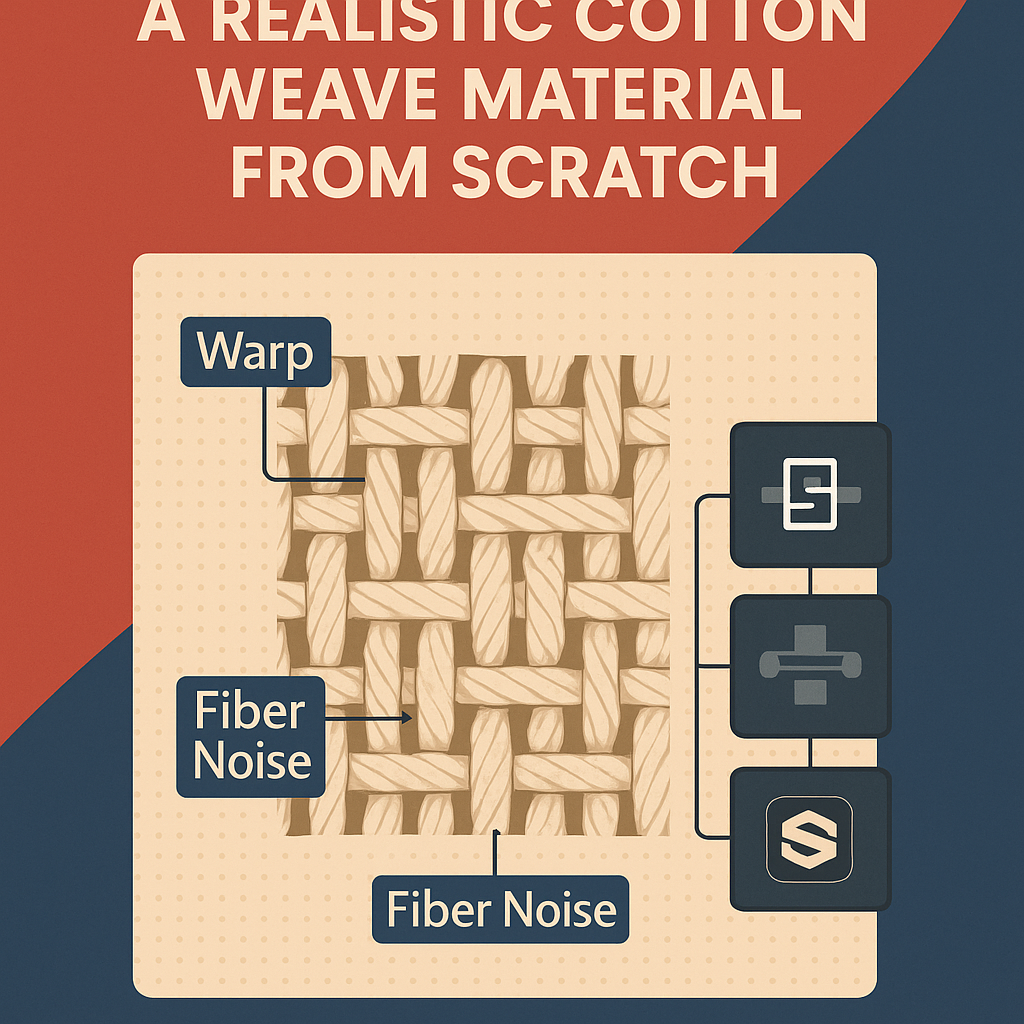
In this tutorial, you’ll learn how to build a realistic cotton weave material from scratch, entirely with nodes. You’ll create the warp and weft threads, introduce organic softness, and generate PBR outputs ready for Substance 3D Painter, Stager, or any physically based renderer.
👉 Get started with the Adobe Substance 3D Collection free trial — it includes Designer, Painter, Sampler, and Stager, the complete 3D workflow toolkit.
🧱 Step 1: Create the Base Graph
- Open Substance 3D Designer → New Substance Graph (PBR Metallic/Roughness).
- Name your graph “Cotton_Weave.”
- Set your resolution to 2048×2048 for detailed fiber control.
💡 Pro Tip: Cotton requires subtle variation — use higher map resolution for smoother normals and better soft-light scattering.
🧩 Step 2: Build the Weave Pattern
- Add a Tile Generator node and set the Pattern Type to Square.
- Adjust X and Y Amount to around 8–12 to form a basic weave grid.
- Duplicate this node, rotate it by 90°, and offset slightly.
- Blend the two using Min (Darken) mode to create the warp and weft structure.
🎯 Workflow Tip: Cotton weaves are tighter and smoother than burlap or jute. Keep the spacing small and even.
🪡 Step 3: Add Organic Irregularity
Cotton threads aren’t perfect — introduce softness and shape variation:
- Add a Directional Warp node after each Tile Generator.
- Use a Perlin Noise map as the intensity input.
- Slightly reduce warp intensity (0.1–0.2).
- Add a Blur HQ Grayscale node to soften hard thread edges.
💡 Pro Tip: Layering multiple warps creates the subtle undulations found in natural fibers.
🌫️ Step 4: Add Micro Fiber Detail
To simulate cotton’s fuzzy surface:
- Add a Fibers 2 or Clouds 3 node.
- Blend it over your weave pattern using Overlay or Soft Light mode.
- Lower opacity (0.15–0.25) so fibers stay delicate and non-dominant.
- Use a Levels node to control contrast.
🎯 Workflow Tip: Adding random fiber noise gives cotton that soft, diffused reflectivity under HDR lighting.
🎨 Step 5: Create Base Color (Albedo)
- Add a Gradient Map node and connect your main pattern to it.
- Use light, neutral tones (off-white, cream, or soft gray).
- Add a Grunge Map 008 multiplied at 5–10% opacity to simulate subtle wear.
💡 Pro Tip: For dyed cotton, adjust hue and saturation in an HSL Node without affecting roughness or height.
⚙️ Step 6: Generate PBR Maps
Height & Normal
- Connect your final weave pattern to a Height Map output.
- Convert it to Normal Map using the Normal node (Intensity: 5–8).
Roughness
- Duplicate your fiber blend and invert it.
- Use a Levels node to brighten overall tone (cotton = matte surface).
- Output range: 0.75–0.9 for realistic roughness.
Ambient Occlusion
- Feed your Height Map into an AO Generator for realistic shadowing between threads.
🎯 Pro Tip: Cotton doesn’t have sharp light reflections — keep normal depth moderate and roughness high.
🧰 Step 7: Organize and Expose Parameters
- Frame your graph into labeled sections (Pattern / Fibers / Outputs).
- Right-click parameters like “Thread Density,” “Warp Intensity,” and “Color Tint” → Expose Parameters.
- Save as
.sbsarfor reusability inside Painter and Stager.
💡 Workflow Tip: Exposed controls make it easy to produce multiple cotton variants (white, dyed, washed).
🎥 Step 8: Preview in 3D View
- Switch to 3D View and assign your material to a sphere or plane.
- Load a soft studio HDRI environment for realistic reflections.
- Adjust Height and Normal intensity until you achieve the right softness.
🎯 Pro Tip: Try the Substance Fabric Shader preset for even more accurate light diffusion.
✅ Step 9: Export and Use in Painter or Stager
Once you’re happy with the result:
- Export the material as
.sbsar. - In Substance 3D Painter, drag and drop onto your object (shirt, bag, or cloth).
- Adjust roughness and color live.
- In Stager, apply it to furniture or packaging props for photo-real textile visuals.
✅ Conclusion
With a combination of simple nodes and thoughtful noise layers, you can craft a beautifully realistic cotton weave entirely in Adobe Substance 3D Designer. The result is light, soft, and perfect for clothing, packaging, or interior renders.
👉 Start experimenting today with the Adobe Substance 3D Collection free trial — the essential toolkit for 3D artists.
