When working with PBR (Physically Based Rendering) materials in Adobe Substance 3D Sampler, three channels control how your surface reacts to light and texture: Normal, Height, and Roughness.
Together, these define a material’s sense of realism — how it catches highlights, feels rough or smooth, and appears three-dimensional. Whether you’re fine-tuning a photo-based material or enhancing one generated by AI, understanding these channels is key to achieving professional-quality results.
👉 Follow along with the Adobe Substance 3D Collection free trial, which includes Sampler, Designer, Painter, and Stager.
🧠 Understanding the Three Key Channels
Before adjusting anything, it helps to understand what each channel does:
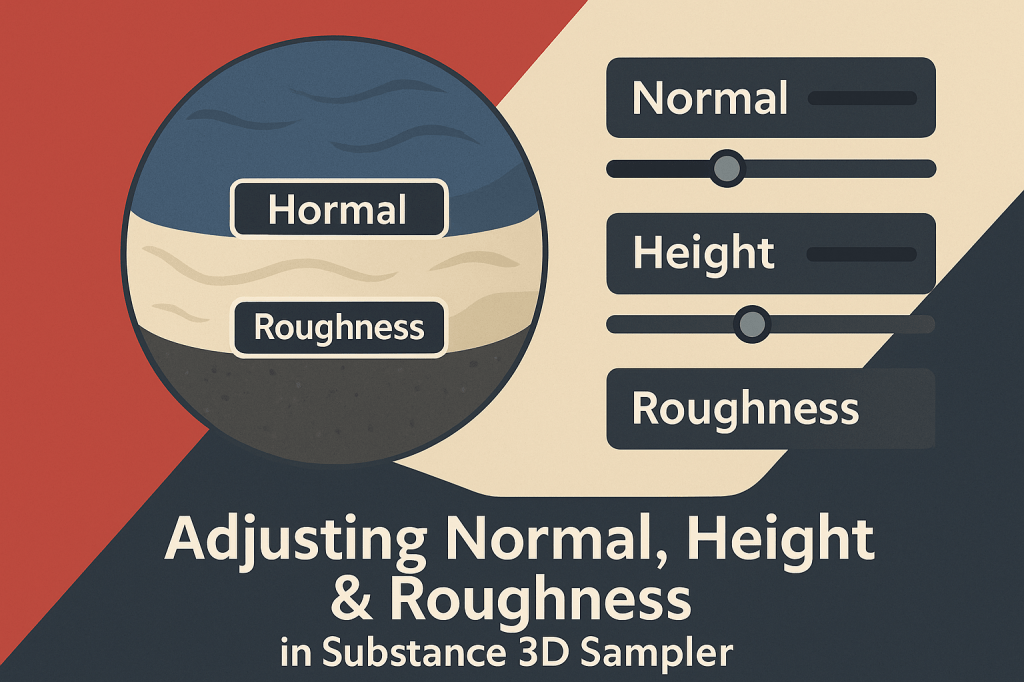
Normal Map
- Simulates small surface details like bumps, grooves, or fabric weaves.
- Uses RGB data to fake lighting direction without altering actual geometry.
- Controls how light interacts at a micro level.
Height Map
- Represents true depth information in grayscale (white = high, black = low).
- Used to create parallax or displacement in 3D rendering.
- Perfect for defining macro details like cracks, tiles, or stitching.
Roughness Map
- Dictates surface reflection.
- Black = smooth and glossy; white = matte and diffuse.
- Essential for realism — defines whether a surface looks wet, metallic, or chalky.
💡 Together, these three channels shape the tactile “feel” of any material.
🧱 Step 1: Import or Create a Material
- Open Adobe Substance 3D Sampler.
- Import a material or create one using Image to Material (AI-Powered).
- Once loaded, check the right-hand Properties panel — you’ll see controls for all PBR channels.
🎯 Pro Tip: If you’re starting from a photo, Sampler automatically generates the Normal, Height, and Roughness maps for you.
🪄 Step 2: Adjusting the Normal Map
Normal maps control how fine details appear under lighting.
- Select your material layer.
- In the Normal Section, find the Strength slider.
- Increase to exaggerate surface bumps — decrease for smoother results.
- Use Invert Normal if lighting direction looks reversed.
💡 Example: For fabric or concrete, use subtle normals (strength 0.2–0.4). For stone or bark, increase intensity (0.6–0.9) for deeper visual relief.
🎨 Pro Tip: You can also add a Normal Combine filter to layer multiple normal sources (e.g., weave + scratches).
🧩 Step 3: Adjusting the Height Map
Height maps define large-scale depth, often influencing the Normal map automatically.
- Scroll to the Height Section in your Properties panel.
- Adjust the Intensity slider to increase or decrease depth.
- Use Invert Height if your peaks and valleys look reversed.
- Add a Levels Filter to remap grayscale values for better contrast.
💡 Workflow Tip: Overly strong height maps can break tiling or cause artifacts — aim for subtle depth that complements the normal map.
🎯 Example: Use higher intensity for cobblestone or fabric stitching, and lower intensity for smoother materials like painted metal or leather.
🌫️ Step 4: Adjusting the Roughness Channel
Roughness defines how shiny or matte a surface looks under light.
- Go to the Roughness Section.
- Move the Roughness Slider to globally adjust reflectivity.
- Values near 0 = shiny or wet (glass, plastic, metal).
- Values near 1 = matte or chalky (wood, concrete, fabric).
- Use a Roughness Map Filter to introduce variation:
- Add grunge, fingerprints, or microtexture for realistic imperfections.
- Fine-tune local reflections using the Brush Mask Tool for painted effects.
🎨 Pro Tip: Roughness variation is more important than overall value — even subtle noise can make surfaces more believable.
🧠 Step 5: Combine Channels for Realistic Interplay
These three channels work best when they balance each other.
- High Roughness + Strong Normal → matte and detailed (e.g., brick, fabric).
- Low Roughness + Moderate Height → reflective yet tactile (e.g., polished stone).
- Neutral Roughness + Intense Height → porous realism (e.g., mud, aged plaster).
💡 Workflow Tip: Always preview your material under different HDRI lighting setups to see how channels interact.
🧰 Step 6: Add or Replace Maps Manually
If you want more control or use custom maps:
- Click the Channel icon (three dots) beside each section.
- Choose Replace Input Map → Import your own Normal, Height, or Roughness map.
- Blend them with existing data using filters or blend modes (Overlay, Multiply, etc.).
🎯 Example: You can overlay a scratch normal map or a fingerprint roughness layer for realism.
💾 Step 7: Export Your Tuned Material
Once you’re satisfied:
- Click Share → Export As → SBSAR File.
- Export textures in PNG or EXR format for your workflow.
- Use your tuned material in:
- Substance 3D Painter (for model texturing).
- Substance 3D Stager (for rendering).
- Unreal Engine / Unity / Blender (for real-time applications).
💡 Pro Tip: Keep naming conventions like Fabric_Roughness_0.8 or Concrete_Height_Enhanced to track your variations.
✅ Conclusion
Mastering Normal, Height, and Roughness adjustments in Substance 3D Sampler is essential for turning any flat texture into a lifelike, touchable surface. By balancing micro and macro detail with reflective behavior, you create materials that feel truly real under any light.
👉 Start experimenting with your own materials today using the Adobe Substance 3D Collection free trial and experience how precise channel control can transform your 3D textures.
