From spacecraft hulls to futuristic armor, metal panels and sci-fi surfaces define the mechanical realism of 3D environments. In Adobe Substance 3D Painter, you can layer procedural patterns, edge wear, and emissive accents to design detailed, production-ready materials for film, games, or concept art.
This tutorial guides you through building a sci-fi metal panel texture from scratch — using masks, height maps, and glowing details that make your model stand out.
👉 Try it yourself with a free trial of the Adobe Substance 3D Collection and learn how to construct dynamic mechanical surfaces step by step.
🧱 Step 1: Establish the Metal Base
- Import your 3D model into Substance 3D Painter.
- Apply a Smart Material like Steel Brushed, Iron Raw, or Titanium.
- Set Metallic = 1 and adjust Roughness between 0.3–0.5 for a polished industrial finish.
- Slightly tint the Base Color with gray-blue or gunmetal tones for that sci-fi aesthetic.
💡 Tip: Use Anisotropy filters or directional noise to mimic brushed steel reflections.
⚙️ Step 2: Add Panel Patterns
- Create a new Fill Layer with Height and Color enabled.
- Add a Black Mask → Add Fill → Procedural → Grunge Panel Lines or Sci-Fi Grid.
- Adjust:
- Balance → defines panel spacing
- Scale → controls grid size
- Contrast → sharpens panel edges
- Set Height = +0.05 for raised edges or -0.05 for recessed seams.
🎯 Pro Tip: Use multiple panel masks at different scales for layered mechanical complexity.
🧩 Step 3: Add Edge Wear and Surface Damage
- Create another Fill Layer and enable Metallic, Roughness, and Height.
- Add a Black Mask → Generator → Metal Edge Wear.
- Adjust:
- Wear Level for intensity
- Contrast for edge definition
- Grunge Amount for randomness
- Optionally, add a Grunge Scratches texture overlay for fine wear marks.
💡 Tip: Keep wear concentrated near seams and panel corners for realism.
💡 Step 4: Add Paint or Coating Layers
To add color and design variation:
- Create a new Fill Layer with your chosen Base Color (e.g., orange, blue, or white).
- Add a Black Mask → Generator → Dirt to control chipped paint areas.
- Lower Metallic to 0 and slightly raise Roughness for matte coatings.
- Use Anchor Points to synchronize your paint mask with scratches or edge wear.
🎨 Pro Tip: Apply decals or warning labels with Stencil Projection for extra detail.
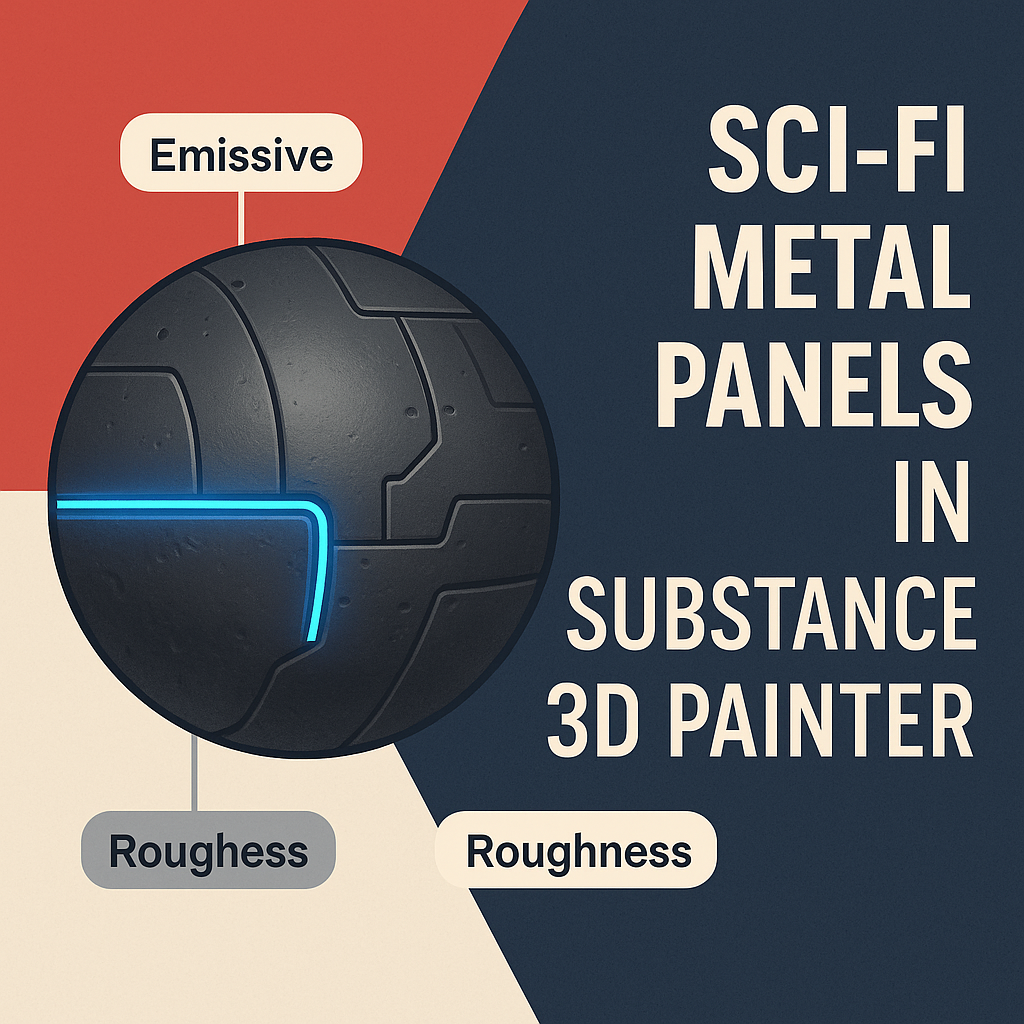
🔋 Step 5: Add Emissive Sci-Fi Lights
- Add a new Fill Layer with Emissive and Color channels enabled.
- Pick bright neon colors (blue, green, red).
- Mask it with Procedural → Tech Lines or Circuit Pattern.
- Adjust Emissive Intensity until it glows naturally in viewport.
💡 Bonus: Stack two emissive layers with different hues for advanced light gradients.
🌈 Step 6: Add Surface Details and Grime
- Create a Fill Layer with Roughness and Height enabled.
- Add a Black Mask → Generator → Dirt.
- Increase Balance for subtle dust or grime buildup around edges.
- Apply a Color Correction Filter to tone down saturation across the whole material for a cinematic finish.
🔦 Step 7: Preview and Lighting Setup
- Switch to Display Settings → Environment Map → Studio Sci-Fi Light or Cool Industrial HDRI.
- Enable Tone Mapping (ACES) and Bloom for glowing effects.
- Rotate lighting to highlight panels, edges, and emissive regions.
🎯 Pro Tip: Slightly lower Environment Exposure so emissive elements stand out clearly.
💾 Step 8: Export and Render
- Go to File → Export Textures.
- Use the PBR Metallic Roughness + Emissive template.
- Export at 4K for detailed environments or 2K for real-time projects.
Your sci-fi metal panels are now ready for use in Blender, Unreal Engine, or Adobe Stager.
✅ Conclusion
With just a few layered effects, you can create intricate sci-fi materials that look engineered, realistic, and futuristic. Adobe Substance 3D Painter makes this easy with procedural patterns, emissive control, and Smart Masks that work seamlessly together.
👉 Start building your own futuristic surfaces today with the Adobe Substance 3D Collection free trial — and design the next generation of 3D materials.
