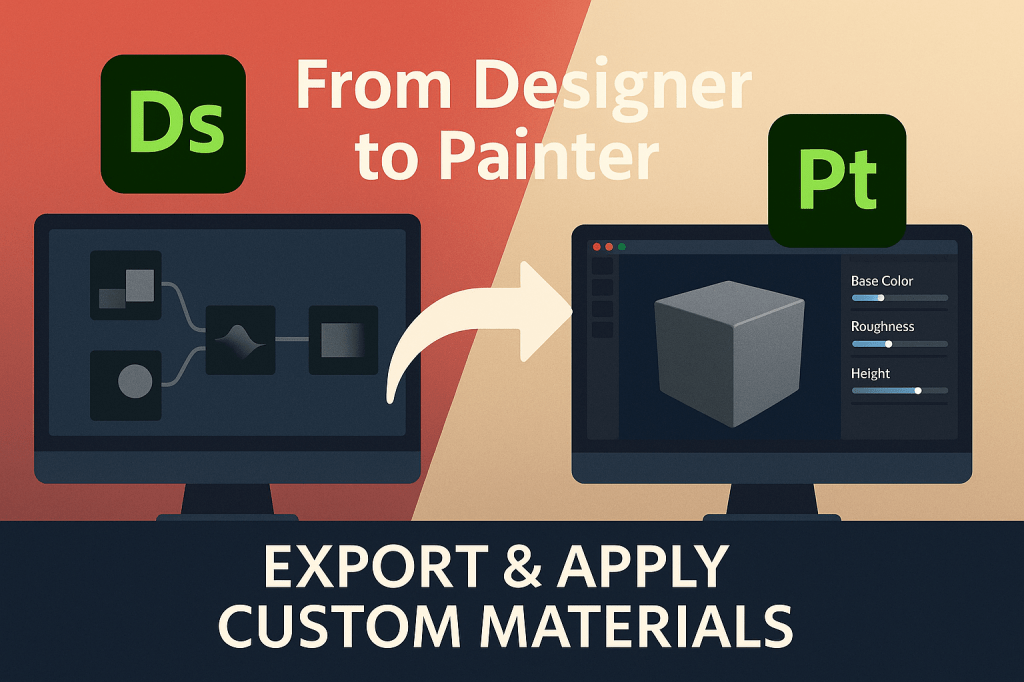
Creating procedural materials in Adobe Substance 3D Designer is just the first step. The real magic happens when you export your custom materials and apply them in Substance 3D Painter, where they interact with real lighting, texture painting, and 3D models.
In this tutorial, you’ll learn how to publish, export, and apply materials created in Designer directly inside Painter — a seamless workflow for turning procedural designs into production-ready textures.
👉 Start building and texturing like a pro with the Adobe Substance 3D Collection free trial — it includes both Designer and Painter, along with Sampler and Stager.
🧱 Step 1: Prepare Your Material in Designer
Before exporting, make sure your material is clean, organized, and optimized.
- Open your Substance 3D Designer project.
- Ensure your material graph uses the Physically Based (Metallic/Roughness) template — Painter relies on PBR workflows.
- Verify you have the following output nodes:
- Base Color (RGBA)
- Roughness (Grayscale)
- Metallic (Grayscale)
- Normal (RGB)
- Height (Grayscale)
- Ambient Occlusion (Grayscale)
💡 Pro Tip: Label each output node clearly — Painter uses these labels to auto-detect the maps when importing.
⚙️ Step 2: Expose Parameters for Flexibility
If you want your material to be adjustable inside Painter:
- Go to Graph → Edit Input Parameters.
- Expose controls such as Color Variation, Roughness Intensity, or Grunge Scale.
- Give each parameter a friendly name and default value.
🎯 Pro Tip: Exposed parameters appear as sliders in Painter, allowing you (or others) to tweak your material dynamically.
💾 Step 3: Publish as an .SBSAR File
- Save your material graph.
- Right-click your graph in the Explorer panel → Publish .SBSAR File.
- Choose a location (e.g., Desktop or Materials folder).
- In the Publish dialog, include metadata like Material Name, Author, and Tags for easy searching later.
💡 Bonus: The .SBSAR file format is the standard for all Substance materials — it’s lightweight, portable, and compatible across Adobe and game engines.
🧩 Step 4: Import the Material into Substance 3D Painter
- Open Substance 3D Painter.
- Go to Assets → Import Resources.
- Click Add Resources and select your
.SBSARfile. - Under Resource Type, choose Base Material.
- Set Import Your Resources To:
- Current Session (temporary use), or
- Library (permanent access for future projects).
- Click Import to add it to Painter’s shelf.
🎨 Pro Tip: Drag your imported material onto a 3D mesh in Painter to see it instantly applied.
🧠 Step 5: Apply and Adjust in Painter
- In the Layers panel, add a new Fill Layer.
- From the Assets Shelf, drag your custom material onto the Fill Layer.
- Adjust the exposed parameters (sliders, colors, etc.) in the Properties panel.
- Combine with painted layers, masks, and generators for detailed realism.
💡 Workflow Tip: Use Painter’s 3D view and lighting rotation to test your material under various angles and environments.
🧱 Step 6: Stack and Blend Multiple Materials
You can layer multiple custom materials for complex results:
- Add another Fill Layer above your first one.
- Apply a different .SBSAR material.
- Add a Black Mask → Generator → Mask Editor to control where it appears (e.g., edge wear or dirt).
- Adjust Opacity to blend them naturally.
🎯 Pro Tip: This technique lets you create hybrid surfaces — like wet concrete, aged leather, or rusty metal — all procedurally.
🧰 Step 7: Save or Export the Final Textures
Once your material looks right in Painter:
- Go to File → Export Textures.
- Choose your target output template (e.g., PBR Metallic Roughness, Unreal Engine 5, Unity 3D).
- Select export resolution (typically 2K or 4K).
- Export to your project’s texture folder.
💡 Bonus: Save the entire layer stack as a Smart Material to reuse your setup instantly in future projects.
🔗 Step 8: Optional — Use Your Material in Other Apps
Your exported .SBSAR or texture maps can also be used in:
- Adobe Substance 3D Stager (for product renders)
- Adobe Dimension (for scene composition)
- Blender, Unreal Engine, or Unity (for 3D pipelines)
🎨 Pro Tip: When used in Stager, your material will retain all lighting and PBR accuracy for high-quality rendering.
✅ Conclusion
The Designer → Painter workflow is the backbone of Adobe’s procedural ecosystem. Once you’ve created your own material in Designer and exported it as an .SBSAR, it becomes a reusable, dynamic asset that can adapt to any project — from games and films to product visualizations.
👉 Try the Adobe Substance 3D Collection free trial and start building your library of procedural materials today.
