Once you’ve created the perfect material in Adobe Substance 3D Sampler, the next step is to bring it to life on your 3D models — and that’s where Substance 3D Painter shines.
Sampler and Painter work hand-in-hand within the Adobe Substance 3D Collection ecosystem, allowing you to seamlessly import custom materials and apply them to your textures with full PBR accuracy. Whether you’re working on product renders, game assets, or stylized art, this integration ensures your materials behave exactly as designed.
👉 Try it yourself with the Adobe Substance 3D Collection free trial — including Sampler, Painter, Designer, and Stager.
🧱 Why Integrate Sampler with Painter?
The workflow between Sampler and Painter is built for efficiency and realism.
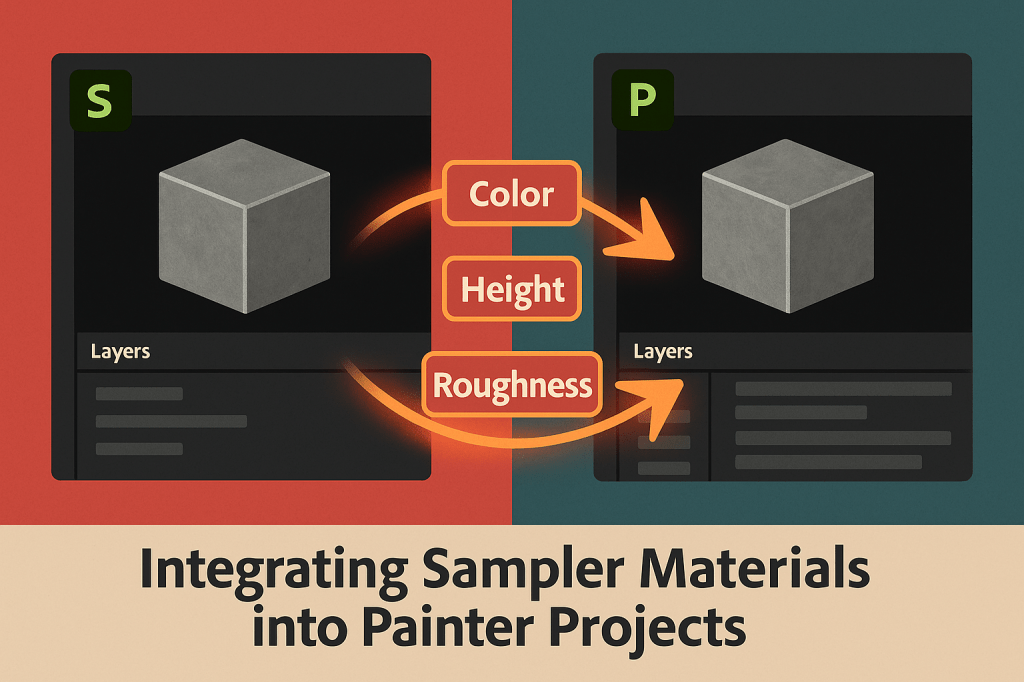
By exporting materials as .SBSAR files (Substance Archives), you can:
- Retain procedural flexibility (editable parameters inside Painter).
- Automatically include all PBR maps (Base Color, Normal, Height, Roughness, AO, etc.).
- Control texture attributes like depth, glossiness, and color directly in Painter.
- Reuse materials across multiple projects with minimal setup.
💡 Simply put — Sampler builds the material, and Painter brings it to life on your model.
🧩 Step 1: Create or Choose a Material in Sampler
- Open Adobe Substance 3D Sampler.
- Either:
- Create a material using Image to Material (AI-Powered), or
- Design one procedurally with layers and filters.
- Once you’re satisfied, name your material clearly (e.g., Polished_Concrete, Rough_Wood, etc.).
🎯 Pro Tip: If you plan to use multiple variations of the same material, expose adjustable parameters like Roughness, Color, or Height before export.
💾 Step 2: Export the Material from Sampler
To integrate with Painter, you’ll need to export your Sampler material as a Substance file:
- Go to the top menu → Share → Export As → SBSAR File.
- Choose an export location — ideally your Substance library folder.
- Optional: Export texture maps individually (Base Color, Normal, Roughness, etc.) if you want manual control later.
💡 Workflow Tip: The .SBSAR format preserves procedural flexibility — meaning you can tweak the material directly in Painter without re-exporting.
🧰 Step 3: Import the Material into Substance 3D Painter
- Open Adobe Substance 3D Painter.
- Create or open your project and load your 3D model.
- In the Assets Panel, click the + icon → Import Resources.
- Browse and select your
.SBSARfile from Sampler. - Under Import Options, choose:
- Resource Type: “Substance Material (.SBSAR)”
- Import To: “Project” (for one-time use) or “Library” (for long-term reuse).
- Click Import.
Your Sampler material now appears in the Materials section — ready for painting!
🖌️ Step 4: Apply the Material to Your Model
- Select your 3D object or texture set in Painter.
- Drag your Sampler material from the Assets Panel onto the model surface.
- The material automatically applies with its full PBR setup — including color, roughness, and depth maps.
- Adjust Tiling, Projection Mode, or UV Scale as needed in the Properties Panel.
🎨 Pro Tip: You can stack multiple materials in Layer Mode, blending them with masks to create realistic wear, scratches, or dirt buildup.
🧠 Step 5: Adjust Exposed Parameters in Painter
If you exposed parameters in Sampler before export, you can now edit them directly in Painter:
- With the material selected, open the Properties Panel.
- You’ll see custom sliders for attributes like:
- Base Color
- Roughness
- Height Depth
- Edge Wear
- Pattern Scale
- Adjust these values interactively — Painter updates the surface in real-time.
💡 Example: Change a polished concrete to matte by increasing Roughness, or add weathering by deepening Height and Ambient Occlusion.
🔁 Step 6: Combine with Painter’s Smart Masks and Layers
Painter allows you to expand your Sampler material’s realism through:
- Smart Masks: Add procedural dirt, scratches, or paint wear.
- Generators: Automate details like curvature or edge highlights.
- Fill Layers: Apply multiple Sampler materials on top of each other.
🎯 Pro Tip: Use Anchor Points to let masks interact with specific material layers — perfect for precise blending.
🌇 Step 7: Preview Under Real Lighting
- Switch to the Display Settings panel in Painter.
- Change the Environment Map (HDRI) to preview the material under different lighting setups.
- Adjust Environment Rotation to simulate light direction.
- Enable Height Displacement or Normal Detail for enhanced realism.
💡 Workflow Tip: Test your material under neutral light and one dramatic HDRI (like “Tomoco Studio”) to ensure consistency.
💾 Step 8: Export the Final Textures
Once your material looks perfect:
- Go to File → Export Textures.
- Select an export preset (e.g., PBR Metallic Roughness, Unreal Engine 5, Unity 3D).
- Set resolution (2K–8K) and format (PNG, EXR, or TIFF).
- Click Export.
Your texture set now includes your Sampler material fully integrated and baked into your Painter project.
✅ Conclusion
Integrating Sampler materials into Painter is one of the most powerful workflows in the Adobe Substance 3D ecosystem. By combining Sampler’s AI-driven material creation with Painter’s precision texture control, you can produce production-ready, photorealistic surfaces faster than ever.
👉 Get started today with the Adobe Substance 3D Collection free trial — and build a seamless pipeline between material generation and 3D texturing.
