Displacement maps are the secret behind truly three-dimensional surface realism in 3D art. Unlike normal or bump maps, which only simulate texture depth through shading, displacement maps actually modify geometry — creating real peaks, valleys, and depth.
With Adobe Substance 3D Sampler, you can generate accurate displacement maps directly from photographs or procedural textures using its AI-powered tools. Whether you’re crafting rocky terrain, embossed leather, or detailed concrete, displacement maps make your surfaces pop with lifelike dimensionality.
👉 Try it yourself with the Adobe Substance 3D Collection free trial — which includes Sampler, Designer, Painter, and Stager.
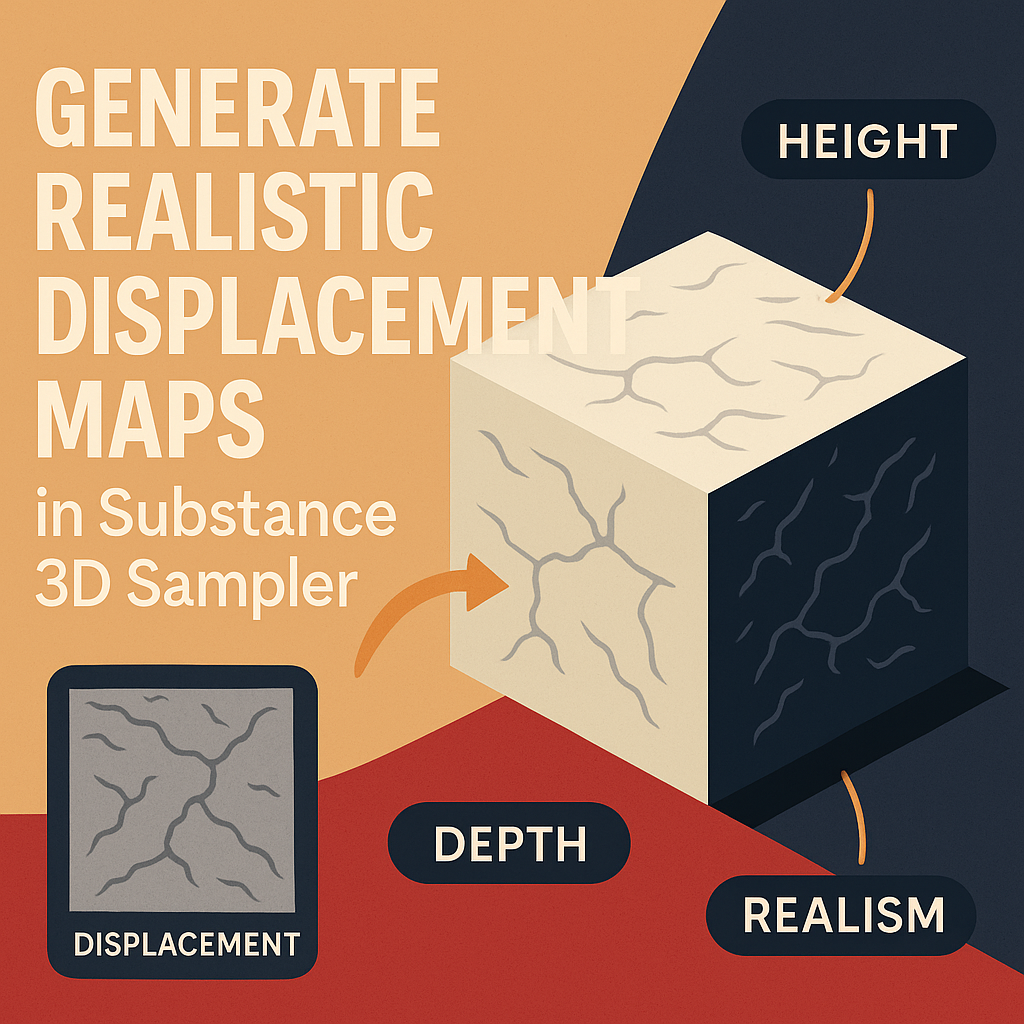
🧠 What Is a Displacement Map?
A displacement map is a grayscale image where brightness controls the height of surface geometry:
- White = High areas (raised)
- Black = Low areas (recessed)
When applied in a 3D renderer or engine, displacement maps physically deform the mesh to match surface depth, unlike normal or height maps which only fake depth visually.
💡 In Substance 3D Sampler, displacement maps are generated automatically as part of the PBR workflow — and can be fine-tuned for perfect realism.
🧱 Step 1: Import or Create a Material in Substance 3D Sampler
- Launch Adobe Substance 3D Sampler.
- Drag and drop an image into the workspace (e.g., stone, bark, or fabric).
- Choose Image to Material (AI Powered) from the import options.
Sampler will instantly analyze the image and create all PBR maps, including:
- Base Color
- Height
- Normal
- Roughness
- Ambient Occlusion
🎯 Pro Tip: High-resolution, well-lit images with strong texture detail produce more accurate displacement results.
🌄 Step 2: Locate the Height Map
The Height Map forms the foundation of your displacement map.
- In the Properties panel, scroll to the Height section.
- Review the grayscale image that represents elevation.
- Click the small preview to open the 2D view.
💡 You’ll notice that areas of strong contrast (light vs dark) translate to surface relief.
If your material came from the AI Image-to-Material workflow, Sampler’s algorithms have already extracted height information based on visual texture analysis.
🪄 Step 3: Refine the Height Map for Realism
Displacement realism depends on a balanced, accurate height map. Adjust it using Sampler’s non-destructive filters:
- Levels Filter – Adjust contrast to sharpen or smooth surface detail.
- Invert – Swap high and low regions if geometry appears reversed.
- Blur – Soften overly sharp transitions.
- Detail from Normal – Extract micro-relief from the normal map to enhance fine structure.
- Height Adjustment Filter – Modify depth intensity for subtle or dramatic displacement.
🎨 Pro Tip: Think of “Height” as physical geometry — too much contrast can break realism or cause rendering artifacts.
🧩 Step 4: Preview Displacement in 3D View
- Switch to the 3D view.
- Under the Viewport Settings, enable Height → Displacement Preview.
- Adjust the Tessellation or Subdivision Level to increase geometric detail.
Watch your material physically transform as the light interacts with real geometry.
- Use Side Lighting to inspect surface elevation.
- Rotate the model to confirm proper height depth and smoothness.
💡 Workflow Tip: If the geometry appears overly deformed, reduce Height Intensity by 20–30%.
🧱 Step 5: Convert Height to Displacement Map
If you plan to export a standalone displacement map:
- In the Layers panel, right-click the material.
- Choose Export → Export Outputs.
- Select Height as your displacement source.
- Save as
.EXR,.PNG, or.TIFF(EXR preferred for 16-bit or 32-bit precision).
🎯 Pro Tip: Always export displacement in high bit depth (16-bit or higher) to avoid banding and loss of smoothness.
⚙️ Step 6: Combine Displacement with Normal and Roughness Maps
For complete realism, combine displacement with other maps:
- Normal Map – Adds micro-detail without affecting geometry.
- Roughness Map – Controls light reflection across raised and recessed areas.
- Ambient Occlusion (AO) – Deepens shadows in cavities created by displacement.
💡 Example:
A cobblestone texture can use displacement for stone height, normals for fine grain, and roughness variation for worn areas — creating a photorealistic street surface.
🪞 Step 7: Test Your Displacement in Substance 3D Stager or Painter
- Export your
.SBSARor texture maps. - Open Substance 3D Stager or Painter.
- Apply the material to a 3D object.
- Enable Height → Displacement in the material settings.
- Adjust Displacement Scale to match physical proportions.
🎨 Pro Tip: In Stager, combine HDR lighting and shadows to emphasize surface depth and realism.
🧠 Step 8: Optimize for Performance
Displacement maps add geometry complexity, which can slow rendering. Optimize by:
- Using Lower Tessellation Levels for smoother performance.
- Baking displacement into normal maps for less GPU load.
- Exporting tileable 2K or 4K maps instead of massive 8K textures.
💡 Workflow Tip: Keep displacement subtle — it should enhance detail, not exaggerate it.
✅ Conclusion
With Adobe Substance 3D Sampler, generating realistic displacement maps is quick, powerful, and deeply integrated with the PBR workflow. By refining height data, adjusting intensity, and combining with other channels, you can achieve physically accurate materials that hold up under any lighting or camera angle.
👉 Start creating your own displacement-ready textures today with the Adobe Substance 3D Collection free trial and bring true depth to your 3D worlds.
