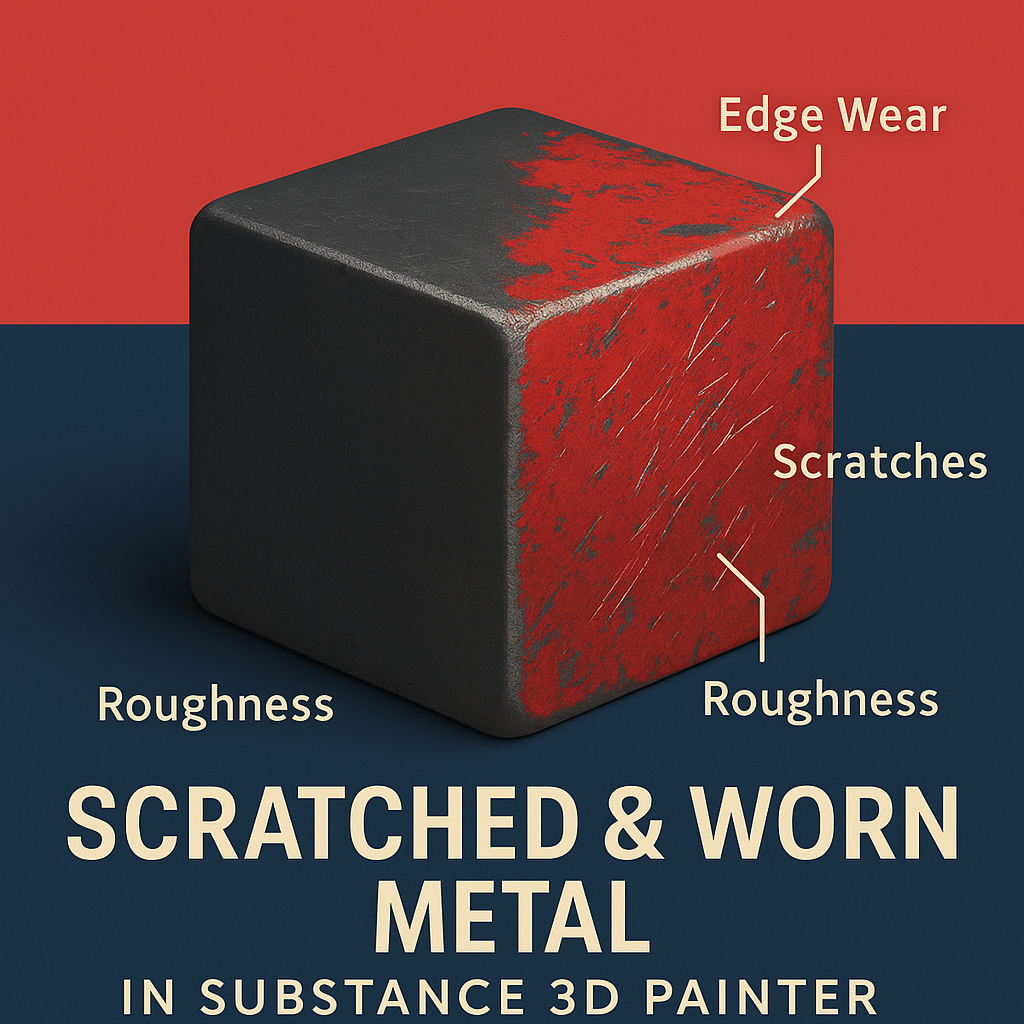
Scratches and wear marks give metal its story — signs of use, time, and realism. Whether you’re building a battle-worn robot, an aged prop, or an industrial machine, Adobe Substance 3D Painter makes it easy to add believable wear and tear using Smart Masks, generators, and procedural grunge textures.
This tutorial walks you through creating scratched and worn metal surfaces step by step, blending procedural detail with artistic control.
👉 Follow along with a free trial of the Adobe Substance 3D Collection and start transforming your clean models into production-ready assets.
🧱 Step 1: Apply a Base Metal Material
- Open Substance 3D Painter and import your model.
- Apply a Smart Material such as Steel Painted, Iron Raw, or Brushed Aluminum.
- Adjust the Roughness (0.3–0.6) depending on how polished or dull your metal should look.
💡 Tip: Use neutral studio lighting for material setup — high-contrast HDRIs exaggerate wear patterns too early.
⚙️ Step 2: Add an Edge Wear Layer
- Create a new Fill Layer and name it “Edge Wear.”
- Enable Color, Metallic, and Roughness, disable Height for now.
- Set Metallic = 1 and lower Roughness slightly for shiny exposed metal.
- Right-click → Add Black Mask → Add Generator → Metal Edge Wear.
🎯 Adjust key parameters:
- Wear Level → controls how much of the edges are exposed.
- Contrast → sharpens transitions.
- Grunge Amount → randomizes the pattern.
🧠 Pro Tip: For industrial looks, increase AO Influence so edges respond to object geometry more naturally.
🪓 Step 3: Add Scratches and Fine Surface Damage
- Add a Fill Layer above your edge wear layer.
- Disable all channels except Height and Roughness.
- Apply a Grunge Scratches, Fine Scratches, or Directional Scratches texture as the mask.
- Set Height intensity to around +0.02 to make scratches visible but subtle.
- Adjust Roughness variation to catch highlights along the scratches.
🎨 Pro Tip: Rotate the projection of your scratches to follow your object’s contours or flow direction.
🧩 Step 4: Add Dents and Deformation (Optional)
For added realism:
- Create another Height-only Fill Layer.
- Add a Grunge Dirt Bumps texture or Surface Imperfection mask.
- Increase Height to +0.05 for larger dents or -0.03 for recessed scuffs.
- Blend with Overlay mode for smooth transitions.
💡 This gives your metal the subtle deformations that make it feel solid and used.
🌈 Step 5: Add Painted Layer Wear (Optional)
If your object has painted metal:
- Add a Painted Color Layer above the metal.
- Right-click → Add Black Mask → Metal Edge Wear Generator again.
- Lower Wear Level for controlled chipping.
- Blend between the paint and exposed metal using Multiply or Overlay.
🎯 Pro Tip: Stack multiple paint colors for a layered industrial look.
💡 Step 6: Adjust Lighting and Preview
- Go to Display Settings → Environment Map → Studio Warm Light or Neutral Gray.
- Rotate the environment to emphasize edge reflections.
- Enable Post Effects → Tone Mapping (ACES) for balanced contrast.
💡 Workflow Tip: Use Depth of Field and close camera angles for cinematic renders that showcase your scratches and wear.
💾 Step 7: Export the Texture
- Go to File → Export Textures.
- Choose PBR Metallic Roughness.
- Export at 4K resolution for high-end assets or 2K for real-time rendering.
Use your worn metal materials in Blender, Unreal Engine, or Adobe Stager for realistic results.
✅ Conclusion
Scratched metal is where realism meets storytelling. In Adobe Substance 3D Painter, procedural wear tools make it easy to blend physics-based detail with artistic style — helping your 3D assets feel authentic and alive.
👉 Try it now with a free trial of the Adobe Substance 3D Collection and start mastering advanced surface wear effects.
