As your library of materials grows, efficiency becomes essential. Instead of rebuilding node setups from scratch, you can design a reusable Material Graph Template in Adobe Substance 3D Designer — a flexible, standardized foundation you can adapt for any material type.
This workflow is perfect for artists who create multiple procedural surfaces (wood, stone, fabric, metal) and want consistent structure, naming, and outputs across projects.
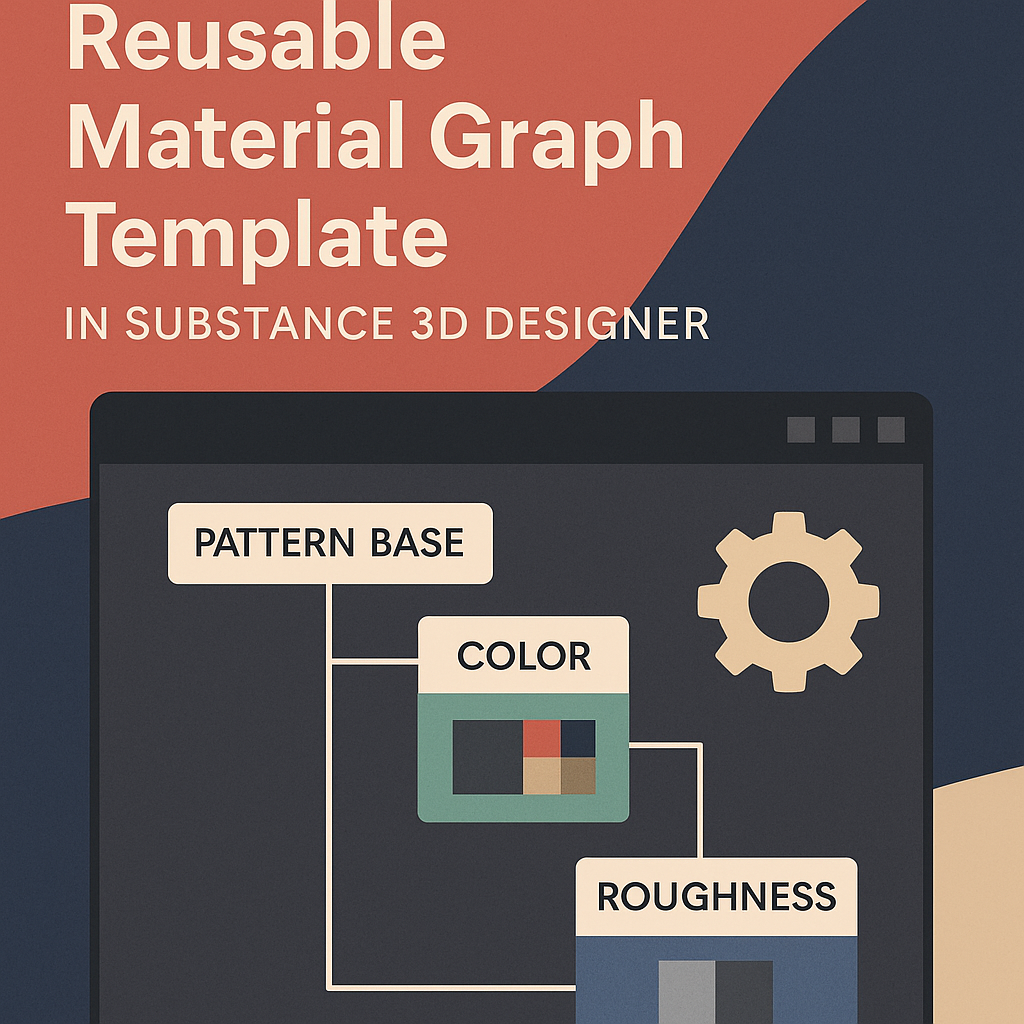
In this tutorial, we’ll walk through how to build a reusable graph template, explain the logic behind it, and show you how to use it to accelerate your Substance 3D workflow.
👉 Get started with a free trial of the Adobe Substance 3D Collection and build your first material template today.
🧠 Why Use a Graph Template?
A graph template acts as a blueprint for all your materials. Instead of starting from an empty graph, you begin with a pre-built structure that includes:
- Standardized PBR outputs (Base Color, Roughness, Height, Normal, AO, Metallic).
- Common node groups (Pattern, Grunge, Color, Masking).
- Pre-set parameter exposure for quick customization.
- Consistent naming and organization — especially useful in production teams.
💡 Think of it as a reusable engine — you just swap the input patterns or noise maps to create new surfaces instantly.
⚙️ Step 1: Start with a Clean Graph
- Open Adobe Substance 3D Designer.
- Go to File → New Substance Graph.
- Choose Physically Based (Metallic/Roughness) as the template.
- Name it Material_Template_Base.
🎯 Pro Tip: Save it in your “Templates” folder — you’ll duplicate it each time you start a new material.
🧱 Step 2: Add Core Output Nodes
Every reusable material needs the standard PBR outputs:
- Add the following Output nodes (Right-click → Add Node → Output):
- Base Color
- Roughness
- Metallic
- Height
- Normal
- Ambient Occlusion
- Label each node clearly and assign the proper Usage in the properties panel (e.g., Base Color, Roughness, etc.).
💡 Tip: Set default output sizes to 2048×2048 for consistency across materials.
🧩 Step 3: Build Core Node Groups
Create reusable node clusters for the most common material operations:
🪨 Pattern Generation
- Add a Tile Sampler or Shape Splatter node.
- Connect a Perlin Noise or Brick Generator for structural variation.
- Add a Transformation 2D node for scaling and rotation control.
- Label this frame Pattern Base.
🎨 Color and Surface Details
- Add a Gradient Map to control colorization.
- Add Clouds 2 or Grunge Map 003 for surface irregularities.
- Blend them together using Overlay or Multiply modes.
- Label this frame Color & Surface Variation.
🧱 Roughness & Height
- Use a Levels node connected to your base pattern for height definition.
- Pass it through a Normal Map node.
- Create a Roughness map using inverted or mixed grunge textures.
- Label this frame Micro Surface & Height.
🎯 Pro Tip: Group related nodes into frames (hotkey: F) and color-code them (right-click → Frame Color).
🧠 Step 4: Expose Key Parameters
To make your template flexible:
- Expose critical values like Pattern Scale, Color Variation, Grunge Intensity, and Roughness Level.
- Right-click any node parameter → Expose Parameter.
- In Graph → Edit Input Parameters, organize them into folders such as:
- Pattern Controls
- Surface Controls
- Color Controls
💡 Workflow Tip: Exposing parameters lets you reuse the template across projects without editing the graph manually.
🔗 Step 5: Add Optional Effects
Make your template adaptable to different material types by adding modular “optional” sections:
- Edge Wear: Add a Slope Blur Grayscale node connected to Height.
- Dust Layer: Add a Blend node with AO as the mask.
- Metallic Control: Include a Uniform Color node tied to a Metallic slider.
🎨 Pro Tip: Use toggle-style Boolean parameters (True/False) to enable or disable certain effects.
💾 Step 6: Save as a Template File
- When your structure is complete, go to File → Save As.
- Save your template in a dedicated directory such as:
Documents/Substance/Templates/ - Duplicate this file each time you start a new material project.
💡 Bonus: You can also export it as an SBSAR base to share with your team or use in Painter.
🧱 Step 7: Reuse and Customize
When creating a new material:
- Open a copy of your template file.
- Replace the Pattern Base input (e.g., switch from Bricks to Wood Grain).
- Adjust exposed parameters like Color Tint or Roughness Level.
- Your full material will update instantly across all outputs.
🎯 Pro Tip: You can create variations (Wood_Template, Stone_Template, Fabric_Template) for different material families while retaining consistent logic.
🌍 Step 8: Organize Your Template Library
To maximize efficiency:
- Store templates in categorized folders (e.g., Organic, Architectural, Industrial).
- Include preview thumbnails for quick browsing.
- Version your templates using dates or version numbers (e.g.,
Material_Template_v2_2025).
💡 Workflow Tip: Keeping templates versioned ensures backward compatibility for ongoing projects.
✅ Conclusion
A Reusable Material Graph Template is a time-saving powerhouse for anyone building procedural libraries in Adobe Substance 3D Designer. It ensures structure, consistency, and scalability — letting you focus on creativity rather than repetitive setup.
👉 Try building your first material template today with the Adobe Substance 3D Collection free trial and streamline your entire material creation workflow.
