From realistic human skin to alien creatures, organic materials are where artistry meets science. In Adobe Substance 3D Painter, you can achieve lifelike skin effects using subsurface scattering, micro-detail maps, and layered roughness — all without leaving your texturing workflow.
This tutorial will show you how to build realistic skin and organic surface materials step by step, ideal for characters, creatures, and VFX work.
👉 Follow along with a free trial of the Adobe Substance 3D Collection and explore how digital flesh comes to life.
🧱 Step 1: Establish the Skin Base
- Open Substance 3D Painter and import your character or creature model.
- Apply a Smart Material such as Human Skin, Alien Flesh, or Organic Base.
- Set Base Color to your target skin tone — adjust hue and saturation in the Color Picker.
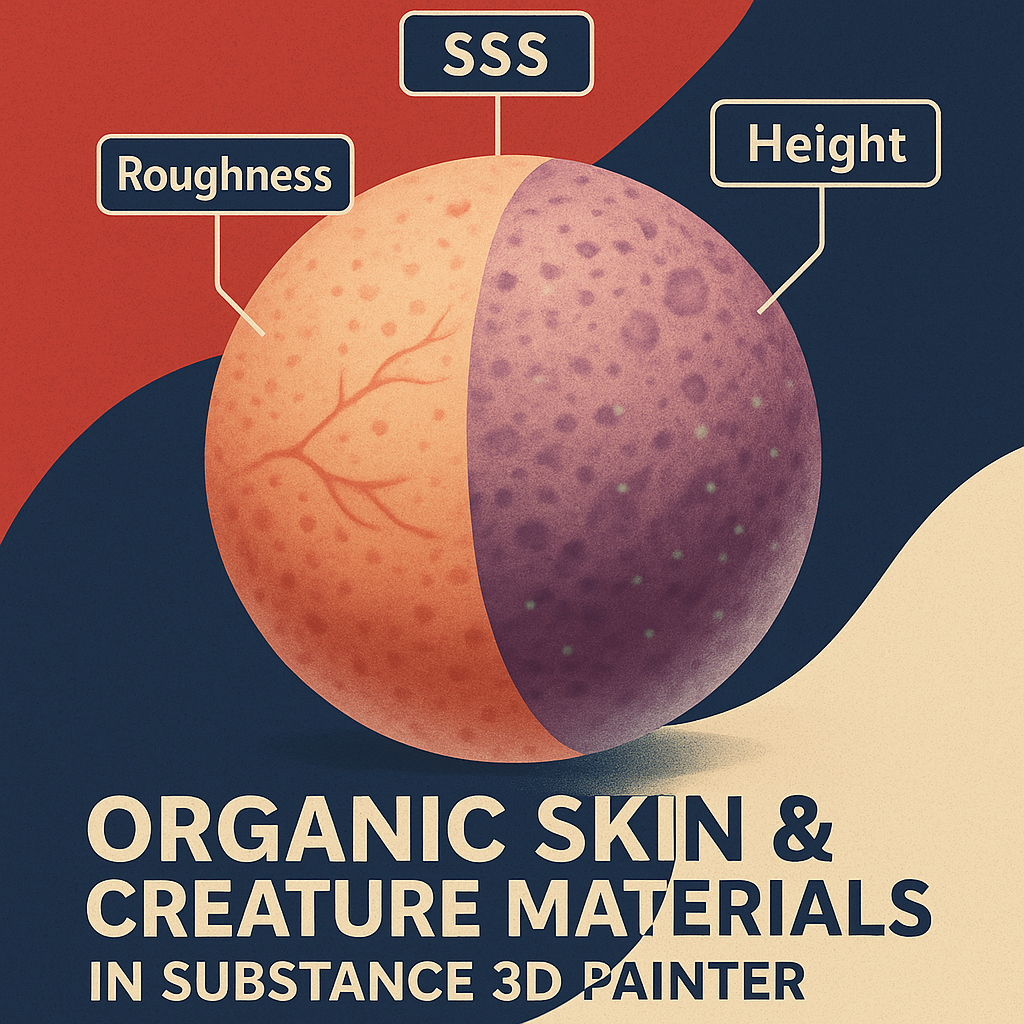
- Enable the Subsurface Scattering (SSS) channel for light diffusion.
💡 Tip: For human skin, choose warm reddish undertones. For creatures, experiment with blues, greens, or grays.
🩸 Step 2: Add Subsurface Scattering (SSS)
- In Shader Settings, ensure SSS is active.
- Add a Fill Layer and enable Scattering Color.
- Choose a tone slightly lighter and warmer than your Base Color.
- Set Scattering Intensity = 0.3–0.6 for human skin, or 0.6–1.0 for translucent creatures.
🎯 Pro Tip: The Scattering layer simulates light passing through skin, especially in thin areas like ears or fingers.
🧩 Step 3: Add Pores and Micro Detail
- Create a Fill Layer with Height and Roughness enabled.
- Use Grunge Pores, Skin Micro Detail, or Noise Fine as the mask.
- Set Height intensity = +0.01–0.03 for pores and bumps.
- Adjust Roughness variation for oily or dry areas.
💡 Workflow Tip: Add a Blur Filter for smoother transitions between high and low detail zones.
🪣 Step 4: Add Color Variations and Veins
- Add another Color-Only Fill Layer.
- Mask it with Clouds 2 or Organic Spots procedural texture.
- Use a subtle red or purple tone to simulate blood vessels beneath the skin.
- Lower Opacity to around 20–30% for a realistic blend.
🎨 Pro Tip: For alien skin, use bright cyan or deep magenta instead of red for stylized effects.
⚙️ Step 5: Add Imperfections and Damage
- Add a new Fill Layer for blemishes and scars.
- Use Grunge Scratches, Scars Fine, or Organic Cracks as a mask.
- Slightly darken or lighten Base Color to simulate scar tissue.
- Adjust Height = +0.02 or -0.02 depending on raised or recessed damage.
💡 Tip: Keep imperfections subtle — too much breaks realism.
🌈 Step 6: Refine Roughness for Realism
- Add a Roughness-only Fill Layer.
- Mask it with Noise Spots Fine to create uneven reflection zones.
- Use Levels to tweak roughness range between 0.2 and 0.7.
- Glossy areas (forehead, nose) should have lower roughness, while drier areas (cheeks, elbows) should be higher.
🎯 Workflow Tip: Test your material under rotating HDRI lighting to ensure consistent realism.
🔦 Step 7: Lighting and Preview Setup
- Go to Display Settings → Environment Map → Portrait Studio Light or Soft Warm HDRI.
- Enable Tone Mapping (ACES) for balanced contrast.
- Add slight Bloom for wet skin highlights.
- Adjust Environment Exposure to emphasize light scatter through thin surfaces.
💡 Pro Tip: For creatures, try colored lights (teal or orange) to enhance texture contrast.
💾 Step 8: Export Your Organic Material
- Go to File → Export Textures.
- Use the PBR Metallic Roughness with SSS preset.
- Export at 4K resolution for close-up shots.
Your organic material is now ready for use in Adobe Stager, Blender, or Unreal Engine with accurate light behavior.
✅ Conclusion
Skin is one of the most complex and rewarding materials to create — it requires balancing color, light, and microstructure. Adobe Substance 3D Painter gives you the flexibility to create both realistic humans and imaginative creatures with physically accurate lighting and texture depth.
👉 Start experimenting today with the Adobe Substance 3D Collection free trial and learn to craft lifelike organic surfaces.
