Creating a tileable brick texture is a classic first project for learning Adobe Substance 3D Designer — and for good reason. It combines structure, surface variation, and material realism, all built through the power of nodes. Unlike bitmap textures, a node-based approach lets you easily adjust scale, color, and wear without starting over.
In this tutorial, you’ll learn step by step how to use Designer’s procedural workflow to generate a seamless brick wall — complete with color variation, grout, and surface roughness.
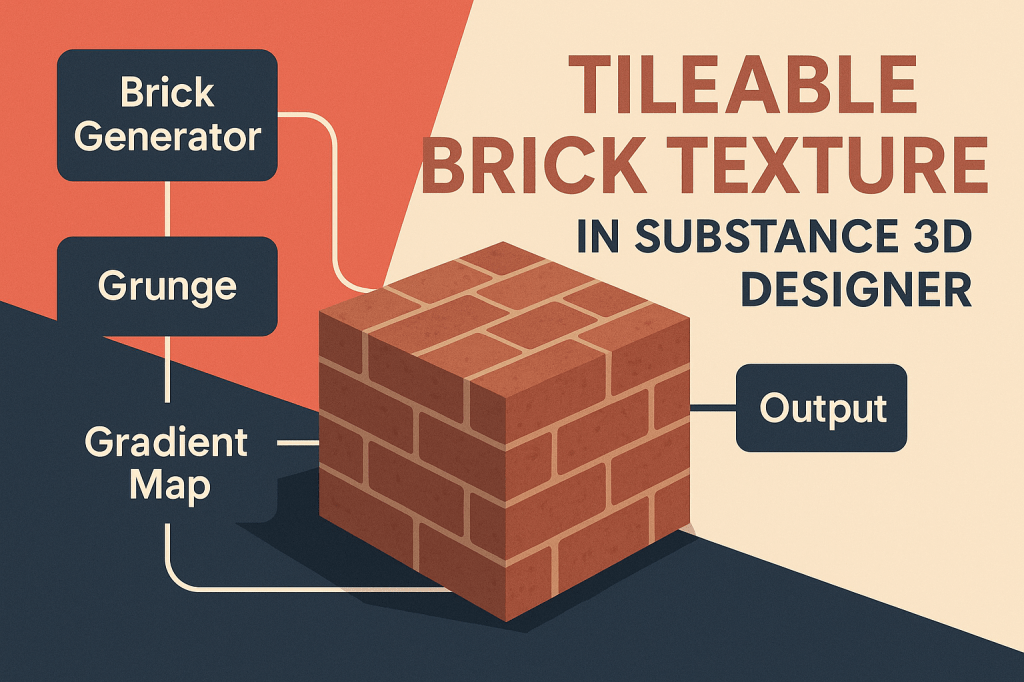
👉 Follow along with a free trial of the Adobe Substance 3D Collection and create your first fully procedural brick material from scratch.
🧩 Step 1: Create a New Substance Graph
- Launch Adobe Substance 3D Designer.
- Go to File → New Substance Graph.
- Choose the template Physically Based (Metallic/Roughness).
- Name your project Tileable Brick Texture.
💡 Tip: The PBR template includes all key output maps — Base Color, Normal, Height, Roughness, and Ambient Occlusion — which you’ll use throughout this tutorial.
🧱 Step 2: Generate the Brick Pattern
- Add a Brick Generator node (shortcut: Right-click → Add Node → Generator → Brick Generator).
- Connect it to a Levels node to control brightness and contrast.
- Tweak the X Amount and Y Amount values to set your brick grid — for example, 8 x 4.
- Adjust Bevel for slightly rounded brick edges and Offset to create the alternating pattern.
🎯 Pro Tip: To make it feel hand-laid, introduce Random and Slope variation under the Brick Generator’s settings.
⚙️ Step 3: Create the Mortar (Grout) Layer
- Add a Blend node.
- Connect your Brick Generator output to the Top Input and a Uniform Color (light gray) node to the Bottom Input.
- Change the Blend Mode to Multiply or Max (Lighten) depending on how you want the grout to appear.
- You can control grout depth later through your Height Map.
💡 Workflow Tip: Keep your grout slightly lighter than the brick color — it adds contrast and realism when rendered.
🎨 Step 4: Add Color and Variation
- Add a Gradient Map node connected to your brick mask.
- Choose an earthy gradient with shades of red, orange, and brown.
- Add a Clouds 2 node and blend it with your color output using a Blend node set to Overlay.
- This adds random color variation between bricks.
🎯 Pro Tip: Use a Directional Noise node to mimic subtle firing or aging effects across the bricks.
🧩 Step 5: Add Surface Imperfections and Roughness
- Add a Grunge Map node (e.g., Grunge Dirt 01).
- Pass it through a Levels node to control contrast.
- Connect this to your Roughness Output — lighter areas will appear matte, darker ones glossy.
- To add fine surface bumps, connect the same Grunge output to your Height map and convert it with a Normal Map node.
💡 Tip: Small imperfections make even simple materials feel believable. Keep them subtle for realism.
🔗 Step 6: Add Edge Wear and Damage (Optional)
- Add a Slope Blur Grayscale node after the Brick Generator.
- Use a Grunge Scratches or Clouds 3 node as the Blur Input.
- Adjust the Intensity to create chipped edges and worn surfaces.
- Blend it back with the original height map for balanced detail.
🎨 Pro Tip: You can later expose Edge Damage Amount as a parameter to tweak easily in Painter or Unreal.
🌈 Step 7: Combine Everything
- Organize your graph using Frames — group Pattern, Color, Height, and Roughness.
- Connect final outputs:
- Base Color → from Gradient Map and Color Blends
- Height → from Levels and Slope Blur
- Normal → generated from Height
- Roughness → from Grunge variation
- AO (Ambient Occlusion) → from Height output
💡 Workflow Tip: Keep a 3D View open alongside your Graph View so you can instantly preview changes.
🧱 Step 8: Test Tileability
- In 3D View, enable Tiling Preview (Hotkey: T).
- Rotate the camera to inspect edges — your pattern should repeat seamlessly.
- If you notice seams, adjust the Brick Generator → Offset or use a Make It Tile node on your noise textures.
🎯 Pro Tip: Tiling perfection is crucial for large walls, floors, or modular assets.
💾 Step 9: Export the Material
- Save your file, then right-click → Publish .SBSAR file.
- Export your maps at 4K resolution for maximum detail.
- Test your material inside Substance 3D Painter, Stager, or Unreal Engine for lighting accuracy.
💡 Bonus: Expose sliders for Brick Scale, Color Variation, and Grout Width — this makes your material fully customizable.
✅ Conclusion
By using nodes instead of static images, your tileable brick texture becomes endlessly adaptable. You can tweak scale, wear, and color in seconds — no Photoshop, no repetition artifacts, and no resolution limits.
With Adobe Substance 3D Designer, you’re not just texturing — you’re designing systems of materials that can evolve across projects.
👉 Start your procedural journey today with the Adobe Substance 3D Collection free trial and create surfaces that truly tell a story.
