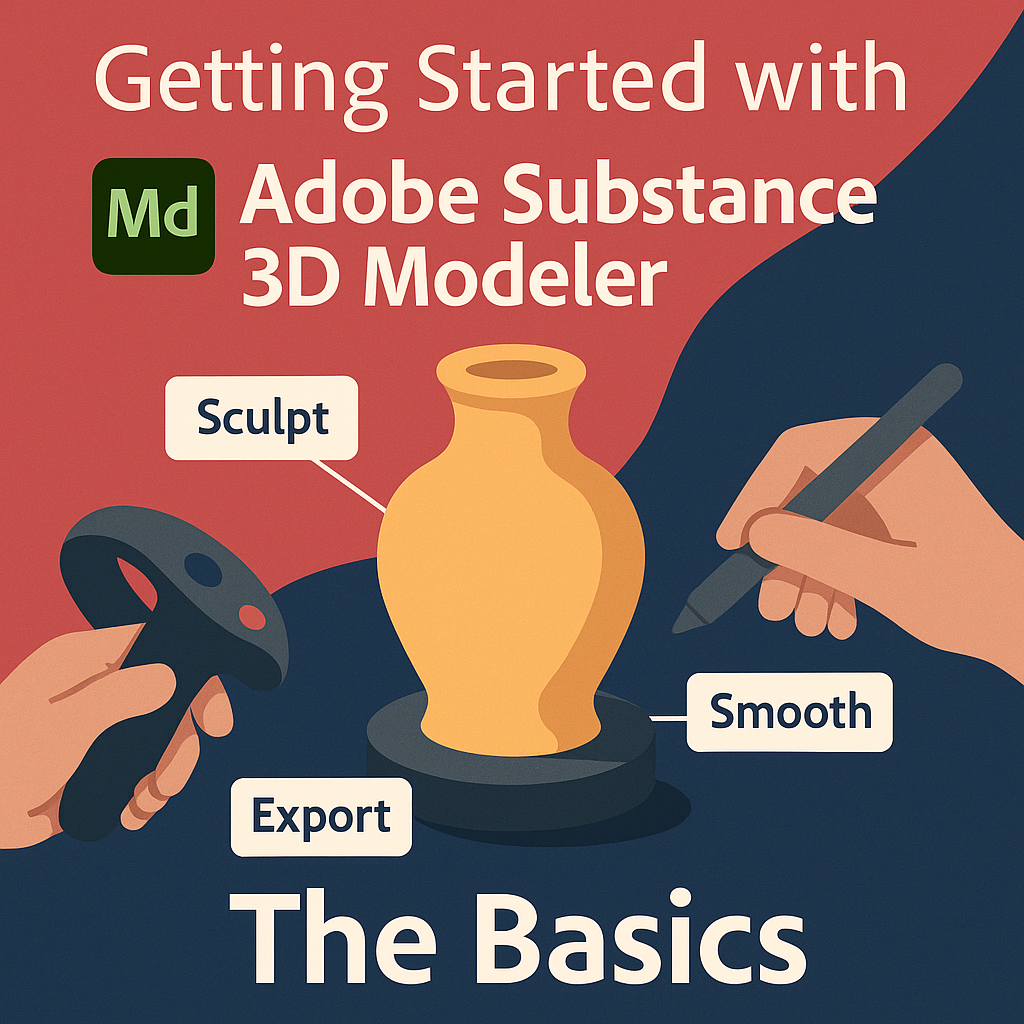
If you’ve ever wanted to sculpt 3D models as naturally as shaping clay — with both hands or a stylus — Adobe Substance 3D Modeler makes it possible. Part of the Adobe Substance 3D Collection, Modeler combines the power of VR and desktop sculpting to let artists create detailed models, props, and concepts faster and more intuitively than ever before.
In this beginner’s guide, you’ll learn the fundamentals of using Substance 3D Modeler, from navigating the interface to sculpting and exporting your first model.
👉 Start your journey with the Adobe Substance 3D Collection free trial — including Modeler, Painter, Designer, Sampler, and Stager.
🧠 What Is Adobe Substance 3D Modeler?
Substance 3D Modeler is a hybrid 3D sculpting tool that lets you create models using VR headsets or traditional desktop controls. Unlike polygonal modeling tools like Blender or Maya, Modeler focuses on volumetric sculpting, giving you freedom to shape, smooth, and carve 3D forms just like digital clay.
You can:
- Sculpt organically or mechanically (props, environments, characters).
- Combine multiple meshes effortlessly using boolean operations.
- Switch between VR and desktop at any point.
- Export your models to Painter or Stager for texturing and rendering.
💡 Modeler bridges creativity and precision — it’s as intuitive as sketching, but as powerful as professional CAD tools.
🧰 Step 1: Setting Up Your Workspace
- Launch Adobe Substance 3D Modeler.
- Choose your preferred mode:
- VR Mode for immersive sculpting (requires compatible headset).
- Desktop Mode for tablet, mouse, or pen input.
- On first launch, explore the Startup Scene — it includes sample objects and brushes.
🎯 Pro Tip: You can seamlessly switch between VR and desktop by saving your scene and reopening it in your desired mode.
🧱 Step 2: Understanding the Interface
Modeler’s interface is simple but powerful:
- Scene Panel (left): Manage objects and layers.
- Brush Palette (bottom): Choose sculpting, smoothing, or cutting tools.
- Viewport (center): The 3D workspace where all modeling happens.
- Tool Properties (right): Adjust brush size, strength, symmetry, and detail resolution.
💡 Workflow Tip: Hover over any tool to see a short description and visual preview — perfect for beginners.
✏️ Step 3: Start Sculpting
Now, let’s shape your first 3D form.
- In the Brush Palette, select the Add Clay tool.
- Click or drag in the viewport to build up shapes.
- Use Smooth to even out surfaces and Cut to carve details.
- Use Shift + Drag (or the equivalent VR hand gesture) to orbit around the model.
- Hold Alt (or Option) to zoom and Spacebar to reset the view.
🎨 Pro Tip: Combine broad clay strokes for base forms and smaller brushes for detail refinement — similar to how traditional sculptors work.
🧩 Step 4: Use Layers to Organize Your Sculpt
Layers make it easier to control complexity.
- Open the Scene Panel and click + Add Layer.
- Sculpt new parts (like handles, buttons, or ornaments) separately.
- Toggle visibility or lock layers for focused edits.
💡 Example: When sculpting a vase, keep the body, handles, and decorative ridges on separate layers for easier adjustments later.
🔄 Step 5: Using Boolean Tools for Precision
Modeler’s Boolean system allows you to merge or subtract shapes seamlessly:
- Add (Union): Combine two meshes into one.
- Subtract: Carve one mesh out of another (useful for holes or indents).
- Intersect: Keep only overlapping areas of two meshes.
🎯 Pro Tip: You can create mechanical-looking models — like gears or furniture — by combining precise shapes using Boolean Subtraction.
🪄 Step 6: Refining Your Model
After blocking out your shape:
- Use the Inflate Tool to add volume to thin areas.
- Try the Flatten Brush for smooth surfaces.
- Adjust Brush Strength and Falloff for softer or sharper details.
- Enable Symmetry Mode for mirrored edits (perfect for character modeling).
💡 Workflow Tip: Lower the brush strength and use subtle strokes for polishing your model’s form before export.
📦 Step 7: Exporting Your Model
When your sculpt is complete:
- Go to File → Export Model.
- Choose your preferred format:
.OBJor.FBXfor use in other 3D software..USDfor seamless transfer to Substance 3D Painter or Stager.
- Enable Decimation if you want to reduce polygon count while keeping the shape intact.
🎨 Pro Tip: Export directly to Painter to apply materials and paint details, then to Stager for lighting and final rendering.
🌟 Step 8: Moving from Modeler to the Full Substance Workflow
Your creation doesn’t end in Modeler — it’s the beginning of a complete 3D pipeline:
- Modeler → Painter: Texture your sculpt with materials from Sampler or Designer.
- Painter → Stager: Light and render the textured model in photorealistic environments.
- Stager → Portfolio: Export high-quality visuals or AR-ready files for product previews.
💡 Example Workflow: Sculpt a perfume bottle in Modeler → Texture with glass and metal in Painter → Render with HDR lighting in Stager.
✅ Conclusion
Adobe Substance 3D Modeler is a revolution in 3D creation — making modeling feel more like art than engineering. With its intuitive clay-based workflow and deep integration with Painter and Stager, it’s the perfect entry point for artists, designers, and product creators.
👉 Try Adobe Substance 3D Collection free trial today and start sculpting your imagination into reality.
