Procedural materials are the foundation of modern 3D design — infinitely scalable, editable, and reusable. Instead of relying on photo textures, you can build materials from mathematical patterns and nodes, giving you total control over every detail.
With Adobe Substance 3D Designer, artists can craft anything from bricks and fabrics to alien metals — all generated entirely inside the software. In this tutorial, you’ll learn how to create a procedural material from scratch, understand its core building blocks, and export it for use in Painter, Stager, or Unreal Engine.
👉 Get started with a free trial of the Adobe Substance 3D Collection and follow along as we build our first procedural material step by step.
🧠 What Is a Procedural Material?
A procedural material is generated algorithmically — not painted or photographed. You define surface properties like color, height, roughness, and metallic reflection using nodes that perform functions such as blending, distorting, or tiling textures.
This workflow has major advantages:
✅ Infinite resolution (no pixel stretching or blur)
✅ Fully customizable parameters
✅ Seamless tiling for any surface
✅ Lightweight file sizes for real-time use
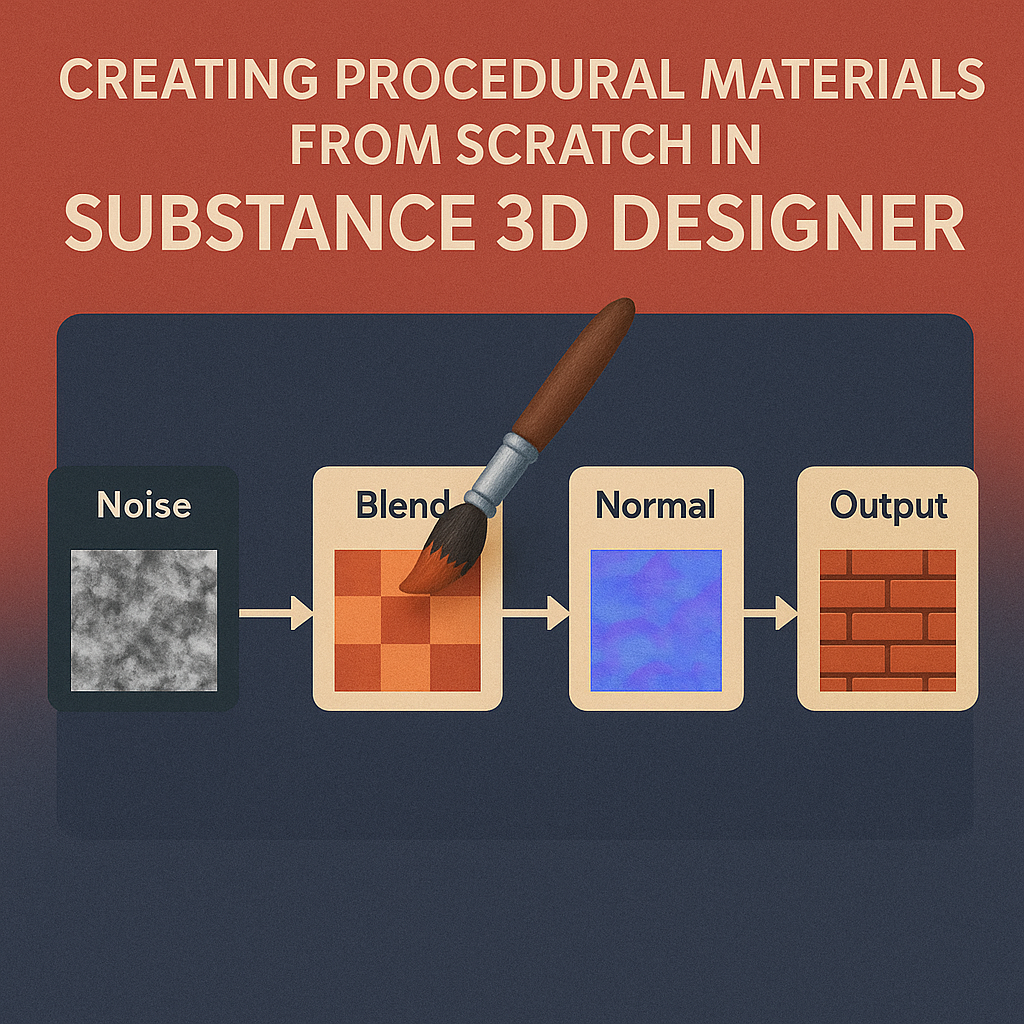
In Substance 3D Designer, everything revolves around the node graph — your visual script for material generation.
🧩 Step 1: Create a New Material Graph
- Open Substance 3D Designer.
- Go to File → New Substance Graph.
- Choose Physically Based (Metallic/Roughness) as your template.
- Name your file — for example, Procedural Brick Wall.
💡 Tip: This template automatically includes outputs for Base Color, Roughness, Height, Normal, and Ambient Occlusion (AO).
🧱 Step 2: Build the Base Shape (Structure)
Start by generating the material’s structure — the repeating pattern that defines its look.
- Add a Brick Generator node.
- Connect it to a Levels node to adjust contrast and brick definition.
- Use a Transformation 2D node to control brick scale and spacing.
- Combine two Brick Generators with different offsets using a Blend node (mode: Add Sub).
🎯 Pro Tip: Try experimenting with other pattern generators like Tile Sampler or Shape Splatter for organic or fabric-like bases.
🎨 Step 3: Add Color Variation
- Add a Gradient Map node to your brick pattern output.
- Create a gradient with warm reds and browns to simulate clay tones.
- Use a Noise node (e.g., Clouds 2 or Perlin Noise) to break up the color.
- Blend the noise with your Gradient Map using Multiply or Overlay mode.
💡 Workflow Tip: Add a Hue/Saturation/Lightness node to fine-tune global color adjustments later.
⚙️ Step 4: Generate Height and Normal Maps
Height defines depth; normals define light interaction.
- Connect your Brick Generator output to a Normal Map node.
- Add a Slope Blur Grayscale node between the pattern and the normal for natural edge wear.
- Connect the same pattern to a Height Map Output.
- Adjust Amplitude and Intensity for realism.
🎯 Pro Tip: Subtle height variation goes a long way — avoid extreme values unless you’re making heavily carved surfaces.
💧 Step 5: Add Roughness and AO (Surface Details)
- Add a Grunge Map or Noise node to simulate surface dirt or micro-roughness.
- Pass it through a Levels node to control brightness and contrast.
- Connect it to your Roughness Output.
- Lighter = rougher (matte)
- Darker = smoother (glossy)
- Add an Ambient Occlusion (AO) node and connect it to the Height Map for shadow depth.
💡 Pro Tip: A good roughness map can make or break realism — it’s where lighting truly brings materials to life.
🔗 Step 6: Combine Layers for Realism
Complex materials often use several procedural layers.
- Create a Blend node to mix multiple noise types (e.g., Grunge and Clouds).
- Add Warp and Directional Noise nodes to distort patterns slightly.
- Combine results in your Base Color and Height maps.
🎨 Tip: The key to natural realism is imperfection — small random variations mimic how materials behave in the real world.
💾 Step 7: Output and Export
Once satisfied with your graph:
- Label and group your nodes with Frames for organization.
- Link your final outputs to Base Color, Height, Roughness, Normal, and AO.
- Save your project, then right-click → Publish .SBSAR file.
- Import your SBSAR into Substance 3D Painter, Stager, or Unreal Engine.
🎯 Pro Tip: Expose parameters like Color Variation, Brick Scale, or Grunge Intensity so you can tweak the material live in other apps.
🌍 Bonus: Try Turning Photos into Procedural Materials
Use Substance 3D Sampler to transform real-world photos into seamless textures — then import them into Designer to enhance or mix with your procedural maps. The combination of procedural precision and photographic realism gives the best of both worlds.
✅ Conclusion
Procedural material creation is one of the most powerful workflows in 3D art — and Adobe Substance 3D Designer gives you total freedom to define every surface detail from scratch. Once you understand how nodes work together, you can build limitless materials that remain editable forever.
👉 Try building your own material today with the Adobe Substance 3D Collection free trial and experience the creative freedom of procedural design.
