Imagine photographing a cracked wall, a stone path, or a fabric swatch — and turning it into a seamless, tileable 3D material you can use in any scene. With Adobe Substance 3D Sampler, that’s exactly what you can do.
Substance 3D Sampler transforms real-world photos into PBR-ready materials with automatic texture generation for color, height, roughness, and normal maps. You can capture a surface with your camera and use it instantly in Substance 3D Painter, Stager, or even Unreal Engine.
👉 Try it yourself with the Adobe Substance 3D Collection free trial — which includes Sampler, Designer, Painter, and Stager — and start converting your favorite surfaces into digital materials.
🧠 Why Use Real-World Photos?
Creating materials from photographs gives you authenticity that procedural textures can’t always match. Real photos contain imperfections — dirt, scratches, discoloration — that make surfaces look natural.
With Substance 3D Sampler’s AI-driven material generation, you can:
- Turn any surface photo into a seamless, tileable texture.
- Generate all PBR maps automatically (Base Color, Roughness, Normal, Height, AO).
- Adjust material properties like gloss, depth, or reflectivity in real-time.
- Export to Substance apps, Photoshop, or your favorite 3D engines.
💡 In short: You shoot, Sampler does the rest.
📸 Step 1: Capture or Choose a Good Reference Photo
A good input image is the foundation of a seamless material.
Tips for capturing material photos:
- Use diffuse lighting (avoid harsh shadows or direct sunlight).
- Shoot perpendicular to the surface — no perspective distortion.
- Fill the frame with the material — avoid edges, seams, or corners.
- Use a tripod or flat handheld shot for consistency.
- Save your image in high resolution (at least 2048×2048 pixels).
🎯 Pro Tip: For best results, photograph raw textures like concrete, sand, wood, leather, or tile — not patterned or reflective surfaces.
🧱 Step 2: Import the Image into Substance 3D Sampler
- Open Adobe Substance 3D Sampler.
- Drag and drop your photo into the Project panel, or click + Add → Image to Material.
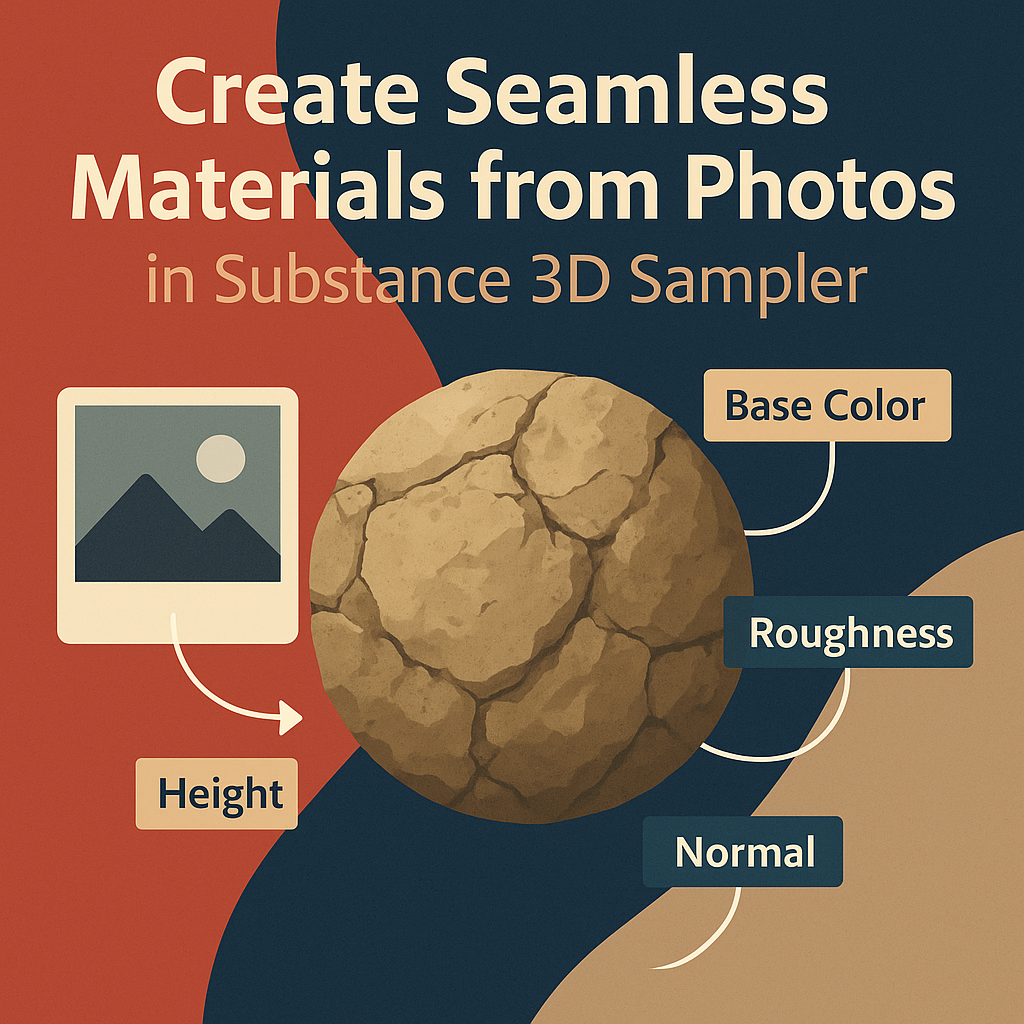
- Sampler automatically generates:
- Base Color
- Height Map
- Normal Map
- Roughness Map
- Ambient Occlusion Map
💡 AI-Powered Magic: Sampler uses Adobe’s machine learning (Adobe Sensei) to analyze the surface and produce realistic depth and light data automatically.
🔁 Step 3: Make the Texture Seamless
Your image likely has visible edges or repeating patterns — let’s fix that.
- In the right-side Properties panel, click Make it Tile.
- Sampler analyzes and stitches edges seamlessly.
- Use the Clone or Healing Tool to manually fix any repeating areas.
- Rotate or offset the material in the Viewport to check for visible seams.
🎯 Pro Tip: Use the “2D/3D Split View” mode to compare your original image with the seamless result.
🎨 Step 4: Refine Material Properties
Now that you have a base, refine the look using adjustment layers:
- Height & Normal Adjustments – Control depth or smoothness for realism.
- Color Equalization – Fix uneven lighting from your original photo.
- Roughness Adjustment – Set reflectivity levels (matte concrete vs glossy tile).
- AO Strength – Emphasize shadowed crevices for added realism.
- Edge Wear or Dirt – Add surface imperfections to match the real-world condition.
💡 Workflow Tip: For subtle realism, increase Roughness and reduce Normal intensity — especially for surfaces like fabric or stone.
🧩 Step 5: Enhance with Sampler’s Filters and Effects
Substance Sampler offers powerful AI filters to enrich your texture:
- Dust and Scratches Removal – Clean up unwanted photo artifacts.
- Detail from Normal – Enhance small-scale bump information.
- Shadow Remover – Flattens lighting baked into your photo.
- Emboss & Gradient Tools – Add stylistic or custom depth details.
🎨 Pro Tip: Combine photo-based realism with Designer-style procedural layers for the best of both worlds.
🪄 Step 6: Add Finishing Touches (Optional)
To elevate your texture beyond its photo origins:
- Add a Warp layer to create organic irregularities.
- Blend in Grunge Maps or Noise Layers for variation.
- Overlay Patterns or Paint Layers for textile-like designs.
- Adjust Base Color Hue/Saturation to expand your color library.
💡 Bonus: You can even import filters from Substance 3D Designer for advanced node-based effects.
💾 Step 7: Export or Use in Painter and Stager
When your material looks perfect:
- Go to Share → Export As… → SBSAR File.
- Save as
.SBSARto use in:- Substance 3D Painter (for painting on 3D models)
- Substance 3D Stager (for rendering and lighting)
- Unreal Engine / Unity / Blender (for real-time 3D environments)
- You can also export texture maps directly (PNG, JPG, EXR).
🎯 Pro Tip: Save your material to Creative Cloud Libraries to reuse it instantly across Adobe apps.
✅ Conclusion
Creating seamless, photorealistic materials no longer requires tedious editing or coding. With Substance 3D Sampler, you can convert real-world surfaces into high-quality, PBR-ready assets in minutes — perfect for 3D artists, designers, and visualizers.
👉 Get the Adobe Substance 3D Collection free trial and start capturing the real world into your digital scenes today.
