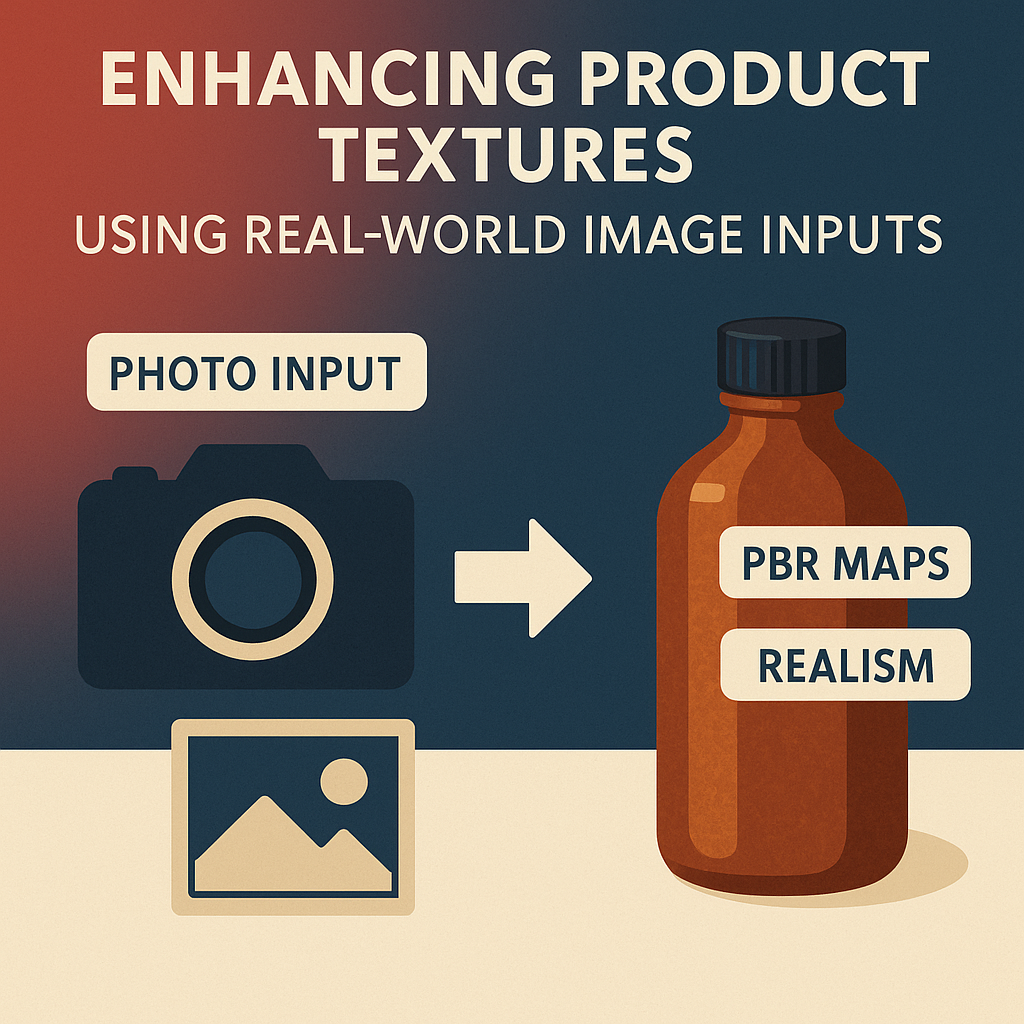
When creating realistic 3D products, textures are everything. From brushed metal to soft leather or smooth glass, the quality of your texture maps determines how believable your render looks. With Adobe Substance 3D Sampler, you can take real-world images — photos of actual materials — and turn them into stunning, seamless PBR textures.
In this guide, you’ll learn how to import photos, generate PBR maps, and use them to enhance your product designs in Sampler, Painter, and Stager for professional-grade realism.
👉 Try this process yourself with the Adobe Substance 3D Collection free trial — which includes Sampler, Painter, Designer, and Stager.
🧠 Why Use Real-World Image Inputs?
Procedural textures are flexible, but they often lack the natural imperfections of reality — the subtle scratches, stains, fibers, and grain that make materials feel tactile.
By using real-world photos as texture inputs, you can:
- Capture the authentic character of real surfaces.
- Reduce time spent creating materials from scratch.
- Produce PBR-ready materials with accurate lighting responses.
- Combine the realism of photography with the flexibility of procedural editing.
💡 Every product has a story — real texture images help tell it more convincingly.
📸 Step 1: Capture High-Quality Surface Photos
Start by photographing the real surface you want to replicate — it could be fabric, metal, wood, glass, or plastic.
Tips for best results:
- Use even, diffuse lighting (avoid harsh shadows and reflections).
- Keep the camera perpendicular to the surface.
- Fill the frame with the texture — no background distractions.
- Use a tripod for consistency and sharpness.
- Capture at least 2048×2048 pixels (4K if possible).
🎯 Pro Tip: For consistent results, shoot multiple angles or lighting conditions to give Sampler more data to interpret depth and color.
🧱 Step 2: Import the Photo into Adobe Substance 3D Sampler
- Launch Substance 3D Sampler.
- Drag your photo into the workspace.
- Choose Image to Material (AI-Powered) from the import dialog.
- Sampler automatically analyzes your photo and generates:
- Base Color
- Height Map
- Normal Map
- Roughness Map
- Ambient Occlusion
🎨 Pro Tip: The AI Image-to-Material feature uses Adobe Sensei to intelligently detect lighting, depth, and reflectivity — giving you an accurate digital counterpart of your real texture.
🪄 Step 3: Make the Texture Seamless
Real-world photos often have visible edges or lighting inconsistencies. To fix this:
- Select the material layer in Sampler.
- Click Make It Tile in the right-hand panel.
- Sampler automatically stitches edges for seamless repetition.
- Use the Clone Tool or Healing Tool to remove repetitive or distracting details.
- Preview in the 3D view to confirm seamless tiling.
💡 Workflow Tip: A seamless texture ensures your material wraps naturally around any product model in Painter or Stager.
🎨 Step 4: Refine Texture Channels for Product Realism
With your base texture generated, fine-tune the surface properties:
- Base Color – Adjust color balance or saturation for product consistency.
- Height Map – Increase or decrease depth for embossed or engraved effects.
- Roughness Map – Control reflectivity (smooth plastic vs. matte fabric).
- Normal Map – Enhance micro details like pores or stitching.
- AO Map – Strengthen shadow depth for contact realism.
🎯 Example:
- For leather, slightly increase height intensity to accent grain.
- For polished metal, reduce roughness and add subtle anisotropic reflection.
🧩 Step 5: Enhance the Texture with Filters and Layers
Substance 3D Sampler offers creative flexibility to refine your material even further:
- Warp Filter: Adds natural surface irregularity.
- Grunge Maps: Introduce dirt, wear, or micro scratches.
- Emboss Filter: Emphasize logo imprints or fine detail.
- Color Equalizer: Normalize lighting and tone from uneven photography.
- Roughness Variation: Break up uniform reflections for realism.
🎨 Pro Tip: Layer your adjustments non-destructively — each filter can be edited, toggled, or fine-tuned later.
🧰 Step 6: Export the Material for Painter or Stager
Once your material looks perfect:
- Go to Share → Export As → SBSAR File.
- Choose your export destination.
- Optionally expose parameters (e.g., color tint, roughness intensity) for flexibility.
- Click Export.
Now you can use this material directly in:
- Substance 3D Painter → For painting onto 3D models.
- Substance 3D Stager → For realistic product rendering.
💡 Bonus: Export texture maps individually (Base Color, Normal, Height, etc.) if you want to use them in Blender, Unreal Engine, or other 3D tools.
🪞 Step 7: Apply to Products in Stager
To visualize your new texture in a product render:
- Open Substance 3D Stager.
- Import your 3D product model.
- Drag your Sampler material (SBSAR) onto the object.
- Adjust Tiling, Rotation, and Scale for correct placement.
- Test lighting variations using HDR environments (studio, sunlight, soft box).
🎯 Pro Tip: For photoreal product renders, pair your material with physically accurate lighting and subtle shadow gradients.
🧠 Step 8: Combine Multiple Real-World Inputs
You can blend multiple real-world photos in Sampler to create hybrid materials — for example, concrete with moss, or fabric with stitching.
- Stack multiple photo-based layers.
- Use Masks and Blend Modes (Overlay, Multiply, Add) to mix them.
- Adjust opacity and layer intensity for natural transitions.
💡 Creative Tip: This is perfect for creating aged, weathered, or customized products (like worn leather shoes or faded packaging).
✅ Conclusion
Using real-world image inputs in Adobe Substance 3D Sampler gives your product textures the natural imperfections and authenticity that procedural workflows often lack. By converting photographs into PBR materials and refining them with Sampler’s tools, you can elevate your 3D renders from digital to photoreal.
👉 Get started today with the Adobe Substance 3D Collection free trial — and start turning your photos into professional-grade materials.
